 Pin it
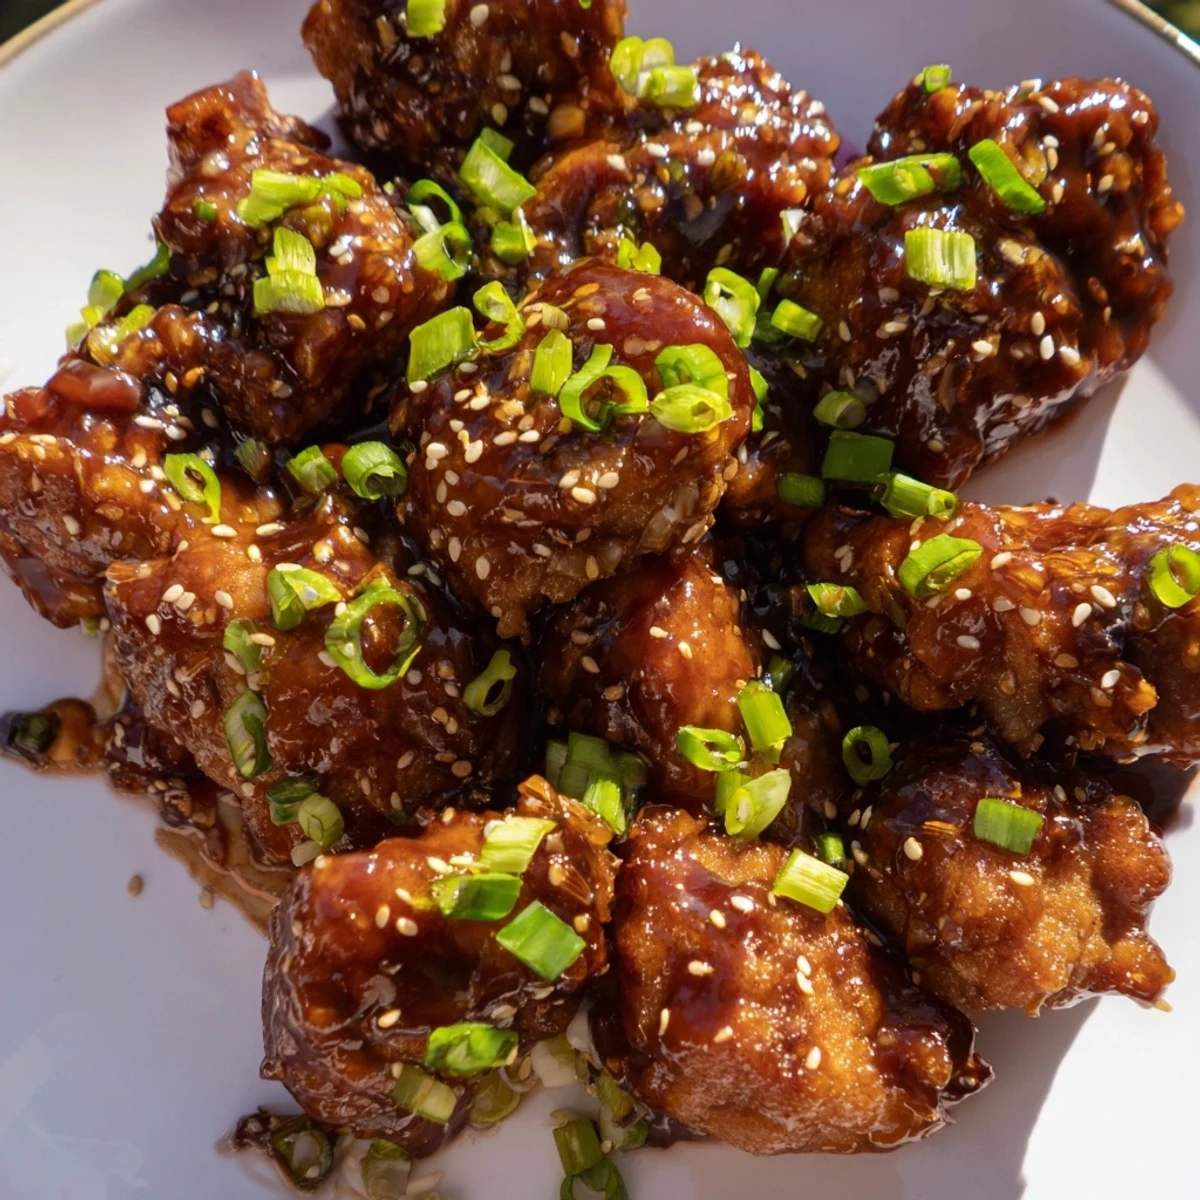
 This Asian-inspired dish features golden crispy chicken pieces tossed in a glossy, caramelized sauce. The combination of soy sauce, brown sugar, fresh ginger, and garlic creates that perfect balance between sweet and savory flavors.
Ready in just 45 minutes, this dish comes together quickly for weeknight dinners yet feels special enough for gatherings. Serve over steamed white rice and garnish with green onions and toasted sesame seeds for restaurant-quality results at home.
The first time I made Mongolian Chicken, my kitchen filled with this incredible aroma of ginger and garlic caramelizing in the pan that had my teenage son wandering in from his room, asking what smelled so amazing. That moment of watching him take that first bite, eyes widening as the sweet and salty sauce hit his taste buds, completely sold me on this recipe. Now it's the one dinner request I get whenever his friends are coming over.
Last winter, during that week when we had three feet of snow and everyone was stuck inside, I made a huge batch of this chicken. Something about that warm, glossy sauce over steaming rice just felt like comfort in a bowl. We sat around the table, passing the platter back and forth, and nobody complained about being snowed in for once.
Ingredients
- 900 g (2 lbs) boneless, skinless chicken thighs: Thighs stay juicier than breasts through the crispy coating and sauce, plus they hold up better when tossed around in the skillet
- 2 tablespoons cornstarch: This is what gives the chicken that light, crispy coating that still lets the sauce cling perfectly to every piece
- 1/2 teaspoon salt and 1/4 teaspoon black pepper: Simple seasoning that enhances all the other flavors without competing with the sauce
- 2 tablespoons vegetable oil: Just enough to get a nice golden sear on the chicken without making it greasy
- 120 ml (1/2 cup) low-sodium soy sauce: Using low-sodium lets you control the salt level since the sauce reduces down and concentrates anyway
- 100 g (1/2 cup) brown sugar, packed: The molasses in brown sugar gives the sauce that gorgeous deep color and caramel-like richness
- 60 ml (1/4 cup) water: Helps dissolve everything and creates the right consistency as the sauce reduces
- 1 tablespoon hoisin sauce: This secret ingredient adds that complex depth with fermented bean flavor and subtle sweetness
- 1 tablespoon rice vinegar: Cuts through all that sweetness with just enough brightness to keep the sauce balanced
- 2 teaspoons sesame oil: A little goes a long way, adding that nutty aroma that makes the whole dish smell incredible
- 2 tablespoons fresh ginger, grated: Fresh is absolutely worth it here, imparting that spicy warmth that dried ginger just cannot provide
- 4 garlic cloves, minced: The garlic mellows out beautifully in the sauce, becoming sweet and fragrant rather than sharp
- 1 teaspoon red chili flakes (optional): Just a subtle warmth that builds up slowly, letting people control how much heat they want
- 4 green onions, thinly sliced: Fresh pop of color and mild onion flavor that cuts through the rich sauce
- 2 tablespoons toasted sesame seeds: These add such a lovely nutty crunch and make the dish look restaurant-worthy
- Steamed white rice, to serve: The perfect neutral base to soak up all that incredible sauce
Instructions
- Coat the chicken:
- In a large bowl, toss the chicken pieces with cornstarch, salt, and black pepper until every piece is evenly coated, shaking off any excess powder
- Get that golden crust:
- Heat the vegetable oil in a large skillet or wok over medium-high heat, then add the chicken in batches, cooking for 6 to 8 minutes until golden brown and crisp on all sides before removing to a plate
- Whisk up the sauce:
- In a medium bowl, whisk together the soy sauce, brown sugar, water, hoisin sauce, rice vinegar, and sesame oil until the sugar completely dissolves
- Bloom the aromatics:
- In the same skillet, add the ginger and garlic, sautéing for just 1 minute until fragrant but not browned
- Build the sauce:
- Pour in the prepared sauce and bring to a simmer over medium heat, cooking for 2 to 3 minutes while stirring frequently until slightly thickened
- Bring it all together:
- Add the cooked chicken back into the skillet, tossing to coat evenly in the sauce, and sprinkle in red chili flakes if using
- Finish to perfection:
- Simmer for an additional 2 to 3 minutes until the sauce clings beautifully to the chicken and everything is heated through
- Plate and garnish:
- Serve hot over steamed rice, generously sprinkling the sliced green onions and toasted sesame seeds over the top
 Pin it
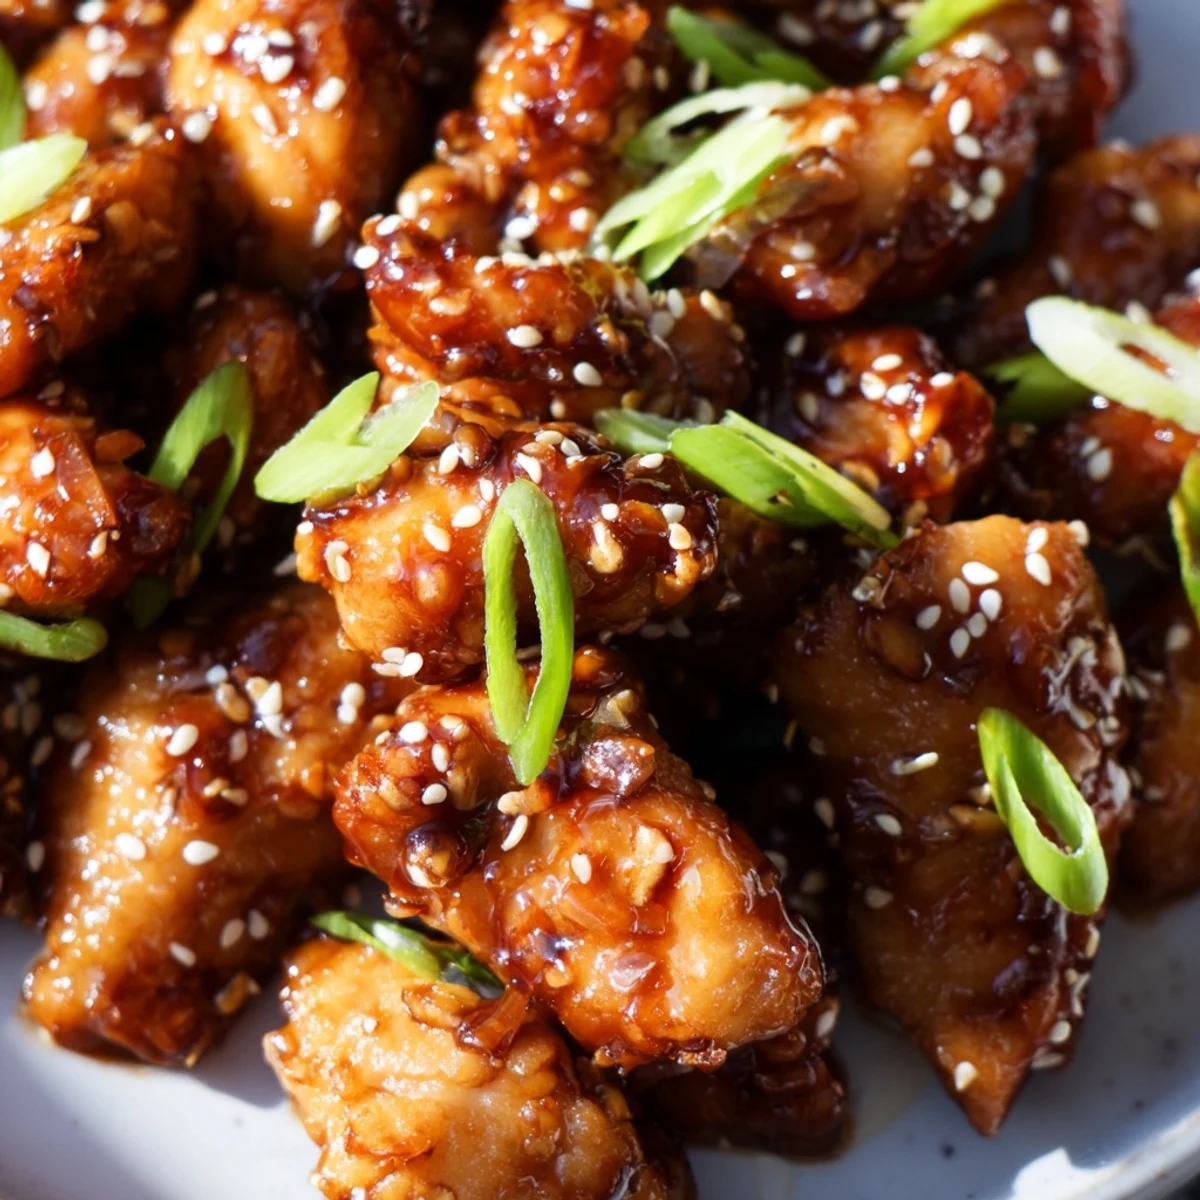
 My friend Sarah came over for dinner last month and literally took a photo of her plate before even taking a bite, saying it looked too good to eat. The best part was watching her go back for seconds, then thirds, and finally asking if there was enough leftover to take some home for her husband to try.
Making It Your Own
Sometimes I will toss in some stir-fried bell peppers or snap peas during the last few minutes of cooking for extra color and crunch. The vegetables soak up all that sauce while staying crisp-tender, and it makes the whole meal feel more complete without much extra effort.
Perfecting The Crisp
The secret to restaurant-style crisp at home is letting the coated chicken sit for about 10 minutes before cooking. This drying time helps the cornstarch adhere better and creates that lighter, crunchier exterior that still manages to absorb some of that gorgeous sauce.
Serving Suggestions
This dish pairs wonderfully with steamed broccoli or bok choy on the side for a complete meal. A light, aromatic white wine like Riesling cuts through the richness beautifully, or you can keep it simple with just the rice and maybe some quick pickled cucumbers for contrast.
- Make extra rice because everyone will want to soak up every drop of that sauce
- Have all your ingredients prepped before you start cooking since everything moves fast once the heat is on
- The sauce keeps well in the fridge for up to 4 days and actually tastes even better the next day
 Pin it
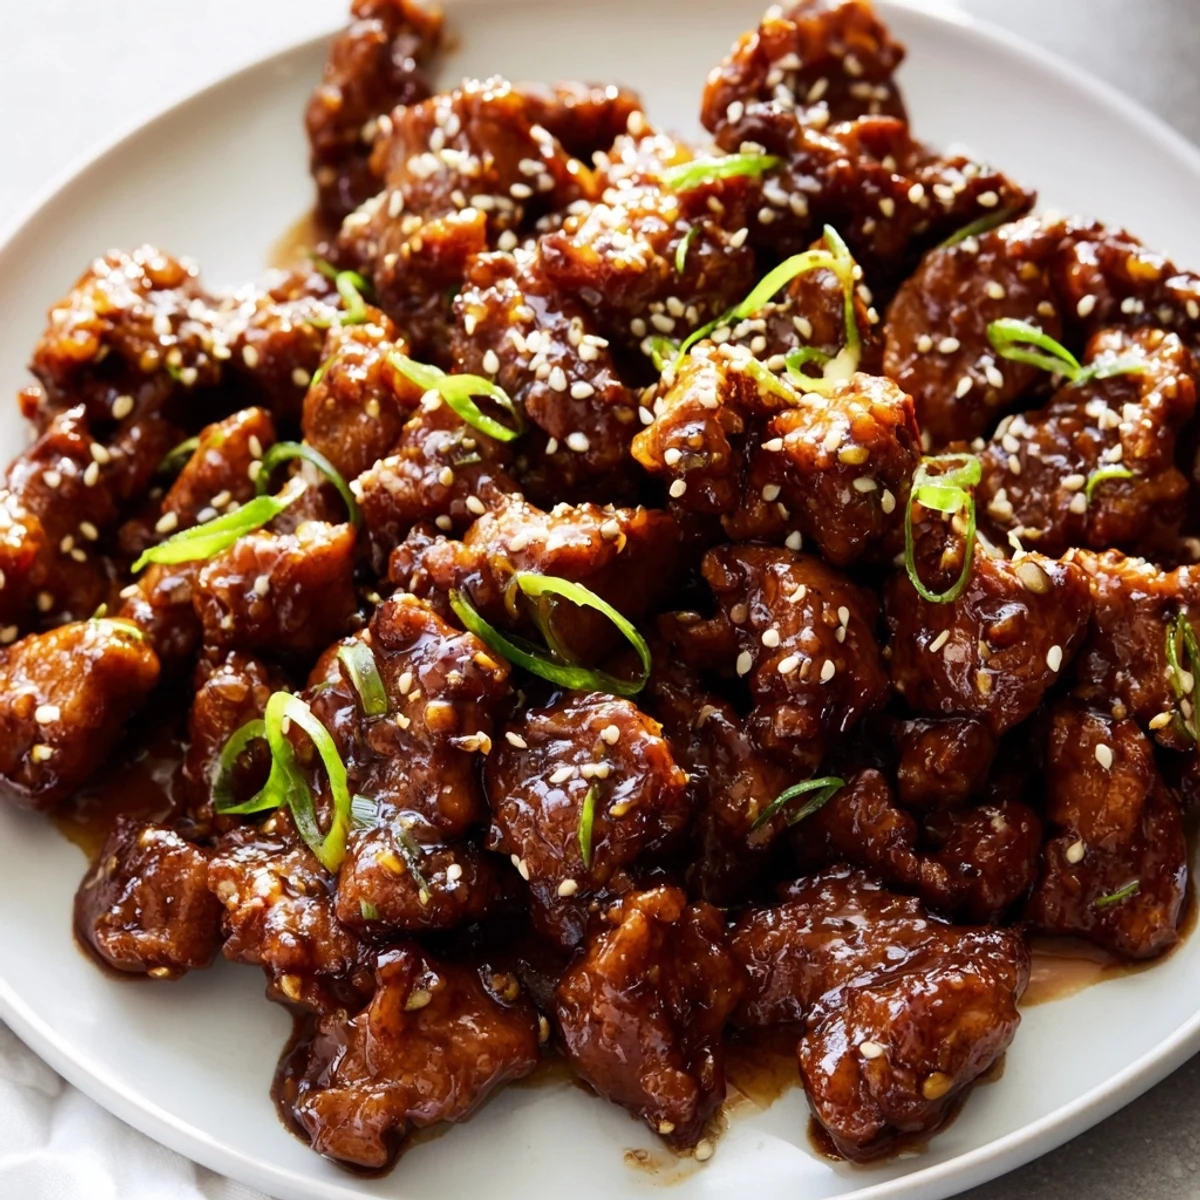
 There is something so satisfying about making a dish that looks impressive but comes together so easily in your own kitchen. Watching everyone gather around the table, reaching for that first bite, that is what cooking is really about.
Recipe FAQs
- → What makes Mongolian chicken different from other Asian dishes?
-
Mongolian chicken stands out for its signature sweet and savory sauce made with brown sugar, soy sauce, and aromatics like ginger and garlic. The sauce caramelizes beautifully, creating a glossy coating that clings to crispy chicken pieces.
- → Can I use chicken breasts instead of thighs?
-
Absolutely. While thighs remain more juicy and tender, chicken breasts work well too. Just be careful not to overcook them as they can dry out faster than thighs. Cut into uniform bite-sized pieces for even cooking.
- → How do I get the chicken extra crispy?
-
The cornstarch coating creates a light crust when pan-fried. For maximum crispiness, try the double-fry method: cook the chicken until golden, remove from the pan, then fry again for 2-3 minutes before adding the sauce.
- → Is this dish spicy?
-
The base dish is mild with a gentle warmth from ginger and garlic. Add red chili flakes if you prefer heat. Start with 1/2 teaspoon and adjust to your taste - the sauce balances spice beautifully with its sweetness.
- → What sides pair well with this dish?
-
Steamed white rice is classic and perfectly soaks up the sauce. For vegetables, try stir-fried bell peppers, snap peas, or broccoli. A light aromatic white wine like Riesling complements the sweet and savory notes.
- → Can I make this gluten-free?
-
Yes. Use gluten-free tamari or coconut aminos instead of soy sauce, and verify that your hoisin sauce is gluten-free. Cornstarch is naturally gluten-free, so the coating remains the same.
