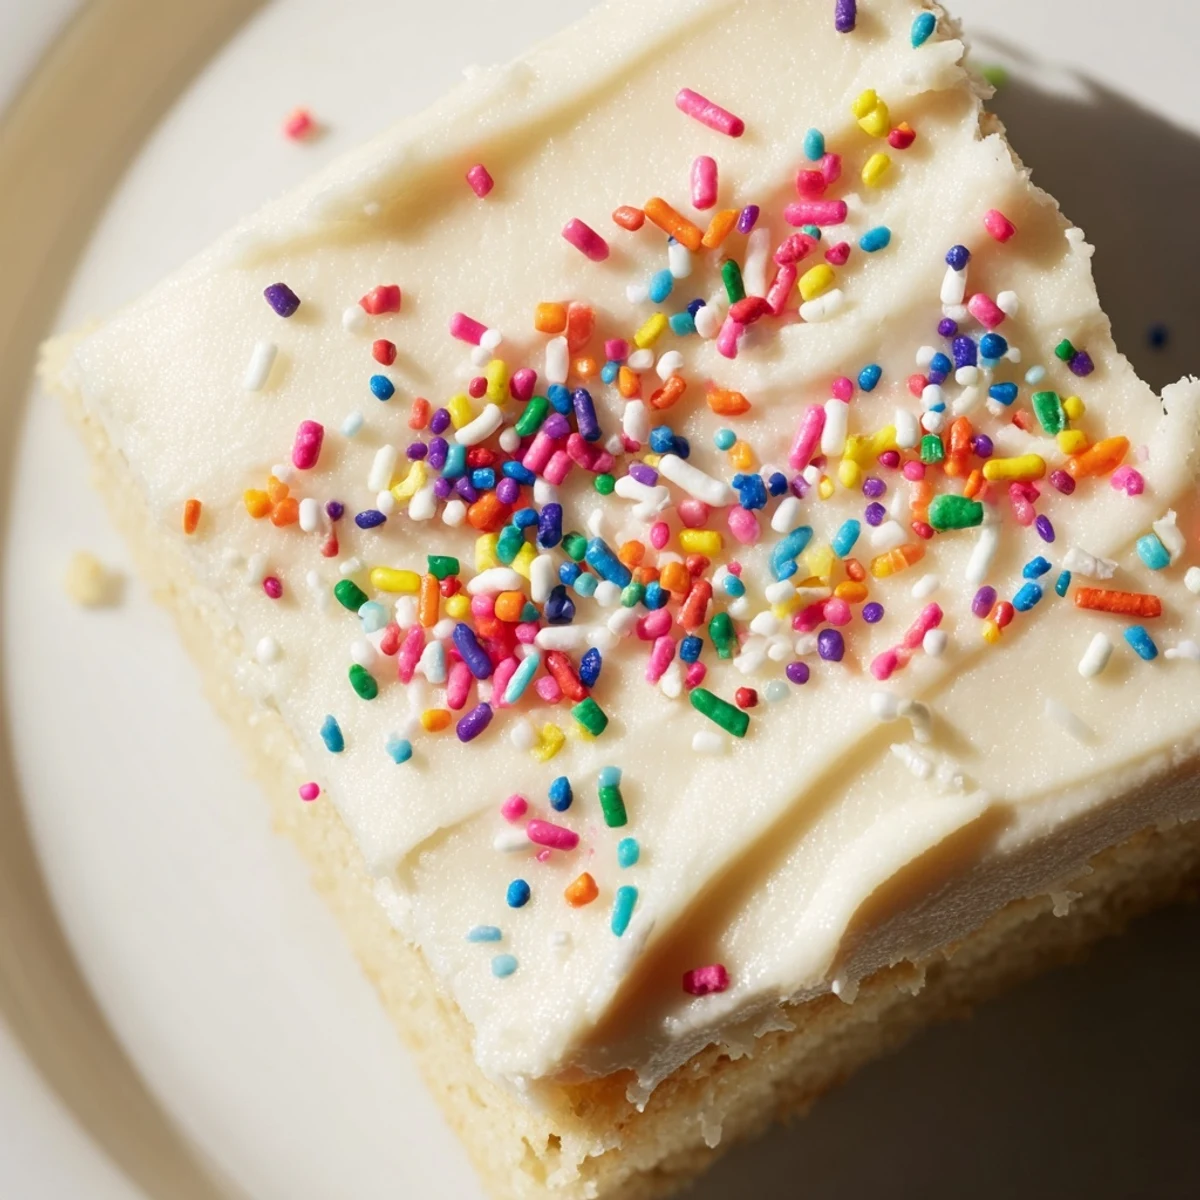
 Pin it
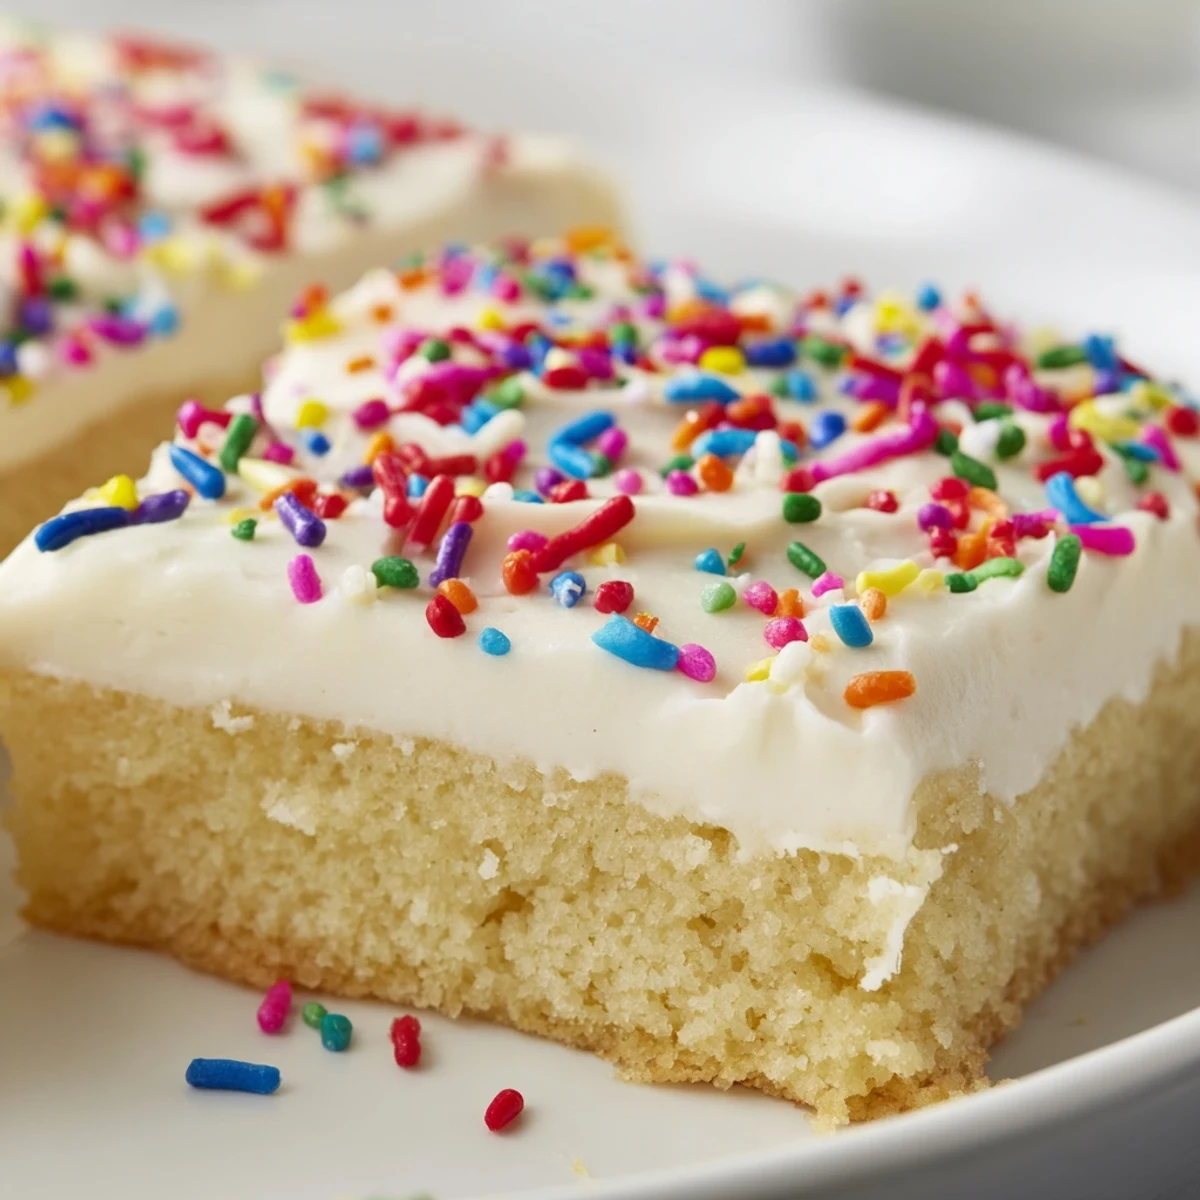
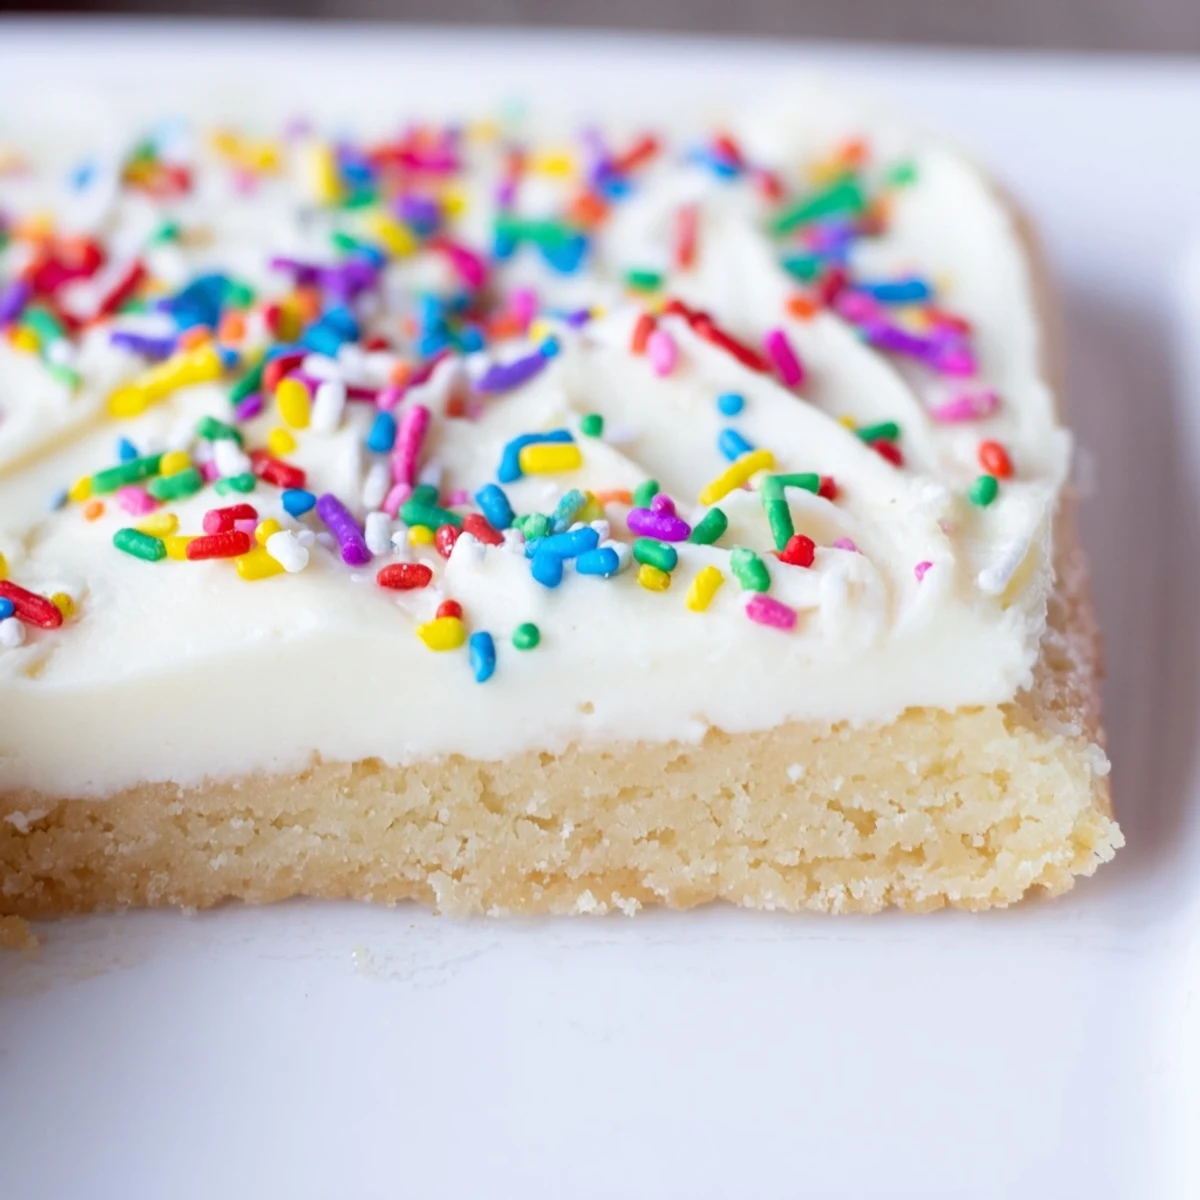
 These soft, buttery sugar cookie bars combine the classic taste of traditional sugar cookies with the ease of a pan dessert. The dough comes together quickly with basic pantry staples, then bakes into tender, golden squares. After cooling, a creamy vanilla frosting transforms them into an impressive treat that's perfect for birthdays, holidays, or casual gatherings.
The frosting options are endless—keep it classic with vanilla, add citrus zest for brightness, or swap in almond extract for a nutty twist. Food coloring and sprinkles make them festive for any occasion. Bars store beautifully at room temperature for up to three days, or refrigerate for longer keeping.
The kitchen counter was covered in a dusting of powdered sugar after what I thought would be a simple batch of cookies turned into a full-on frosting explosion. My sister had texted me that morning asking for something sweet for her birthday party that evening, and after three failed attempts at rolling out perfect individual cookies, I threw the dough into a 9x13 pan out of pure desperation. That accidental experiment ended up creating the most incredibly soft, thick sugar cookie bars I had ever tasted, and now they are the one dessert everyone actually requests by name.
Last summer, my neighbor's daughter ran across the street when she smelled them baking through the open windows. She stood on my porch watching through the glass door as I spread the frosting, and I ended up giving her the very first bar before they even cooled completely. Now whenever I bake them, I make sure to set aside one for her, still warm from the oven.
Ingredients
- Unsalted butter: Room temperature butter is absolutely critical here, as it creates the tender crumb that makes these bars so incredibly soft
- Granulated sugar: This provides the classic sugar cookie sweetness and helps create that slightly crisp edge while keeping the center tender
- Large egg: One egg is all you need to bind everything together without making the dough too heavy or cakey
- Pure vanilla extract: Do not skimp here because vanilla is the backbone of that classic sugar cookie flavor everyone loves
- All-purpose flour: This creates the structure while still keeping the bars tender and not too dense or bread-like
- Baking powder: Just enough to give the bars a slight lift without making them puff up too much
- Salt: A half teaspoon balances all that sugar and brings out the buttery flavor
- More unsalted butter: For the frosting, use truly softened butter to avoid any lumps in your finished frosting
- Powdered sugar: Sifting this first prevents any lumpy spots in your otherwise silky smooth frosting
- Milk: Start with two tablespoons and add the third only if you need it to reach spreading consistency
- Food coloring and sprinkles: These are completely optional but make the bars look festive for any celebration
Instructions
- Preheat and prepare your pan:
- Set your oven to 350°F and line a 9x13-inch pan with parchment paper, letting the ends hang over the sides so you can lift the whole thing out later like a magic trick.
- Cream the butter and sugar:
- Beat the softened butter and granulated sugar together for a full 2 to 3 minutes until the mixture looks pale and fluffy, which creates those airy pockets that make the bars tender.
- Add the egg and vanilla:
- Crack in the egg and pour in the vanilla, then beat until everything is thoroughly combined and the mixture looks smooth and glossy.
- Whisk the dry ingredients:
- In a separate bowl, stir together the flour, baking powder, and salt so they are evenly distributed before you add them to the wet ingredients.
- Combine the dough:
- Gradually mix the dry ingredients into the butter mixture, stopping as soon as the flour streaks disappear because overmixing will make your bars tough instead of tender.
- Press into the pan:
- Use clean hands or the back of a measuring cup to press the dough evenly into the prepared pan, getting into all the corners for uniform bars.
- Bake until just set:
- Bake for 18 to 20 minutes until the edges are barely golden and the center looks set, then remove immediately because they continue cooking in the hot pan.
- Make the frosting:
- Beat the softened butter until creamy, then gradually add the powdered sugar while pouring in the milk until you have a fluffy spreadable frosting.
- Finish the frosting:
- Stir in the vanilla and a pinch of salt, then add food coloring if you want something colorful, beating until completely smooth.
- Frost and cut:
- Spread the frosting evenly over the completely cooled bars, add sprinkles if desired, then use the parchment paper to lift them out and slice into 24 squares.
 Pin it
 These became our go-to dessert for every school function and office party after I brought them to my daughter's kindergarten class. The teacher asked for the recipe before the last crumb had even been eaten, and now I see them at almost every class celebration, always brought by someone who swears they got the recipe from me.
Making Them Ahead
You can bake the cookie bars up to two days in advance and store them tightly wrapped at room temperature. Wait to frost them until the day you plan to serve them because the frosting makes the bars soften over time, which is actually wonderful but changes the texture slightly.
Customizing the Flavor
My friend adds lemon zest to the dough and almond extract to the frosting for a bright, summery version that tastes like sunshine. The citrus cuts through all that buttery richness and makes these feel a bit lighter, perfect for outdoor gatherings.
Serving Suggestions
These bars are incredibly forgiving and can be served slightly warm, at room temperature, or even chilled from the refrigerator. The cold version has a denser, fudgier texture that some people actually prefer, especially on hot summer days.
- Cut them smaller for a large crowd because they are quite rich
- Serve with coffee or milk to balance all that sweetness
- Store them in the refrigerator during warm weather to keep the frosting firm
 Pin it
 There is something so comforting about a dessert that does not pretend to be fancy but still disappears from the plate faster than anything else. These sugar cookie bars are exactly that kind of treat.
Recipe FAQs
- → Can I make sugar cookie bars ahead of time?
-
Yes, bake the bars up to two days before serving. Store unfrosted bars tightly wrapped at room temperature. Frost on the day you plan to serve them for the freshest taste and texture.
- → Why did my bars turn out hard?
-
Overbaking is the most common cause. Remove from the oven when edges are lightly golden and the center appears set—the bars continue firming as they cool. Using a kitchen timer helps ensure perfect results every time.
- → Can I freeze these bars?
-
Absolutely. Wrap unfrosted bars tightly in plastic and foil, then freeze for up to three months. Thaw overnight at room temperature before frosting. For convenience, freeze already-frosted bars in single layers with parchment between each.
- → How do I get clean cuts?
-
Let the frosted bars chill in the refrigerator for at least 30 minutes before slicing. Use a sharp knife wiped clean between cuts. The cold frosting and set cookie base will cut neatly into perfect squares.
- → Can I double this batch?
-
Yes, simply double all ingredients and bake in two separate 9x13-inch pans. Avoid overcrowding a single pan, which affects baking time and texture. The dough can also be pressed into a larger pan, though you may need to adjust the baking time slightly.
- → What's the best way to store leftovers?
-
Store in an airtight container at room temperature for up to three days. The frosting forms a protective layer that keeps the bars moist. For longer storage, refrigerate for up to one week—bring to room temperature before serving for the softest texture.
