
 Pin it
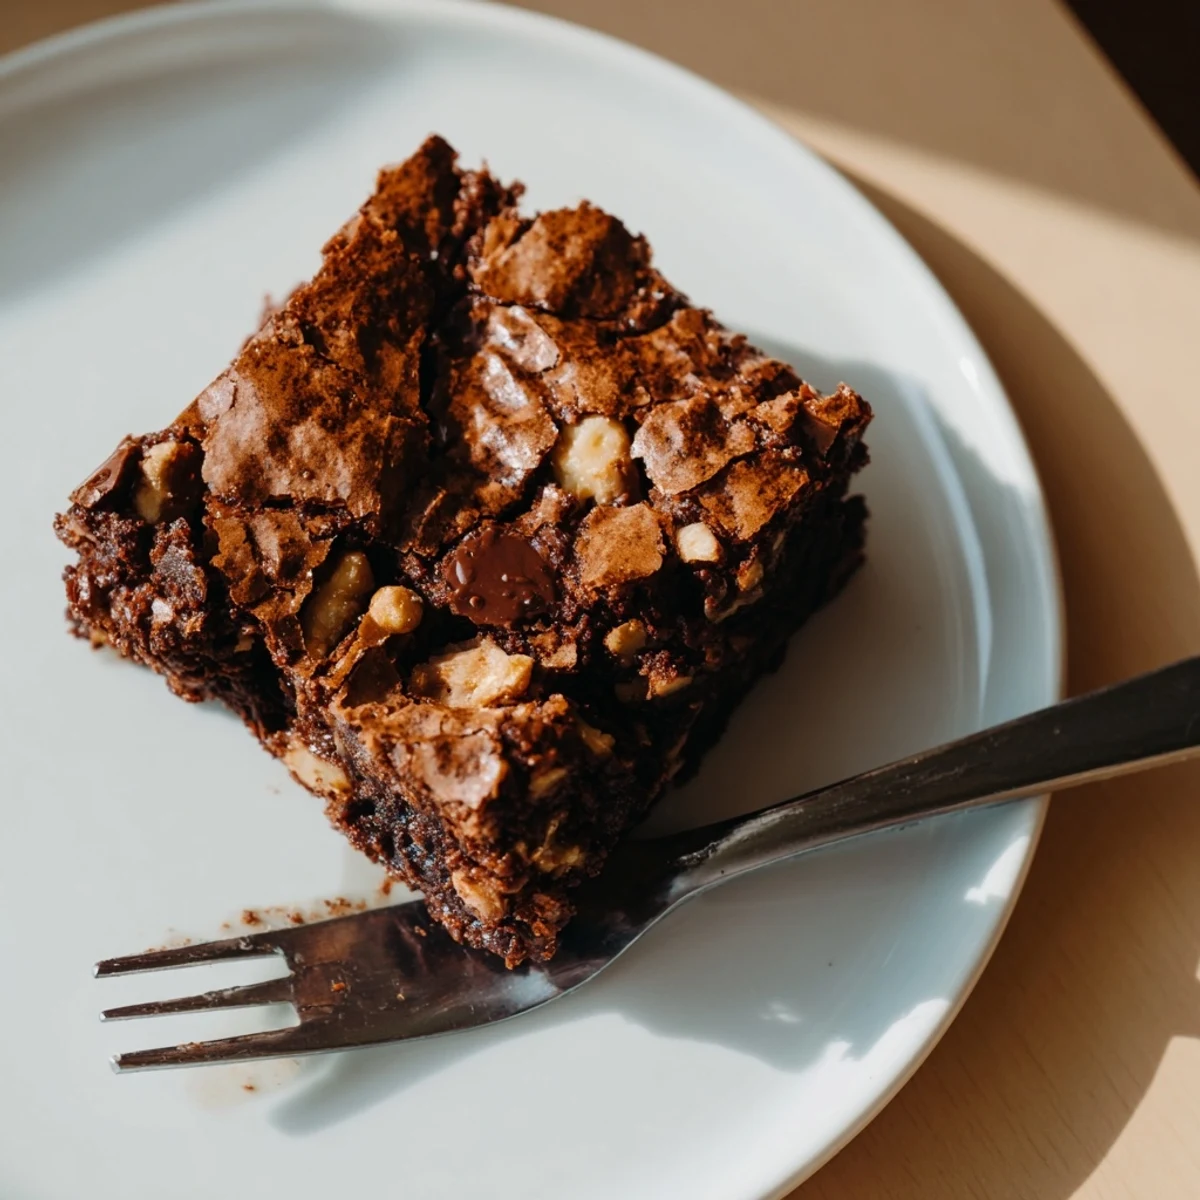
 These ultimate brownies deliver everything you want: a shiny crackly top, an incredibly fudgy center, and deep chocolate flavor in every bite. Made by melting semisweet chocolate and butter together, then folding in a simple blend of sugars, eggs, flour, and cocoa powder, they come together in just 20 minutes of prep.
Baked until just set with moist crumbs, they're perfect on their own or served warm with vanilla ice cream. Add walnuts, pecans, or extra chocolate chips to customize them to your taste.
The apartment smelled like a chocolate factory had collided with a butter factory, and honestly, that was the moment I knew I had cracked the code on brownies after years of disappointingly cakey attempts.
I brought a pan of these to a friends potluck once and someone actually hid a few squares in their coat pocket before leaving, which remains the highest compliment my baking has ever received.
Ingredients
- Semisweet chocolate (200 g): Use good quality chocolate here because it is the backbone of every single flavor in this recipe.
- Unsalted butter (120 g): Cutting it into pieces helps it melt evenly with the chocolate so nothing scorches.
- Granulated sugar (250 g): This dissolves into the warm batter and helps create that beautiful shiny crust.
- Brown sugar (50 g): A small amount adds molasses warmth and keeps the center extra fudgy.
- Eggs, 3 large, room temperature: Room temperature eggs incorporate more smoothly and help build that glossy, thick batter.
- All-purpose flour (100 g): Measure by weight if you can because even a little extra flour turns fudgy into cakey.
- Unsweetened cocoa powder (30 g): This intensifies the chocolate flavor without adding more fat or sweetness.
- Baking powder (1/2 tsp): Just a touch gives the brownies a slight lift without making them spongy.
- Salt (1/2 tsp): Salt makes chocolate taste more like itself, never skip it.
- Chopped walnuts or pecans (100 g, optional): Toasted nuts add a welcome crunch against all that richness.
- Chocolate chips (100 g, optional): Double the chocolate means pockets of melted goodness in every bite.
Instructions
- Get your oven and pan ready:
- Preheat to 175 degrees Celsius (350 degrees Fahrenheit) and line a 23 cm square pan with parchment, leaving overhang on two sides so you can lift the whole slab out later.
- Melt the chocolate and butter:
- Set a heatproof bowl over simmering water and stir the chocolate and butter together until smooth and glossy, then pull it off the heat to cool slightly.
- Whisk in the sugars:
- Pour in both sugars and whisk until everything is combined and the mixture looks like dark velvet.
- Add the eggs one by one:
- Drop in an egg, whisk until it disappears, then repeat with the next one until the batter turns thick, shiny, and slightly proud of itself.
- Fold in the dry ingredients:
- Sift the flour, cocoa powder, baking powder, and salt directly into the bowl, then fold gently with a spatula until just incorporated.
- Stir in any extras:
- If you are using nuts or extra chocolate chips, fold them in now with just a few strokes so you do not deflate what you just built.
- Pour and smooth:
- Scrape every last bit of batter into your prepared pan and use the spatula to nudge it into the corners and smooth the top.
- Bake and watch closely:
- Bake for 28 to 32 minutes, checking at the 28 minute mark because the center should be just set with a few moist crumbs on a toothpick.
- Cool completely before cutting:
- Let the pan sit on a wire rack until completely cool, then use the parchment overhang to lift the slab out and cut into 12 squares.
 Pin it
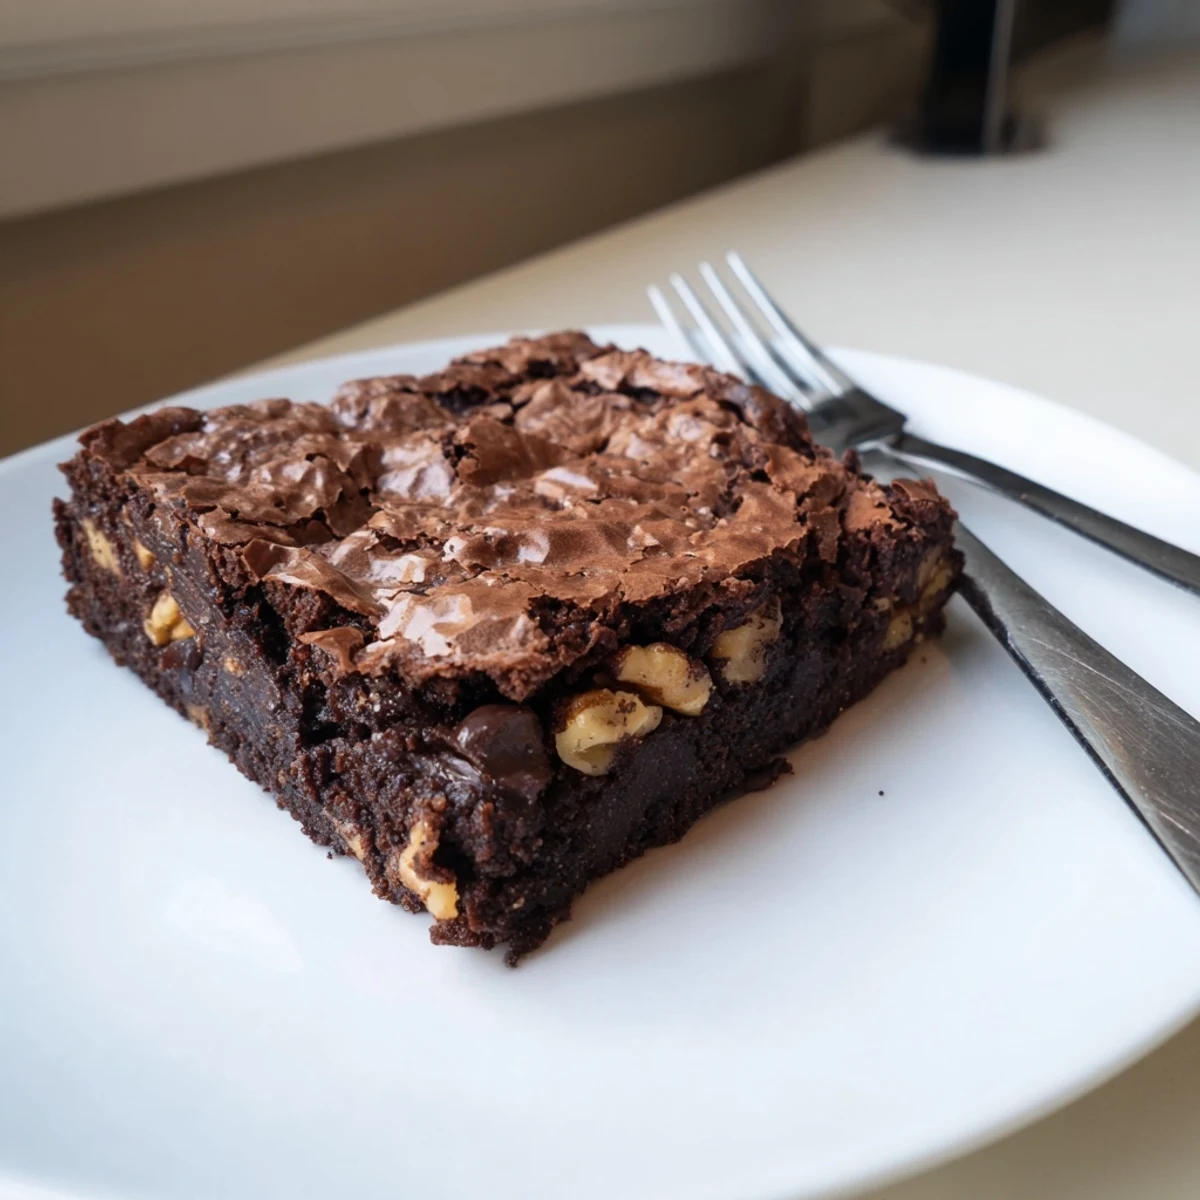
 There is something quietly powerful about a square of homemade brownie wrapped in wax paper, tucked into a lunchbox, waiting to surprise someone at noon.
Making Them Your Own
A teaspoon of instant espresso powder stirred into the melted chocolate does not make them taste like coffee, it just makes the chocolate taste deeper and more dramatic.
Serving Ideas Worth Trying
Warm a square for ten seconds in the microwave and set a scoop of vanilla ice cream on top so it slowly collapses into the brownie like a tiny, personal volcano.
Storing and Sharing
These keep beautifully in an airtight container at room temperature for four days, though in my experience they rarely last that long.
- Freeze individually wrapped squares for up to three months and thaw at room temperature when a craving hits.
- Double the recipe and bake in a larger pan if you are feeding a crowd, just watch the baking time.
- Always cut with a sharp knife wiped clean between each slice for neat, bakery style edges.
 Pin it
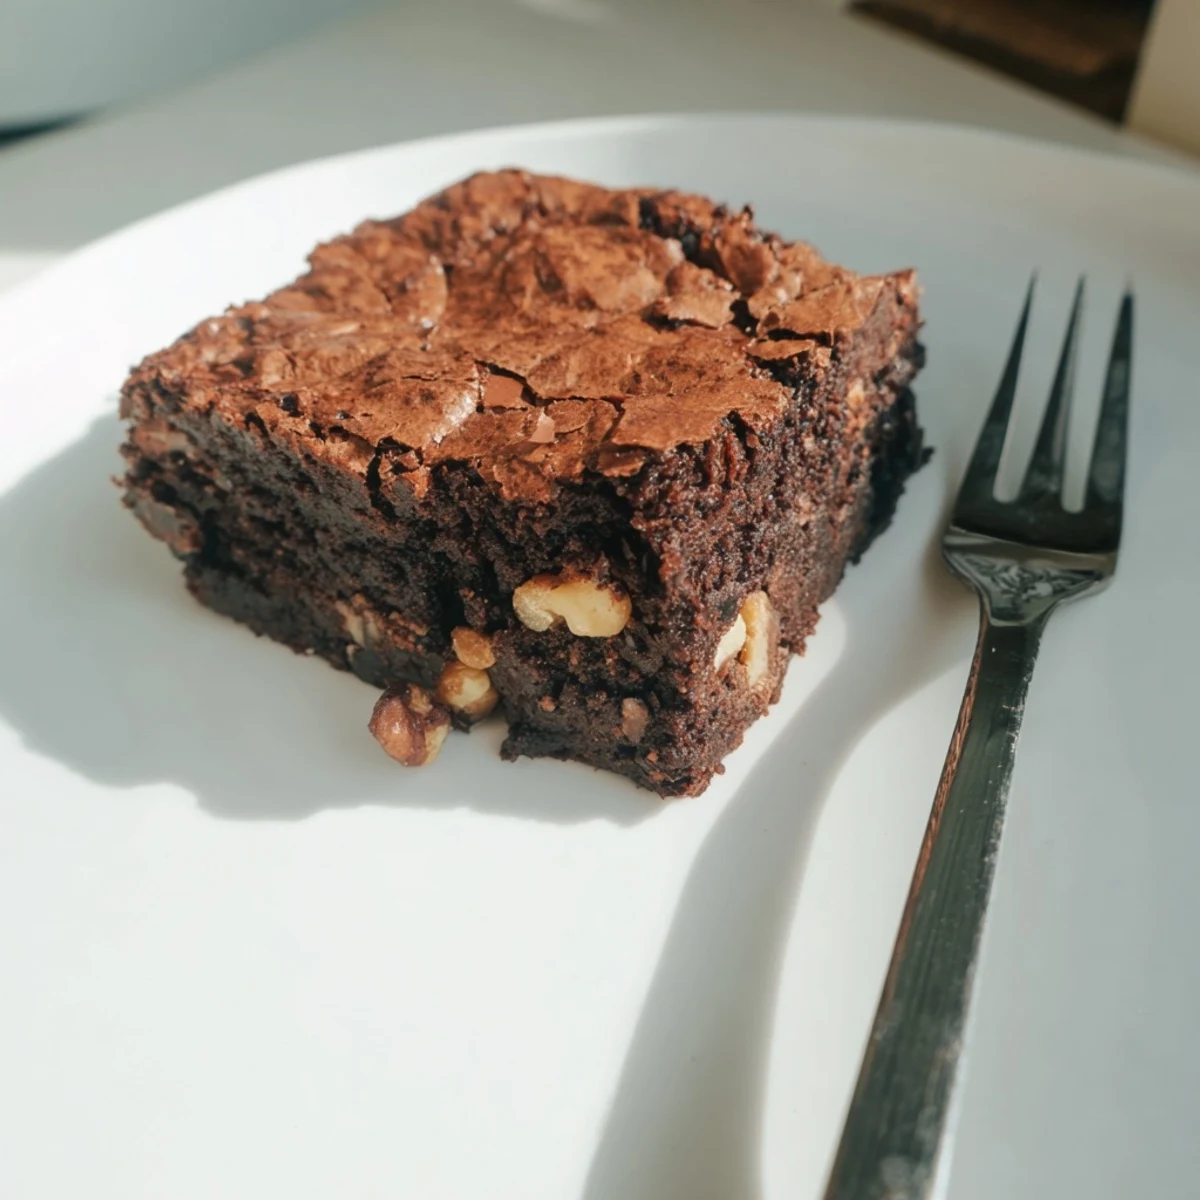
 Every batch teaches you something small, and that is the real joy of brownies, they forgive your imperfections and still come out unforgettable.
Recipe FAQs
- → How do I get a crackly top on brownies?
-
The crackly top comes from whisking the eggs and sugar thoroughly until the batter becomes glossy and thick. Melting the chocolate and butter together properly also helps create that signature shiny crust.
- → Can I make brownies without a double boiler?
-
Yes, you can melt the chocolate and butter in the microwave in 30-second intervals, stirring between each one until smooth. Just be careful not to overheat or the chocolate may seize.
- → Why did my brownies turn out cakey instead of fudgy?
-
Cakey brownies usually result from overmixing the batter or overbaking. Fold the dry ingredients gently until just incorporated, and check the brownies at the minimum baking time—a toothpick should come out with moist crumbs, not clean.
- → How should I store leftover brownies?
-
Store brownies in an airtight container at room temperature for up to 4 days. You can also refrigerate them for up to a week or freeze individually wrapped pieces for up to 3 months.
- → Can I add espresso powder to enhance the chocolate flavor?
-
Absolutely—adding one teaspoon of instant espresso powder to the batter intensifies the chocolate flavor without making the brownies taste like coffee. It's a simple trick that makes a noticeable difference.
- → What's the best way to cut brownies cleanly?
-
Let the brownies cool completely in the pan, then lift them out using the parchment overhang. Use a sharp knife wiped clean between each cut for neat, clean squares.