 Pin it
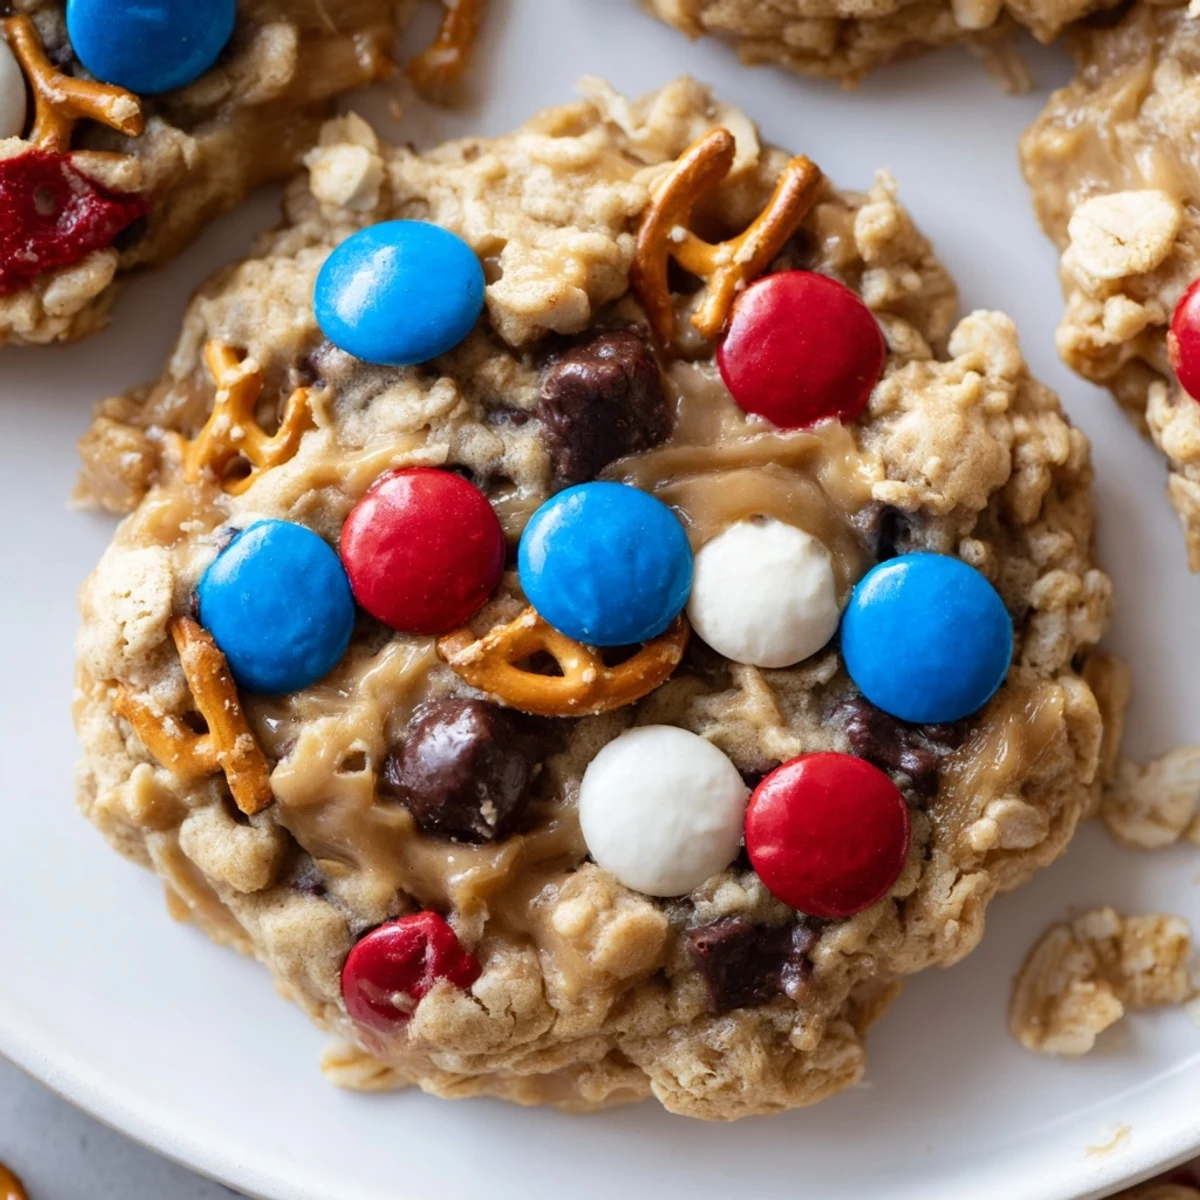
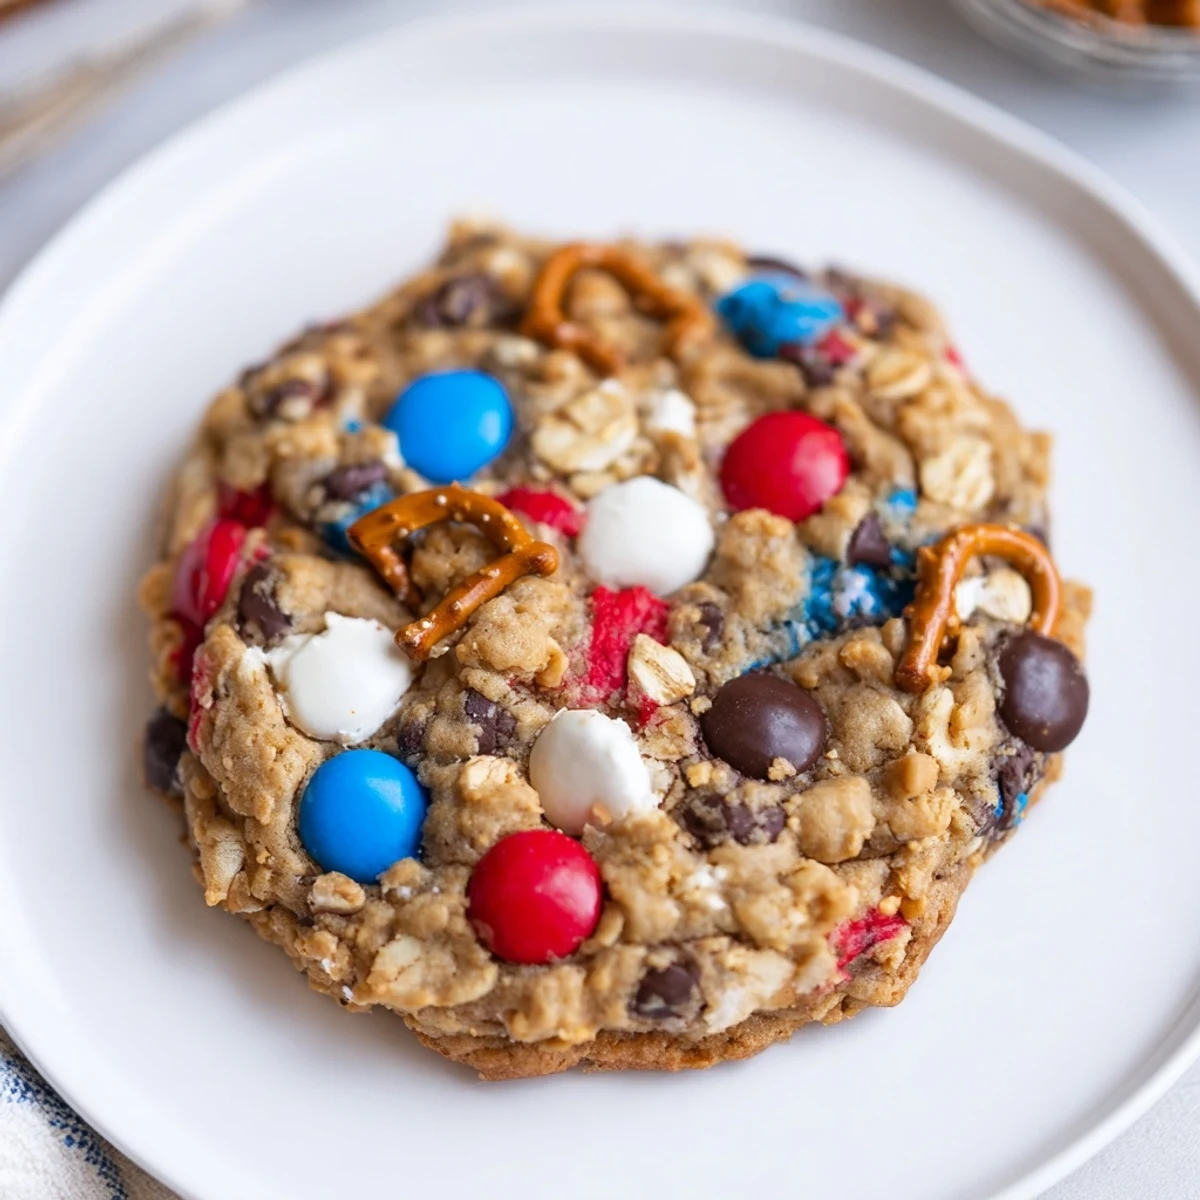
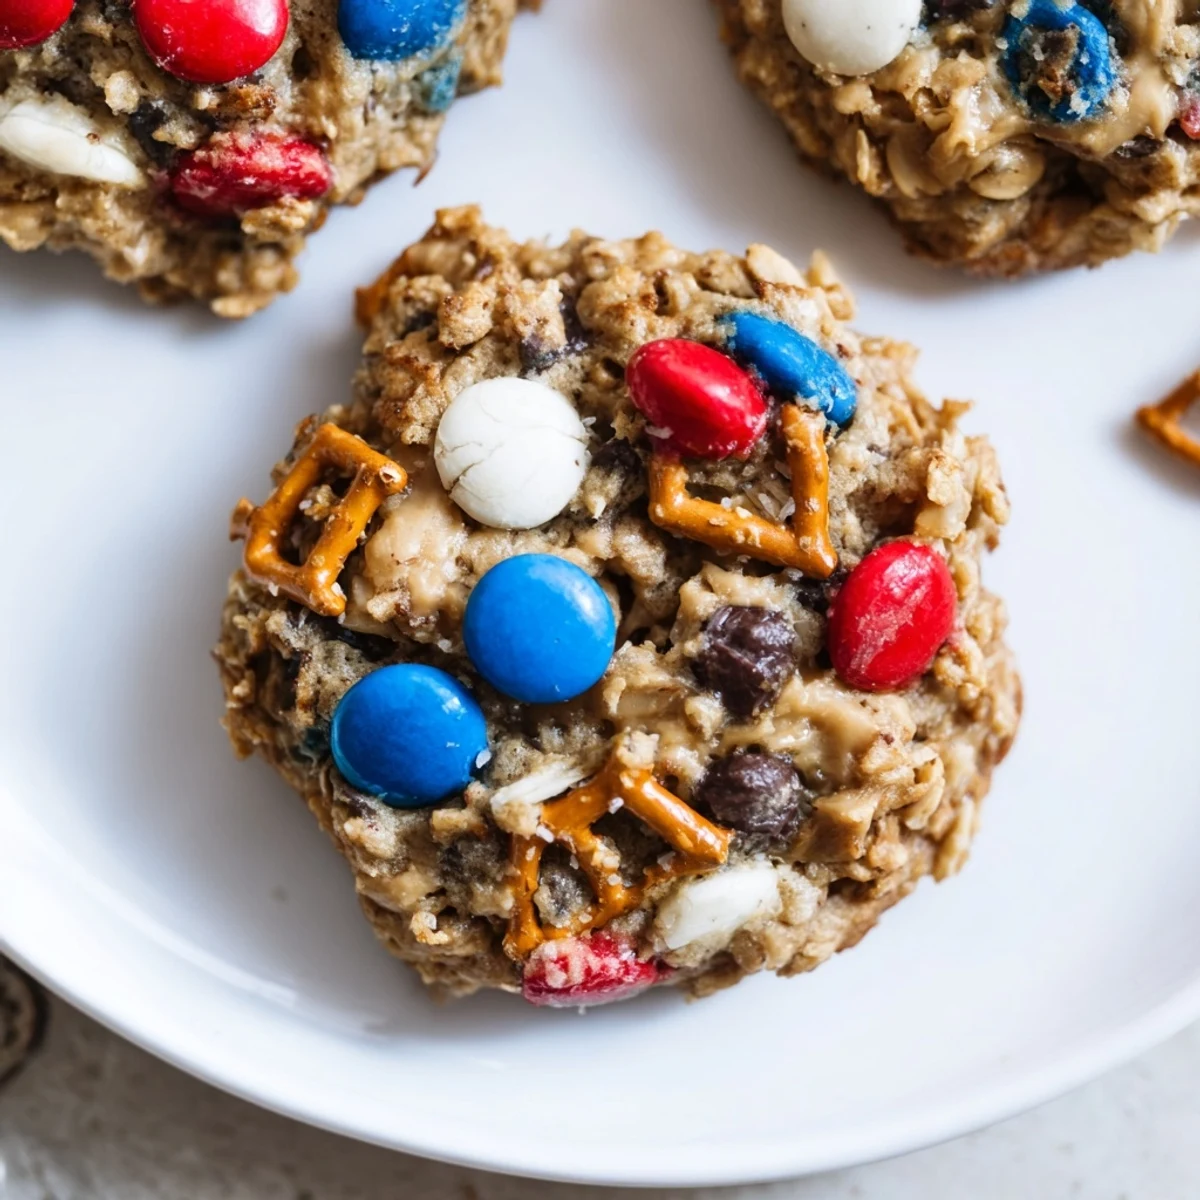
 These chewy, patriotic monster cookies start by creaming butter with granulated and brown sugar, then adding creamy peanut butter and eggs. Fold in oats, flour, baking soda and salt, then stir in chocolate chips, red-white-and-blue candies and optional crushed pretzels. Scoop onto parchment-lined sheets and bake 10-12 minutes at 350°F until edges are set. Cool on the sheet for best chew; yields about 24 cookies.
When the summer heat had us all retreating indoors for games and laughter, these Patriotic Monster Cookies first made their mark in my kitchen. Music was playing, someone was always sneaking tastes of dough, and a smudge of red candy dust somehow found its way onto the countertop. If you've ever felt the urge to make dessert just a bit more joyful, these colorful cookies are the answer. Not just for holidays—they add a cheerful burst to even the gloomiest days.
I’ll never forget baking a double batch for the neighborhood block party and having kids parade through the door, each searching for the cookie with the most mile-high candies on top. My apron was dusted in flour, the oven timer chimed in the midst of a story, and somehow—despite all distractions—not a single cookie burned. That late afternoon, these treats caused more grins than the fireworks themselves.
Ingredients
- Unsalted Butter: Set it on the counter an hour before baking for a softer, fluffier dough.
- Granulated Sugar: Gives these cookies structure and that slight crisp edge.
- Light Brown Sugar: Brown sugar’s touch of molasses makes everything taste richer and chewier.
- Creamy Peanut Butter: Smooth peanut butter lets all the ingredients meld together—make sure to stir it well if it's natural!
- Eggs: Adding them one at a time always keeps the dough velvety and light.
- Vanilla Extract: A lean teaspoon makes the difference—don’t skip it.
- Old-Fashioned Oats: I like how oats give these cookies a hearty, nubbly texture that never feels heavy.
- All-Purpose Flour: Classic for cookie chew—measure carefully for best texture.
- Baking Soda: A gentle lift, perfectly subtle.
- Salt: This tiny pinch keeps sweetness from being one-note.
- Red, White, and Blue Chocolate Candies: Stir these in gently to avoid smearing the colors—and reserve a few for dotting the tops before baking.
- Semisweet Chocolate Chips: I sometimes toss in a few extra for good measure—there's no such thing as too much chocolate.
- Mini Pretzels (optional): Crush them just before adding so they stay crunchy and bring that irresistible salty surprise.
Instructions
- Get Everything Ready:
- Set the oven to 350°F and line baking sheets with parchment—this step always makes cleanup easier, especially when candies roll astray.
- Cream the Butters and Sugars:
- Using the mixer, beat softened butter, granulated sugar, and brown sugar until the mixture turns lightly fluffy and pale—if you hear the sugars crunching, keep going a tad longer.
- Add Peanut Butter and Eggs:
- Spoon in creamy peanut butter, mixing until combined, then add eggs one after another, beating well so the dough never seizes up. Pour in vanilla for a whiff of warmth.
- Combine the Dry Ingredients:
- In a separate bowl, whisk together oats, flour, baking soda, and salt—touch the oats and feel their comfortingly rough edges for the right kind.
- Mix It All Together:
- Gradually add dry ingredients to the wet mixture, mixing slowly to avoid flour clouds. Scrape the sides so not a fleck of flour is forgotten.
- Stir In Candy and Extras:
- Fold in chocolate candies, chocolate chips, and pretzels just until you spot bits in every scoop—pause here to let someone sneak a bite if they must.
- Scoop and Space:
- Drop rounded tablespoons of dough onto the parchment, leaving good space between each mound for epic cookie spread.
- Bake to Gold:
- Slide into the oven and bake about 10–12 minutes—look for golden edges but soft centers. The aroma will tell you before the timer does.
- Cool and Enjoy:
- Let the cookies rest on the sheets for 5 minutes, then move to a rack so they firm up just right—resist the urge to eat them hot to preserve their shape.
 Pin it
 There was a time when these cookies became the token peace offering at a tense family game night—one plate, three generations, and suddenly no one cared about the score anymore. They’ve quietly mended more than one ruffled feather in my kitchen.
Tips for Colorful Success
If your candies start melting in streaks, gently fold them in at the last moment and don't overmix the dough. Pressing the extras on top guarantees every cookie gets its bold, festive finish. This tiny swoop of your hand makes all the difference for the look and mood of the plate.
Making Them Allergy-Friendly
When my friend needed gluten-free cookies, I swapped out the usual flour and oats for their gluten-free counterparts, and nobody could tell. Dairy-free butter and allergy-friendly candies also work well—trust me, no one will feel left out. Always check your chocolate chips and candies for sneaky allergens.
Baking with Kids or for a Crowd
Handing over the candy bowl to a little helper almost always leads to playful mishaps and colorful counters, but it’s worth it for the giggles. Scooping dough is a prime moment to let everyone shape their own, and should you make a double batch, they freeze beautifully for surprise visits.
- Sneak a few candies for decoration before the tray goes in the oven.
- Rotate the baking sheet halfway if your oven runs hot on one side.
- Once cool, store cookies in an airtight container to preserve their chewy soul.
 Pin it
 Let these cookies turn any day into a low-key celebration. Share a plate and watch the room brighten, no matter the holiday or the weather.
Recipe FAQs
- → How do I get a chewier texture?
-
Underbake slightly and allow the cookies to cool on the baking sheet for 5–10 minutes before transferring to a rack. Using a higher ratio of oats and a mix of brown and granulated sugar also helps retain moisture and chew.
- → Can I swap the peanut butter?
-
Yes — almond or sunflower seed butter can be used at a 1:1 ratio. Texture and flavor will change slightly; sunflower seed butter is a good allergen-friendly option but may brown faster during baking.
- → How can I prevent excessive spreading?
-
Chill the dough for 20–30 minutes before scooping, use slightly firmer dough, and avoid overcreaming the butter and sugars. Baking on well-chilled sheets can also limit spread.
- → Are there simple gluten-free swaps?
-
Use certified gluten-free oats and replace the all-purpose flour with a 1:1 gluten-free flour blend that contains xanthan gum. Expect a slightly different crumb but similar chewiness.
- → What’s the best way to store them?
-
Store cooled cookies in an airtight container at room temperature for up to 4 days. For longer storage, freeze baked cookies between sheets of parchment in a sealed container for up to 3 months.
- → Can I freeze the dough?
-
Yes. Scoop dough onto a tray, freeze until firm, then transfer portions to a sealed bag. Bake frozen dough adding 1–2 extra minutes to the baking time; this preserves shape and freshness.
