 Pin it
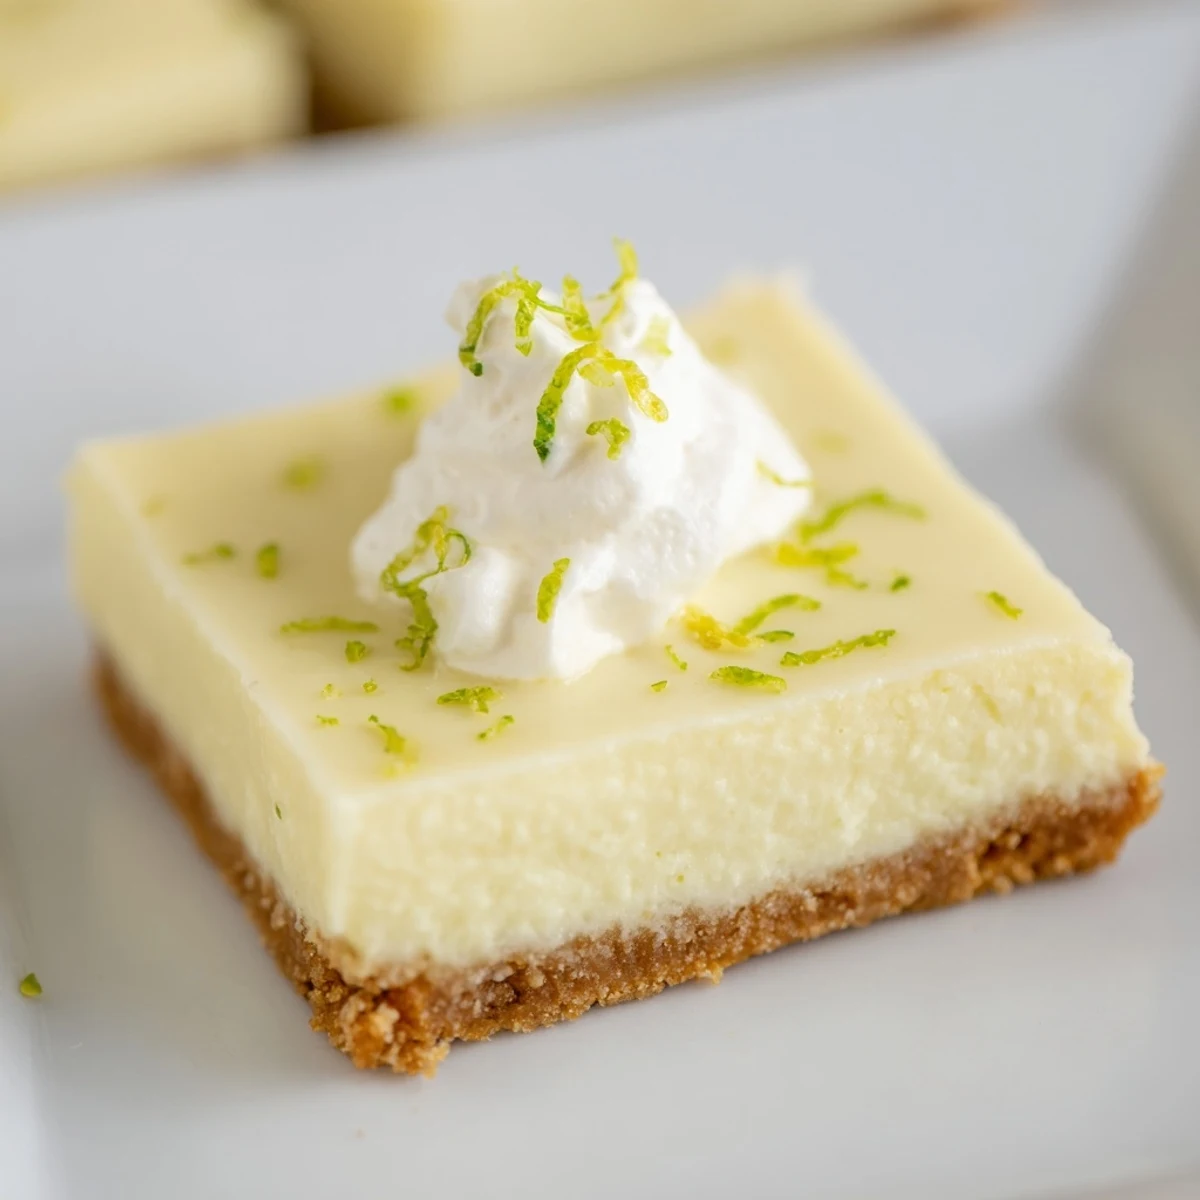
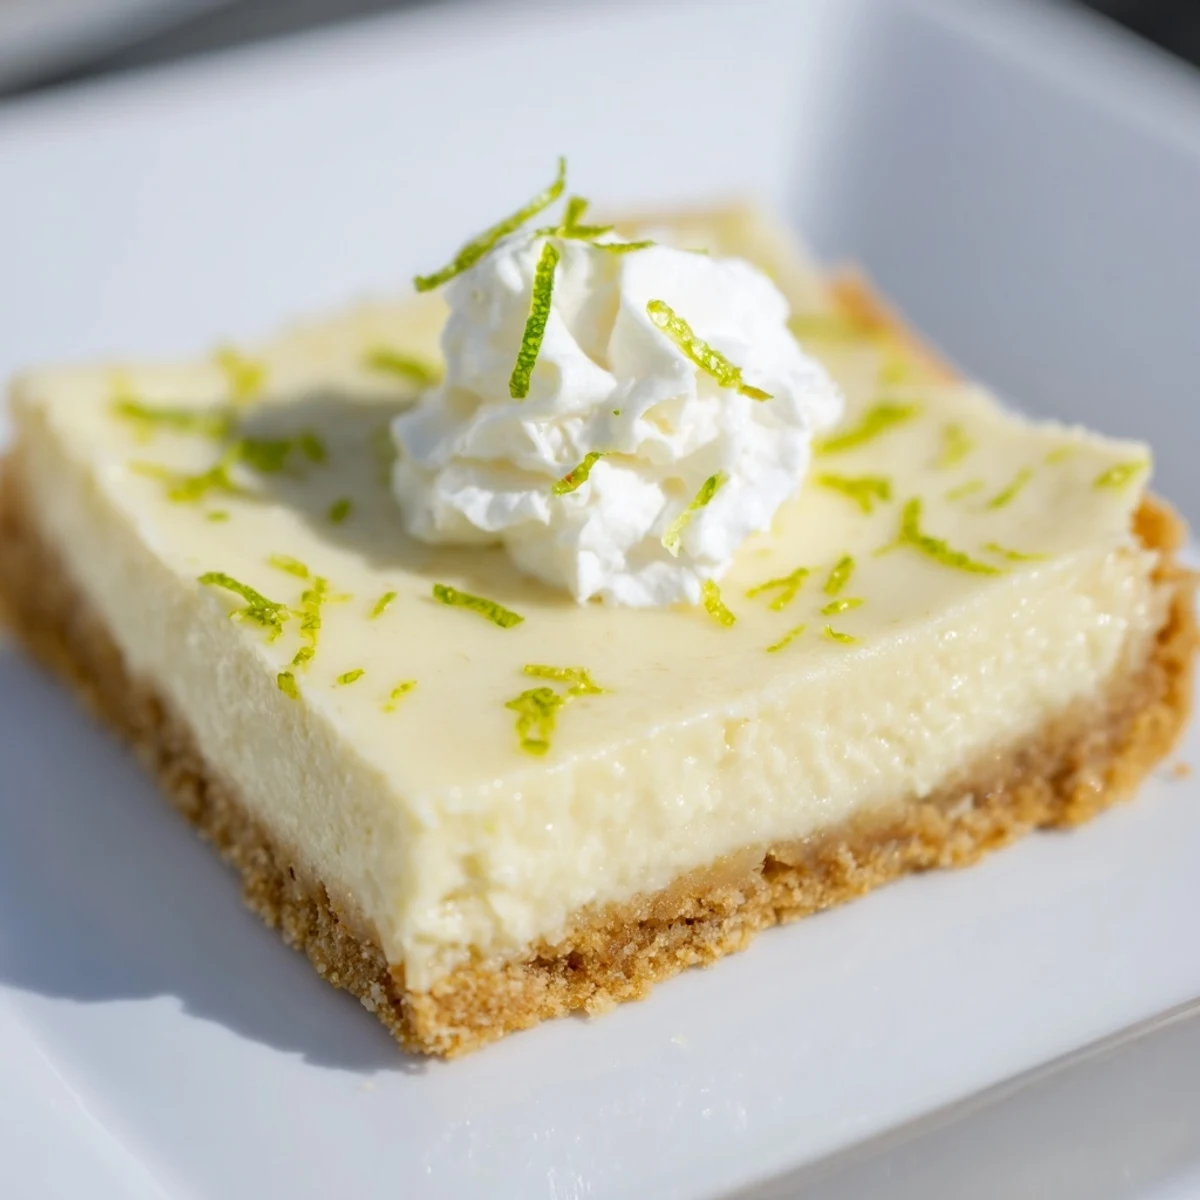
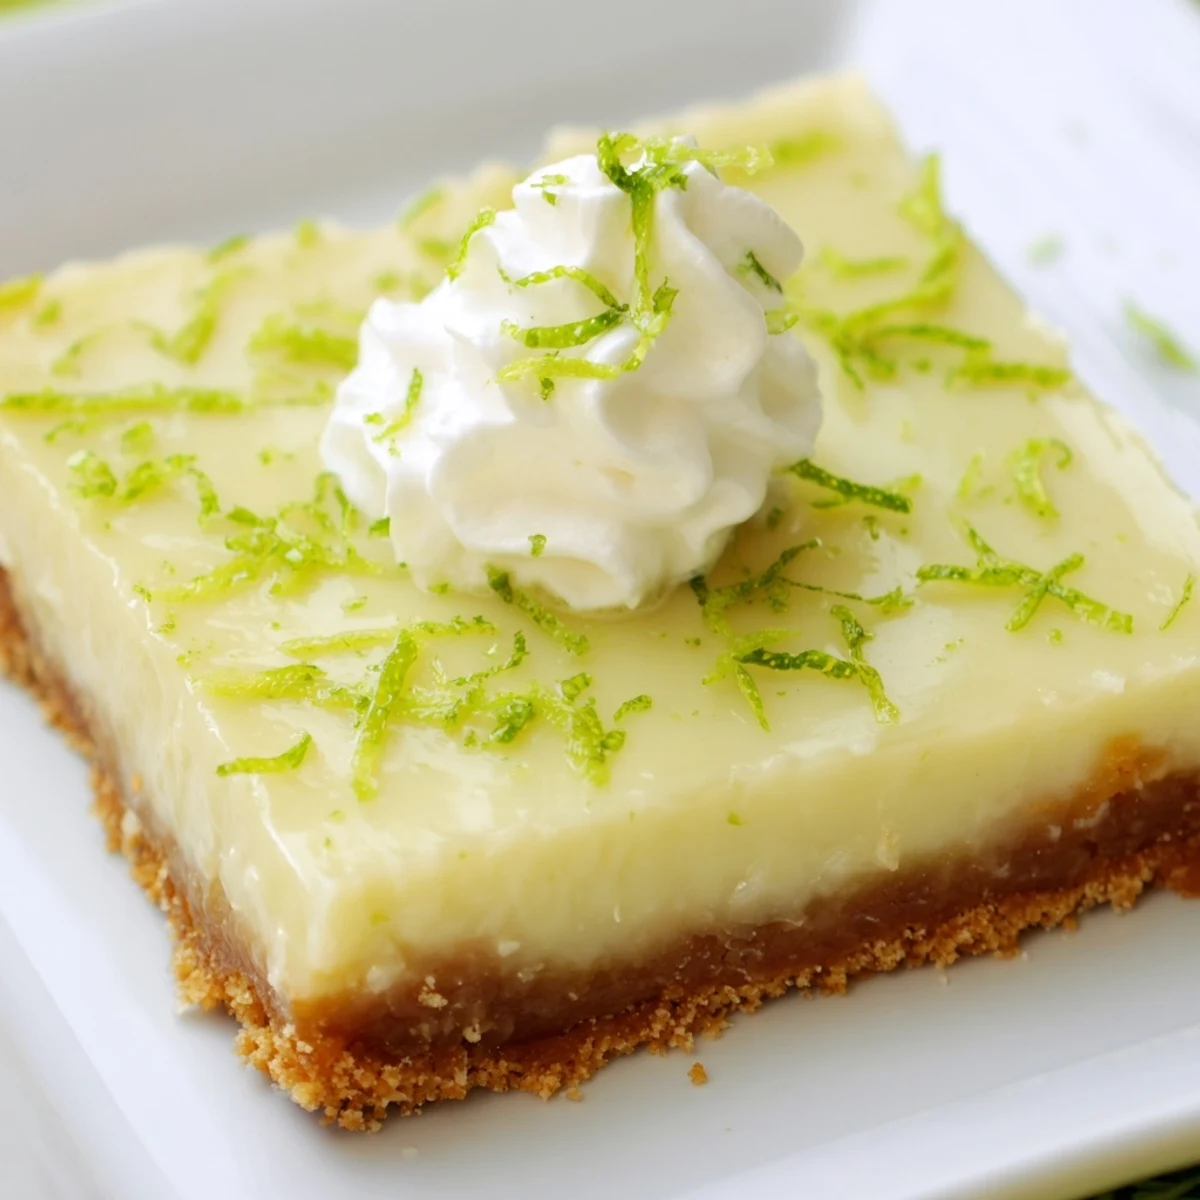
 These tangy lime bars combine a creamy, citrus filling with a buttery graham cracker crust for a delightful balance of flavors and textures. The crust is baked until golden and firm, providing a sturdy base for the smooth lime filling, which is baked briefly to set. After chilling, the bars are cut into squares and can be garnished with whipped cream and lime zest for added freshness. Perfect for warm-weather treats or casual get-togethers, these bars offer bright, refreshing flavors with simple preparation.
The first time I made these bars, it was for a summer potluck where everyone brought something overwhelmingly chocolate. I wanted something that would make people sit up and take notice, something bright and unexpected. Watching friends take that first bite, their eyes widening at the shock of tart lime cutting through all that richness, I knew I'd found a keeper. Now they're the dessert I turn to whenever I need to wake up a tired menu.
I once made these for my dad's birthday, and he called me three days later asking if there were any left. The man had never voluntarily cooked anything more complicated than toast in his life. But he went out and bought a springform pan just to try making them himself. That's the power of a really good key lime dessert—it turns non-bakers into people who suddenly care about zesting techniques.
Ingredients
- Graham cracker crumbs: Freshly crushing your own yields better texture than store-bought crumbs, which can taste stale
- Unsalted butter: Melt it completely so it coats every crumb evenly, creating that perfect sand-like texture that holds together when cut
- Egg yolks: Room temperature yolks incorporate more smoothly into the condensed milk, preventing any weird cooked egg bits in your filling
- Sweetened condensed milk: This magical ingredient does all the heavy lifting, providing sweetness, structure, and that impossibly creamy texture
- Fresh lime juice: Bottle juice simply doesn't have the same bright, floral complexity that fresh limes bring to the party
- Lime zest: The oils in the zest carry all the aromatic intensity, so don't skip this step even if you're in a hurry
Instructions
- Prep your pan like you mean it:
- Line that 8-inch square pan with parchment paper, leaving enough overhang on two sides to create handles. This is the difference between beautiful bars and a sad, stuck-together mess you have to dig out with a spoon.
- Build the foundation:
- Mix your crumbs, sugar, salt, and melted butter until it feels like wet sand. Press it into the pan firmly, using the bottom of a measuring cup to really compress it into an even layer. No thin spots or thick patches allowed.
- Give it a quick bake:
- Just 8 to 10 minutes at 350°F until you catch the barest hint of golden color. This step sets the crust so it doesn't turn soggy when the lime filling gets added later.
- Whisk up some magic:
- Beat those yolks and condensed milk until they're completely smooth and starting to look pale. Fold in your lime juice and zest, watching in amazement as the mixture thickens right before your eyes.
- Pour and bake again:
- Spread that gorgeous green filling over your cooled crust and slide it back into the oven for 15 to 17 minutes. The center should still have a slight wobble, like gelatin, when you gently shake the pan.
- Practice patience:
- Let them cool completely at room temperature, then refrigerate for at least 2 hours. Overnight is even better, allowing the flavors to deepen and the texture to set into that perfect creamy firmness.
- The grand finale:
- Use those parchment handles to lift the whole thing out of the pan. Cut into 16 squares with a sharp knife, wiping the blade clean between cuts for picture-perfect edges.
 Pin it
 These bars have become my go-to contribution to pretty much every gathering now. There's something magical about placing that platter on a table full of heavy, rich desserts and watching people gravitate toward the bright green squares first. They vanish faster than anything else I make, and I always leave with an empty container and requests for the recipe.
Getting The Perfect Cut
Run your knife under hot water for a few seconds before slicing, and wipe the blade clean between each cut. This simple trick gives you those clean, professional-looking edges that make people think you bought them from a bakery. A little extra effort, but the presentation upgrade is worth it.
Making It Your Own
I've experimented with adding a thin layer of whipped cream on top before serving, and while it's delicious, these bars are actually perfect on their own. The contrast between the tangy filling and sweet-salty crust needs no enhancement. Sometimes the simplest execution yields the most impressive results.
Storage Success
These bars must be stored in the refrigerator, tightly covered to prevent them from absorbing any fridge odors. The lime flavor stays bright and the texture remains perfect for up to four days, though I've never personally had them last that long.
- Place a piece of wax paper between layers if you need to stack them
- Let them sit at room temperature for about 10 minutes before serving for the ideal texture
- They freeze beautifully for up to a month if you want to get ahead on dessert prep
 Pin it
 Whether it's a summer barbecue, winter holiday gathering, or just a Tuesday night craving a little something special, these bars deliver every single time. Sometimes the most refreshing desserts are the ones we return to again and again.
Recipe FAQs
- → Can I use regular limes instead of key limes?
-
Yes, regular limes can be substituted with a similar zest and juice amount to maintain the citrus flavor.
- → How long should the bars chill before serving?
-
Chilling for at least 2 hours, preferably overnight, ensures the filling sets properly and the bars are firm.
- → Is it possible to make this crust gluten-free?
-
Using gluten-free graham crackers will create a gluten-free crust suitable for those with sensitivities.
- → What is the best way to remove the bars from the pan?
-
Using parchment paper with an overhang allows easy lifting and removal without damaging the bars.
- → Can the bars be stored and for how long?
-
Store refrigerated in an airtight container for up to 4 days to maintain freshness and texture.
