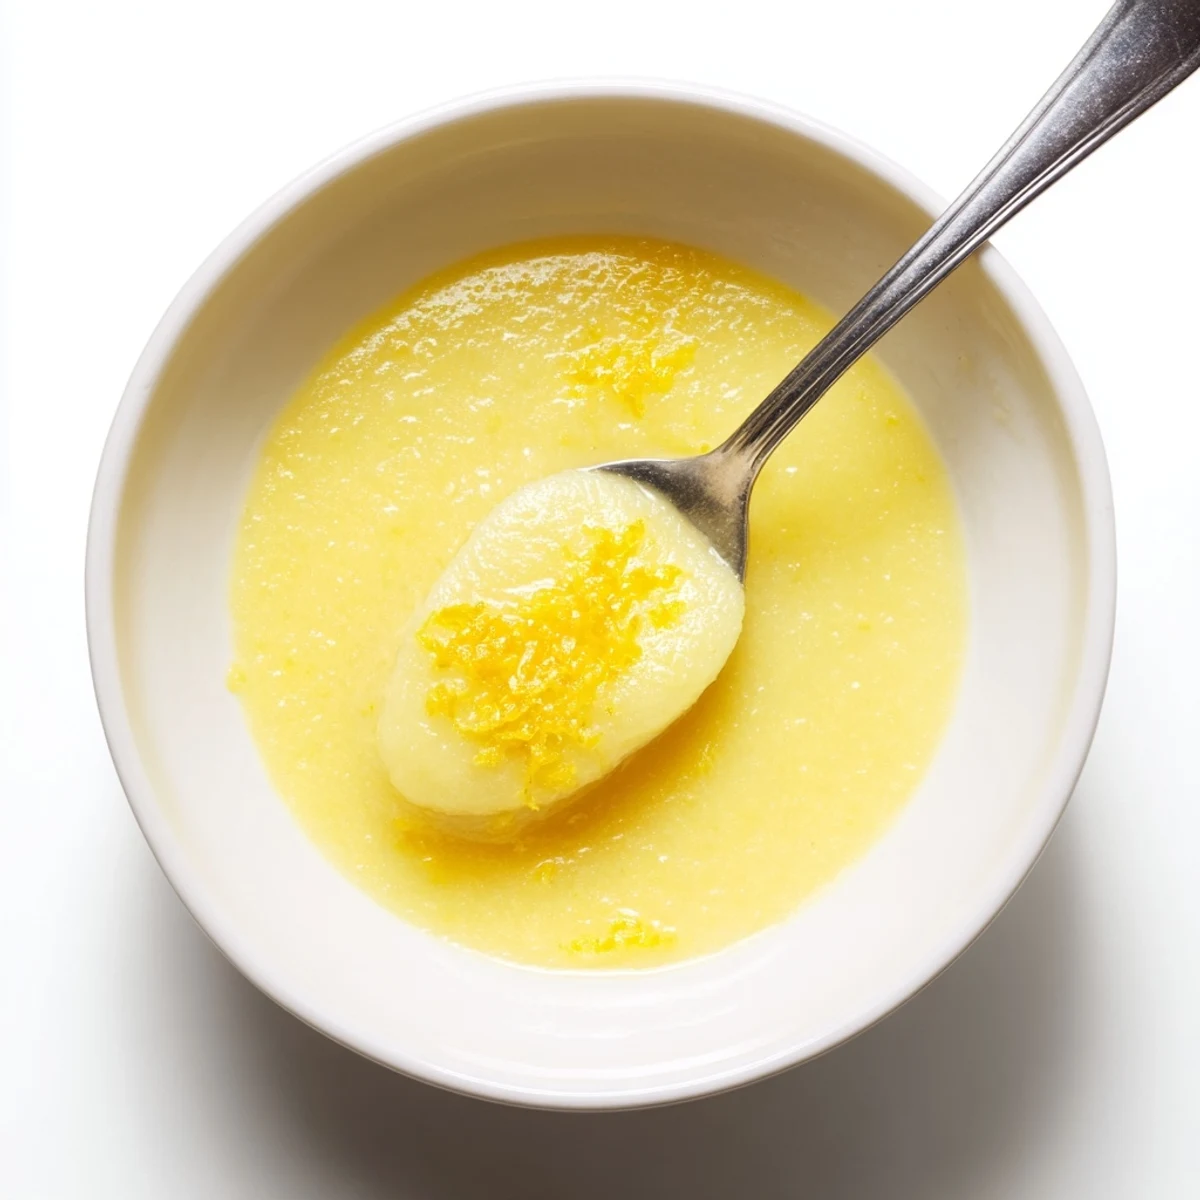
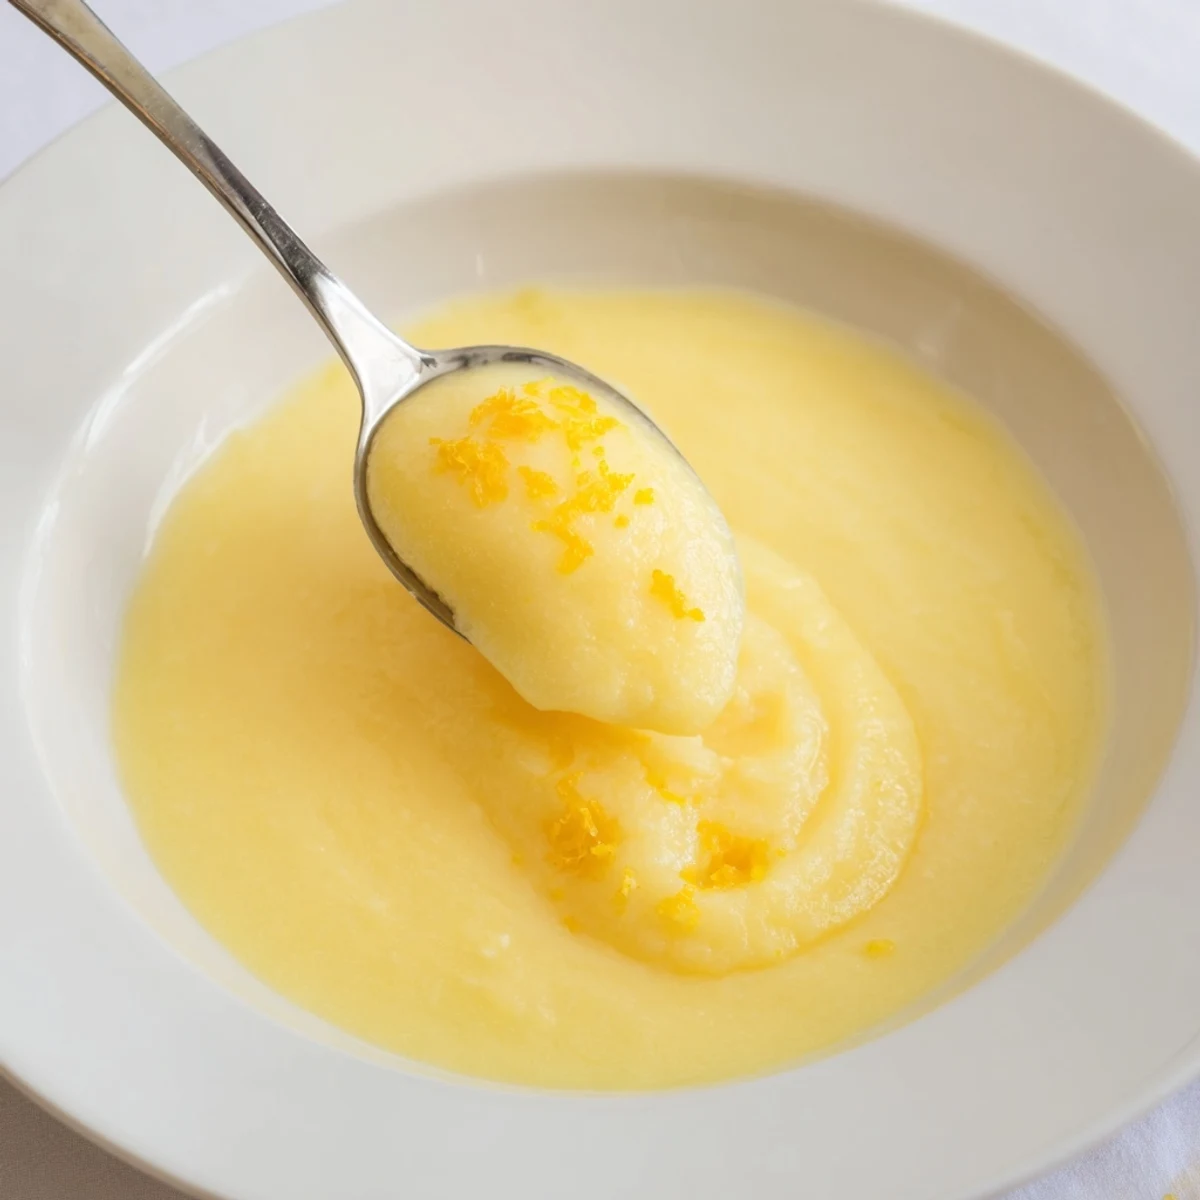
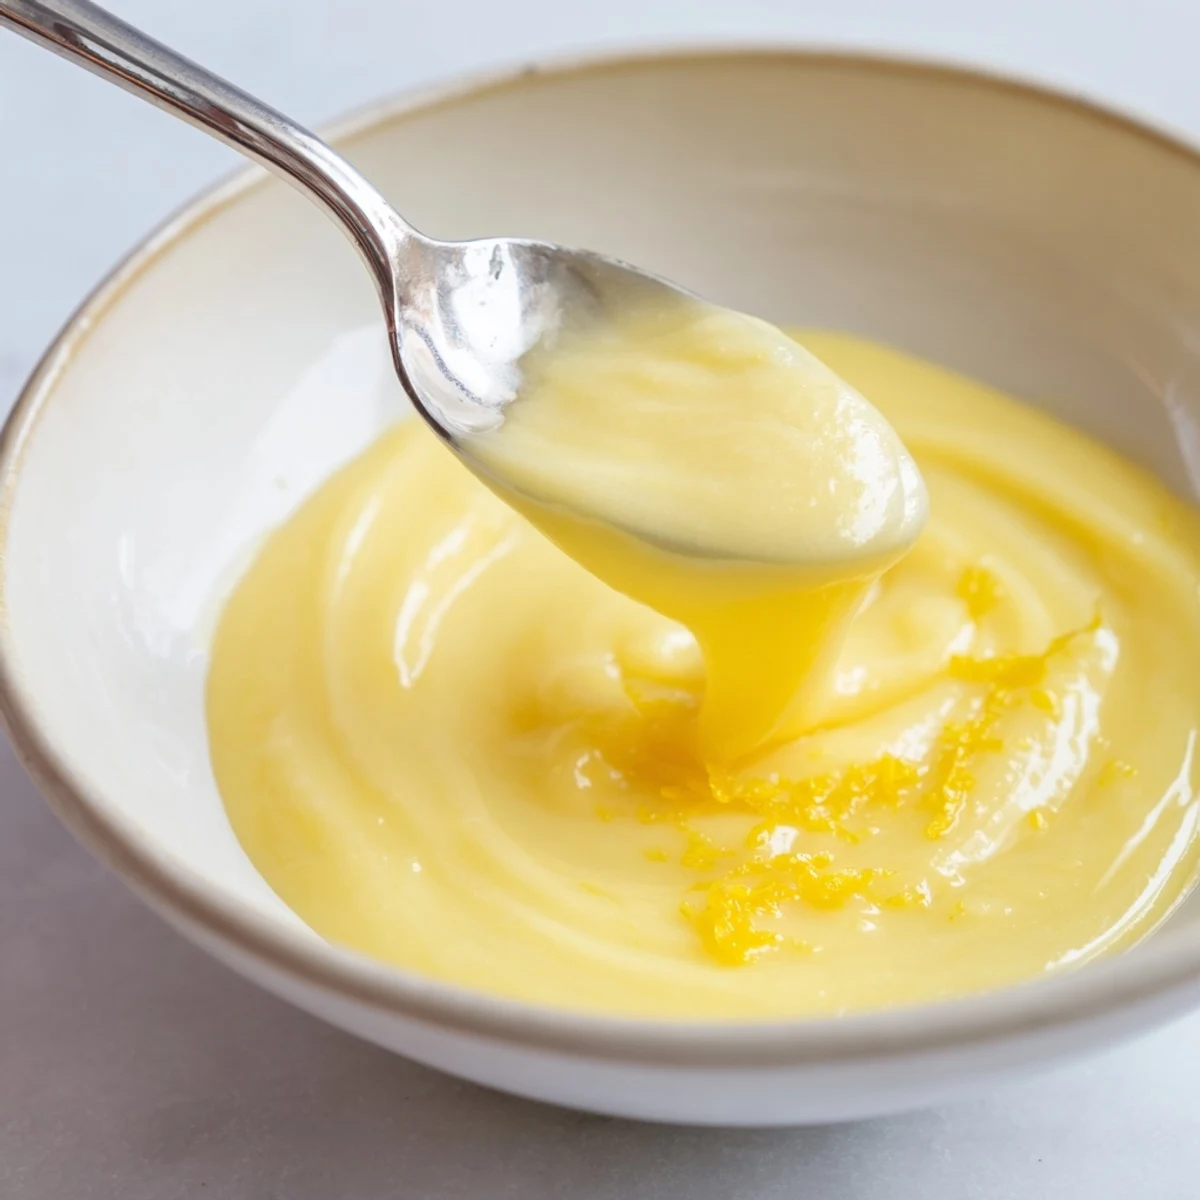
 Pin it
 Homemade lemon curd blends fresh lemon juice and zest with eggs, sugar and butter, cooked gently over a simmering water bath while whisking until it thickly coats a spoon. Strain for an ultra-smooth finish, press plastic onto the surface to prevent a skin, and chill at least 2 hours. Use extra yolks for richer texture; store in an airtight jar in the fridge up to two weeks.
The smell of lemons being zested has a way of taking over the entire kitchen, sharp and bright, like someone cracked open a window in the middle of winter. My first batch of lemon curd was a happy accident born from having too many lemons and no plan for them. I stood at the stove whisking away, skeptical that something so simple could turn into anything worth keeping. Twenty five minutes later I was eating it off a spoon standing at the counter, completely hooked.
I brought a jar of this to a friend who had just moved into a new apartment, surrounded by unpacked boxes and takeout containers. We sat on her kitchen floor and ate it with plain toast, and she laughed because it made even sad grocery store bread feel like something special.
Ingredients
- 3 large lemons (zest finely grated and juiced, about 120 ml juice): Room temperature lemons yield more juice, so take them out of the fridge ahead of time if you can.
- 115 g unsalted butter, cubed: Cubing the butter helps it melt evenly into the curd without leaving greasy streaks.
- 3 large eggs plus 1 large egg yolk: The extra yolk is what gives this curd its luxurious, silky texture.
- 200 g granulated sugar: This balances the tartness perfectly, but you can nudge it up or down depending on how bracing you like your curd.
Instructions
- Combine everything in a bowl:
- Whisk the eggs, egg yolk, sugar, lemon zest, and lemon juice together in a medium heatproof bowl until the mixture looks uniform and slightly frothy on top.
- Set up your double boiler:
- Place the bowl over a saucepan of gently simmering water, making sure the bottom of the bowl never touches the water beneath it.
- Add butter and whisk patiently:
- Drop in the cubed butter and whisk constantly for about 10 to 15 minutes, watching the mixture transform from watery to thick and glossy as it coats the back of a spoon.
- Strain for silkiness:
- Pour the curd through a fine mesh sieve into a clean bowl, pressing gently to catch any bits of cooked egg or stray zest.
- Cool and chill:
- Press plastic wrap directly against the surface of the curd to prevent a skin, then refrigerate for at least two hours until it reaches that perfect spreadable consistency.
 Pin it
 There is something deeply satisfying about ladling warm lemon curd into jars and watching it settle into that golden, jewel toned surface. It feels like you have created something far more impressive than the effort it actually took.
Storage and Shelf Life
Keep your lemon curd in an airtight container or sealed jar in the refrigerator and it will stay fresh for up to two weeks. I have never once had a jar last that long without disappearing. If you want to keep it longer, it freezes beautifully for up to three months, just thaw it overnight in the fridge.
Serving Ideas Beyond the Obvious
Spoon it over Greek yogurt for a breakfast that feels indulgent, or swirl it into whipped cream for a lazy dessert that guests think took far more effort. It also makes a stunning layer between cake rounds, or dolloped onto pancakes on a slow Sunday morning.
Troubleshooting and Final Thoughts
Every batch teaches you something small about heat and patience and trusting the process. The curve from your first nervous whisk to confident, effortless curd is steeper than you think.
- If your curd looks lumpy, a quick blend with an immersion blender can rescue it beautifully.
- A heavy bottomed bowl over simmering water gives you far more control than direct heat ever could.
- Taste your lemons before you start, because their tartness varies wildly and your sugar may need adjusting.
 Pin it
 A jar of homemade lemon curd in the fridge is a small act of self care that pays off all week long. Share it generously, but maybe keep one jar hidden behind the pickles just for yourself.
Recipe FAQs
- → How can I stop the curd from curdling?
-
Cook gently over a simmering water bath and whisk constantly to distribute heat. Remove from heat as soon as the mixture thickly coats the back of a spoon and strain through a fine-mesh sieve to catch any bits.
- → Can I make the curd richer?
-
Yes. Replace some or all whole eggs with additional egg yolks for a creamier, silkier texture. Expect a slightly different mouthfeel but deeper richness.
- → How do I know when the curd is done?
-
It’s ready when it thickly coats the back of a spoon and leaves a clear line when you run a finger across it. It will continue to thicken as it cools.
- → What’s the best way to cool and store it?
-
Press plastic wrap directly onto the surface to prevent a skin, then refrigerate for at least 2 hours. Store in an airtight container in the fridge for up to two weeks.
- → Can I use the curd in other dishes?
-
Absolutely. It’s excellent on scones and toast, as a tart filling, folded into whipped cream or yogurt, or layered in desserts for bright citrus notes.
- → Is freezing an option?
-
Freezing is possible but may change texture. Freeze in an airtight container for up to 1 month and thaw slowly in the fridge; whisk lightly before using to smooth any separation.
