 Pin it
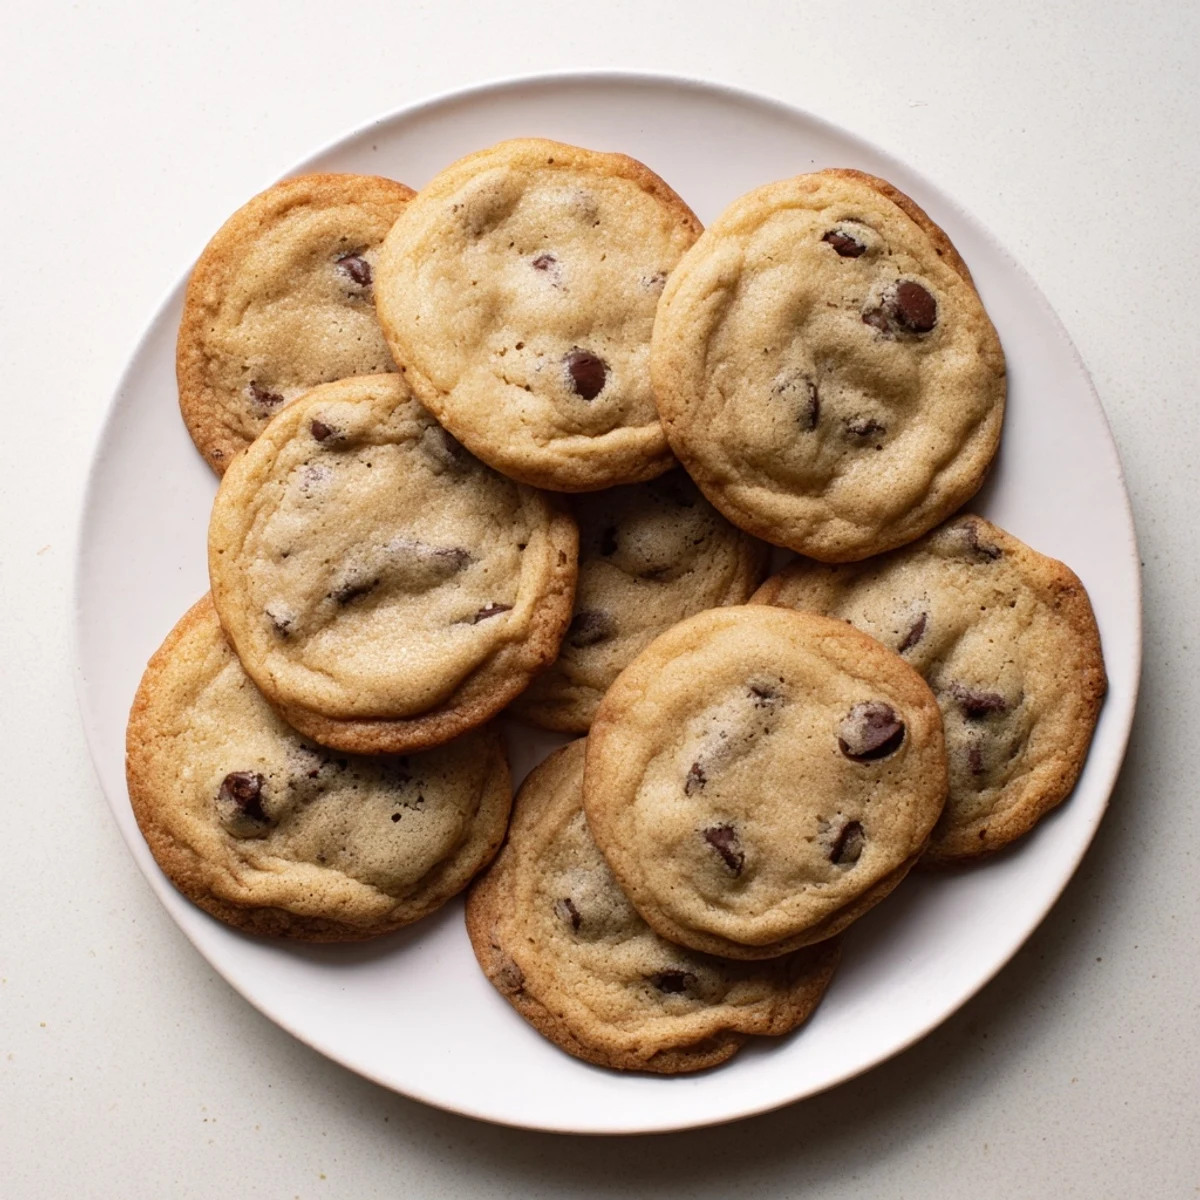
 These chewy chocolate chip cookies deliver the perfect balance of soft centers and crispy edges, loaded with semi-sweet chocolate morsels throughout. The dough comes together quickly with basic pantry ingredients, while the secret to achieving that irresistible chewy texture lies in the combination of brown sugar and proper baking time—just until edges turn golden and centers remain slightly underdone. Chill the dough for an hour to intensify flavor and texture, or bake immediately for warm, fresh-from-the-oven treats. Each batch yields two dozen classic American cookies that stay fresh for days.
The kitchen smelled like brown butter and brown sugar on a rainy Tuesday, and I had no idea those chewy chocolate chip cookies would become the most requested thing I have ever baked. My roommate walked in, stole one warm off the pan, and declared them dangerous. That was three years ago and I have made them roughly sixty times since. They are soft, deeply chocolatey, and have that slight chew that makes you reach for another before finishing the first.
I once brought a tin of these to a potluck and someone actually tracked me down on social media to ask for the recipe. The slightly underbaked center is everything, and once you learn to trust that the cookies will set up as they cool, you will never overbake a cookie again.
Ingredients
- Unsalted butter (1 cup, softened): Butter is the backbone here, and using unsalted lets you control the salt level. Leave it out for about an hour so it creams smoothly without melting.
- Brown sugar (1 cup, packed): This is where the chew comes from. Pack it firmly into the cup for the right measurement and moisture.
- Granulated sugar (1/2 cup): A little white sugar helps the edges crisp up beautifully while the centers stay soft.
- Large eggs (2): Room temperature eggs blend into the batter more evenly and help with the rise.
- Pure vanilla extract (2 tsp): Do not skip this or substitute imitation. Good vanilla rounds out the caramel notes from the brown sugar.
- All-purpose flour (2 1/4 cups): Measure by spooning into the cup and leveling off with a knife to avoid dense, cakey cookies.
- Baking soda (1 tsp): This gives the cookies their gentle spread and lift during baking.
- Baking powder (1/2 tsp): A small amount adds extra softness to the interior crumb.
- Fine salt (1/2 tsp): Salt makes the chocolate taste more like chocolate. Never leave it out.
- Semi-sweet chocolate chips (2 cups): Semi-sweet strikes the perfect balance, but a mix of chips and chopped bars creates gorgeous pools of melted chocolate.
Instructions
- Preheat and prepare:
- Set your oven to 350 degrees F and line two baking sheets with parchment paper. The parchment is nonnegotiable if you want even browning and easy cleanup.
- Cream the butter and sugars:
- Beat the softened butter, brown sugar, and granulated sugar together until the mixture looks pale, fluffy, and almost whipped. This usually takes about three minutes and is the key to that tender texture.
- Add eggs and vanilla:
- Drop in one egg at a time, beating well after each addition, then pour in the vanilla and mix until fragrant. The batter should look glossy and smooth at this stage.
- Whisk the dry ingredients:
- In a separate bowl, combine the flour, baking soda, baking powder, and salt with a whisk so everything is evenly distributed. No one wants a bite of baking soda.
- Combine wet and dry:
- Add the dry ingredients to the butter mixture in two or three additions, mixing on low until the flour just disappears. Stop as soon as you no longer see white streaks because overmixing makes them tough.
- Fold in the chocolate:
- Use a spatula to gently fold in the chocolate chips until they are scattered evenly throughout the dough. This is the moment it starts smelling incredible.
- Scoop and shape:
- Scoop rounded tablespoons of dough onto your prepared sheets, leaving about two inches between each one for spreading. A cookie scoop makes this fast and uniform.
- Bake to golden perfection:
- Bake for 10 to 12 minutes, pulling them out when the edges are golden but the centers still look slightly wet and puffy. They will continue cooking on the hot pan after you take them out.
- Cool with patience:
- Let the cookies rest on the baking sheet for five full minutes before moving them to a wire rack. This waiting period is the hardest part but it lets them set into that perfect chewy texture.
 Pin it
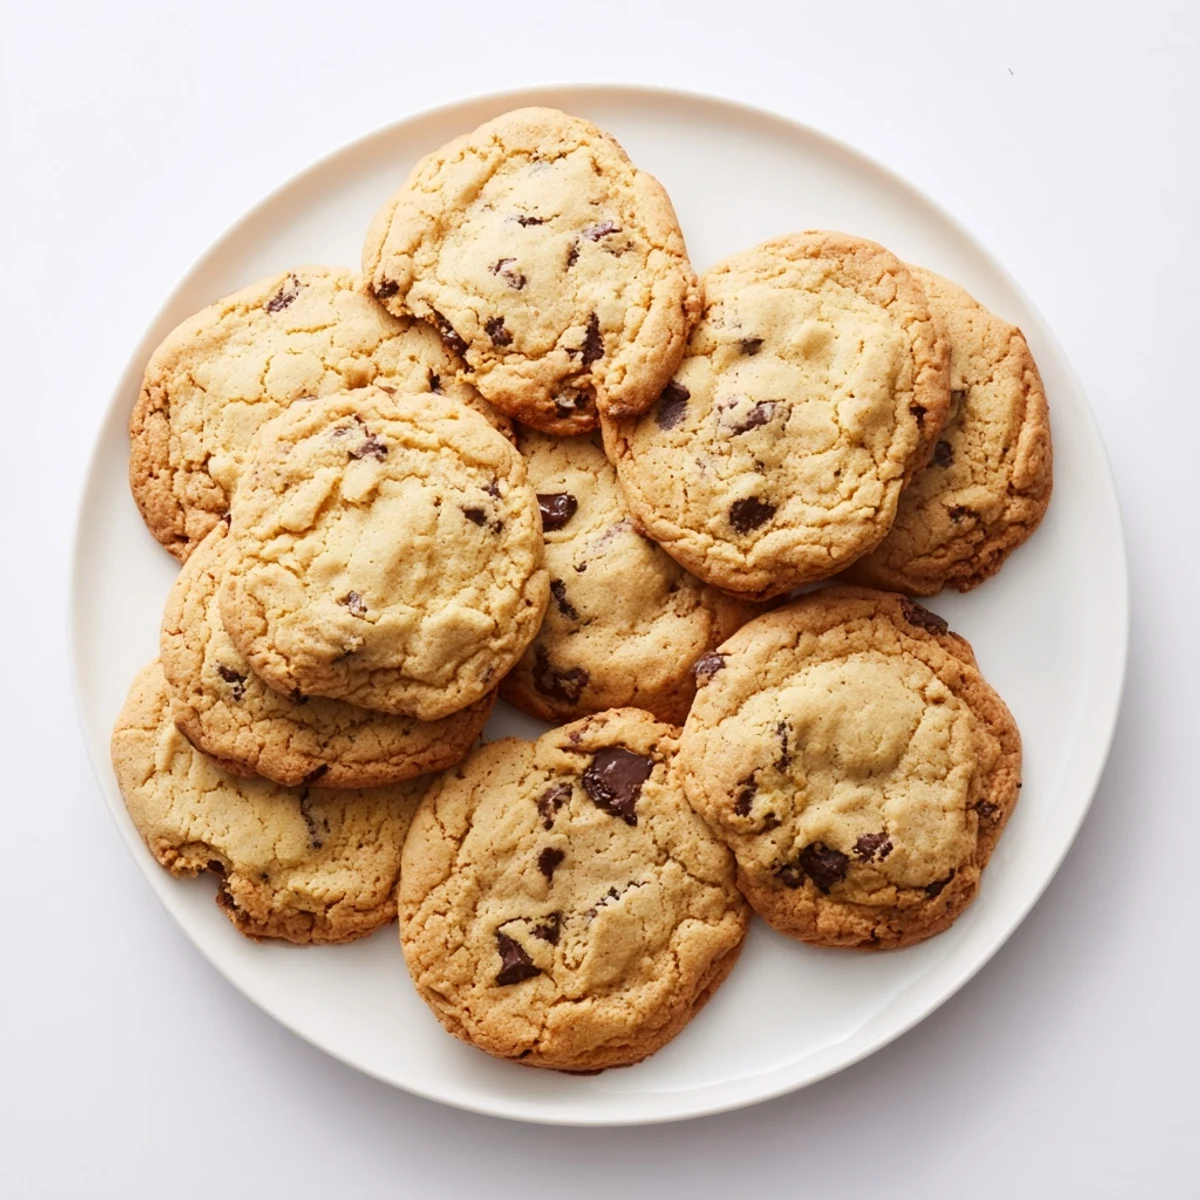
 One December I stacked these in a mason jar with a ribbon and gave them to my neighbors, and the next morning three of them texted me asking if I had any more. Food becomes a language of its own when someone bakes you something that makes their kitchen smell like home.
Tools That Make This Easier
A sturdy electric mixer saves your arm when creaming butter and sugar, though a wooden spoon and some determination work just fine. A cookie scoop is the one tool I would actually recommend buying because it gives you perfectly round, even cookies every single time. Parchment paper, a reliable oven thermometer, and a wire cooling rack round out the essentials. You do not need fancy equipment to make extraordinary cookies.
Allergens and Swaps
These cookies contain wheat, dairy, and eggs, so they are off limits for anyone with those allergies. You can swap the butter for a good quality vegan butter stick and use a flax egg substitute, though the texture shifts slightly toward cakey. Always check your chocolate chip labels because many contain traces of soy and nuts. Gluten free one to one flour blends work reasonably well here if you need to go that route.
Keeping Them Perfect
Store cooled cookies in an airtight container at room temperature and they stay soft for about five days, though they rarely last that long. You can freeze the scooped dough balls on a sheet pan, then transfer them to a freezer bag for up to three months. Bake from frozen, adding just one or two extra minutes to the time.
- Toss a slice of white bread into your cookie container to keep them soft through absorption of moisture from the bread.
- Warm a leftover cookie in the microwave for eight seconds and it tastes like it just came out of the oven.
- Never store them near a heat source or in direct sunlight unless you want sad, melted chocolate puddles.
 Pin it
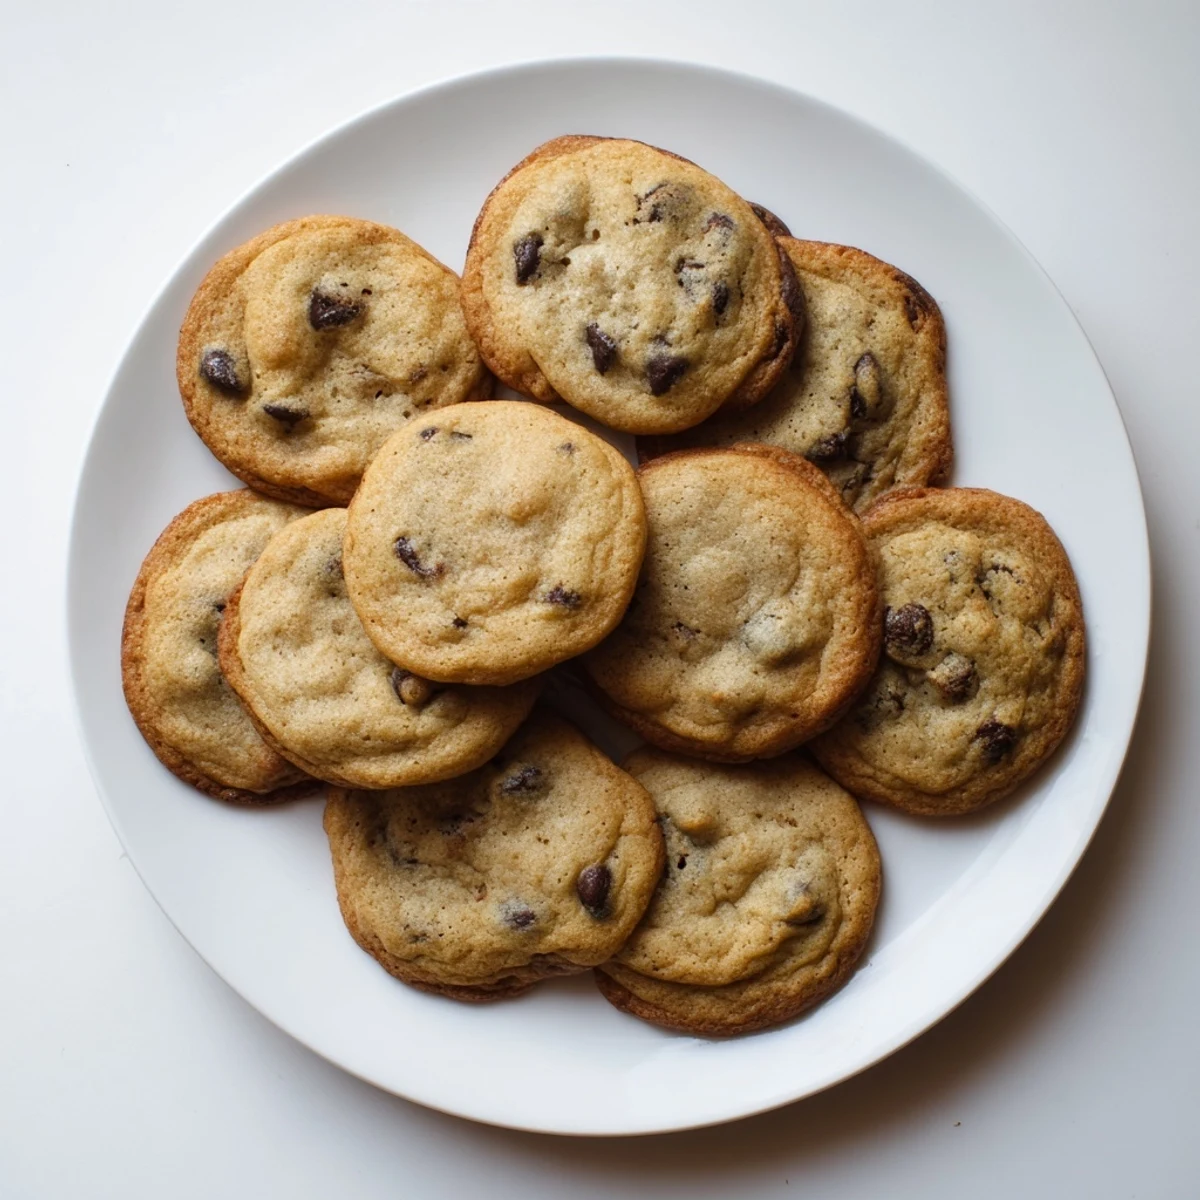
 Bake these once and they will become your cookie, the one people ask you to bring to every gathering, birthday, and late night kitchen conversation. That is the magic of a really good chocolate chip cookie.
Recipe FAQs
- → What makes cookies chewy vs crunchy?
-
Chewiness comes from higher moisture content and brown sugar, which contains molasses that retains moisture. Baking until slightly underdone in the center also creates that soft, chewy texture we love.
- → Should I chill the dough before baking?
-
Chilling for at least one hour enhances flavor and prevents excessive spreading, resulting in thicker, chewier cookies. However, you can bake immediately if time is limited.
- → Can I freeze the cookie dough?
-
Yes, scoop dough balls onto a baking sheet, freeze until solid, then transfer to an airtight container. Bake from frozen, adding 1-2 minutes to the baking time.
- → Why are my cookies flat?
-
Flat cookies often result from warm butter, over-mixing, or not chilling the dough. Ensure butter is softened but not melted, mix until just combined, and consider chilling before baking.
- → How do I store these cookies?
-
Store completely cooled cookies in an airtight container at room temperature for up to 5 days. Place a slice of bread in the container to keep them soft and fresh longer.
