 Pin it
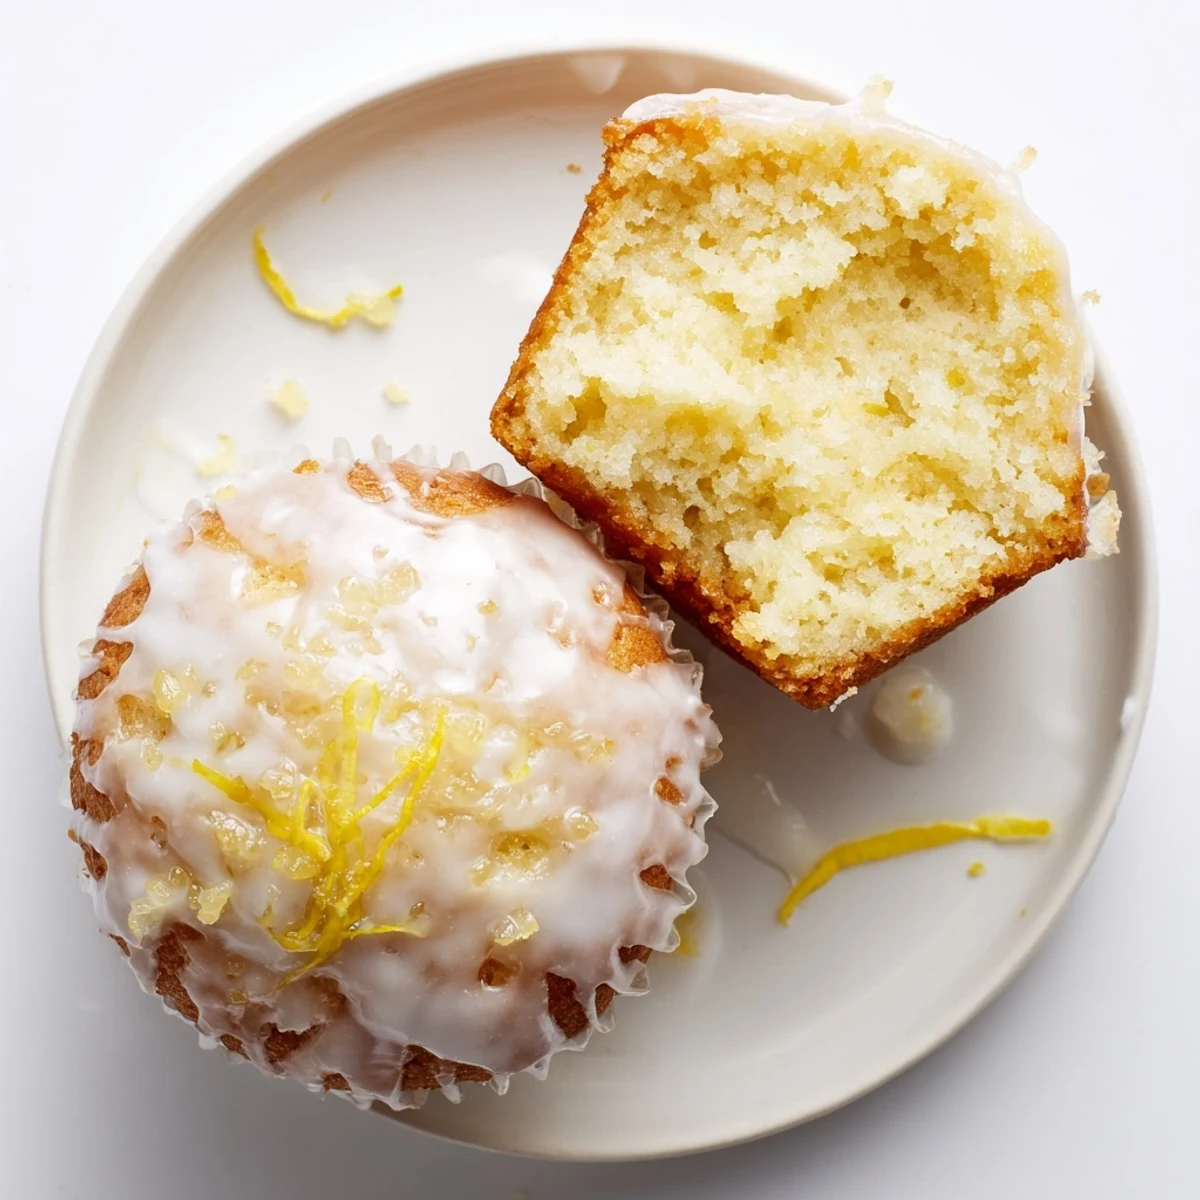
 These glazed lemon ginger muffins combine bright lemon zest and juice with freshly grated ginger for a lively crumb. Whisk dry ingredients, mix wet until smooth, then fold together without overmixing. Bake 16–18 minutes at 350°F. Cool before drizzling a powdered sugar and lemon glaze with optional ginger. Swap yogurt for buttermilk, boost ginger for more heat, or add crystallized pieces for texture. Makes 12.
There’s something invigorating about the scent of lemon and ginger mingling in the kitchen, especially on a quiet Saturday morning when the light slants in just right. The first time I baked these Glazed Lemon Ginger Muffins I wasn’t trying to impress anyone, just chasing a craving for something fresh and bright during a gloomy week. I remember zesting the lemons, feeling the burst of citrus oils in the air, and thinking how a simple muffin can turn the mood of a day around. Sometimes, it really is the little things that lift us.
Last spring, I brought a tray of these muffins to a backyard brunch with neighbors, not expecting them to vanish before the coffee even brewed. A friend asked why the muffins were so tender, and we ended up swapping ginger stories until everyone was laughing between bites and sipping their tea. Baking for friends always feels different, like every stir and zest is a bit happier. It made me realize these muffins were meant for sharing.
Ingredients
- All-purpose flour: This is the sturdy base that holds the crumb—sift it if you want a lighter texture, I learned that bit after a few dense batches.
- Granulated sugar: Besides sweetness, sugar helps the muffins brown and creates a gently crisp edge on top.
- Baking powder & baking soda: Double leavening makes for the perfect domed, fluffy muffin—just be sure they’re fresh for the best rise.
- Salt: A tiny half teaspoon here wakes up all the other flavors, especially the lemon.
- Fresh ginger, finely grated: I learned that microplaning is the move for this—no chunky bites, just warm zing throughout.
- Lemon zest (about 2 lemons): The zest is where all the lemon oils hide—rub it into the sugar for even more aroma.
- Large eggs: They bind the batter and give structure—let them come to room temperature for even mixing.
- Vegetable oil: Oil keeps the crumb moist even after a day or two, unlike butter which can harden when cool.
- Plain Greek yogurt (or buttermilk): I alternate between yogurt and buttermilk—both lend tang and tenderize the muffin for that soft bite.
- Lemon juice (about 2 lemons): Freshly squeezed is a must for a pure, tangy pop—bottled just isn’t the same.
- Vanilla extract: A splash rounds out the flavors and lifts the ginger and citrus notes.
- Powdered sugar (for glaze): I sift this too, otherwise you might get lumps in the glaze that don’t dissolve.
- Fresh lemon juice (for glaze): Just a few tablespoons make the glaze perfectly tangy and pourable.
- Fresh ginger, finely grated (optional, for glaze): When I want extra warmth, I add a bit to the glaze—totally optional but lovely.
Instructions
- Get set:
- Preheat your oven to 350°F (175°C) and line a muffin tin or spray each cup lightly. There’s a comfort in snapping those paper liners into place.
- Mix the dry crew:
- In a large mixing bowl, whisk together flour, sugar, baking powder, baking soda, salt, ginger, and lemon zest—the mix already smells incredible right here.
- Stir up the wet:
- In a separate bowl, whisk eggs, oil, Greek yogurt, lemon juice, and vanilla until creamy and totally unified—take a second to enjoy the lemony scent.
- Combine gently:
- Pour the wet ingredients over the dry and stir with a spatula just until the flour disappears; the secret is not overmixing, even if you’re tempted.
- Bake them up:
- Scoop the batter into your muffin cups, aiming for about 3/4 full—sometimes I use an ice cream scoop for neatness. Bake for 16–18 minutes or until a toothpick poked in the center comes out mostly clean with a crumb or two.
- Cool off:
- Let the muffins rest in the pan for 5 minutes, then transfer them to a wire rack so the bottoms don’t get soggy.
- Whip up the glaze:
- Mix powdered sugar with 2–3 tbsp lemon juice and a bit of ginger if you like it spicy; stir until smooth and dreamy.
- Finishing touch:
- Drizzle the glaze over fully cooled muffins, letting it drip down the sides—wait for it to set, then dive in.
 Pin it
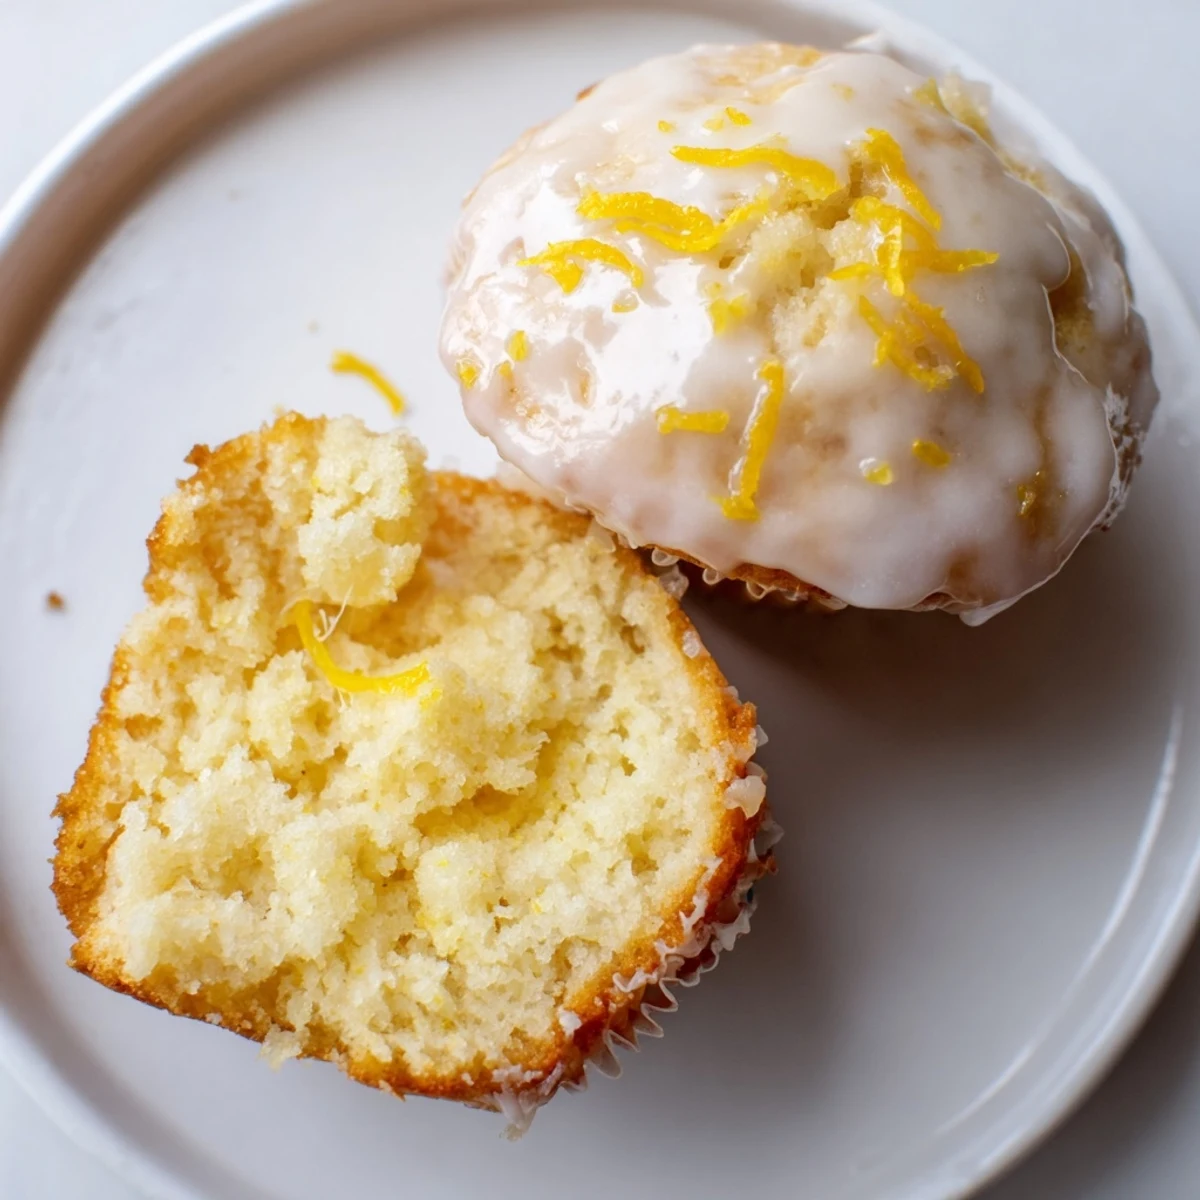
 One rainy afternoon, I handed a warm muffin to my youngest, who promptly declared it tasted like sunshine in a cupcake wrapper. That moment made all the zesting and grating worth it—the right bake really can shift the whole mood of a day. Since then, these muffins have become my go-to whenever a little brightness is needed. It’s funny how a humble muffin can carry so much joy.
How to Adjust for Dietary Needs
I’ve experimented with swapping in plant-based yogurt and egg replacements for friends who don’t eat dairy or eggs, and the results are surprisingly good—just remember to adjust the baking time if needed. A gluten-free flour blend can also work, though the texture is a bit more delicate. The real secret is keeping the lemon and ginger bold so the flavors still sing. If allergies are a concern, always check your ingredient labels since even pantry basics can hide surprises.
Muffin Storage and Freezing
If you somehow end up with leftovers, these muffins keep beautifully in a covered container at room temperature for a couple of days. I sometimes tuck them in the fridge if my kitchen gets extra warm or freeze them in a zip bag for later snack attacks—the glaze hardens up, but a quick zap in the microwave makes them perfect again. Just don’t refrigerate uncovered or they’ll dry out faster. A slice of apple in the container keeps muffins extra soft.
Choosing and Using Fresh Lemon & Ginger
I learned pretty quickly that scrubbing lemons with a kitchen brush makes zesting easier and gives a cleaner flavor, while older ginger roots are spicier but can be stringy—fresher knobs are juicier and less woody. Keep your citrus at room temp for juicing so you get every drop, and freeze any leftover zest to toss in tea or sugar. Rubbing the lemon zest into the sugar before mixing can intensify the aroma if you want to experiment next time.
- If you use extra ginger, just a pinch more makes the glaze tingle.
- A microplane is your best friend for zesting and grating it fine.
- Double the glaze if you like things decadent—no one complains.
 Pin it
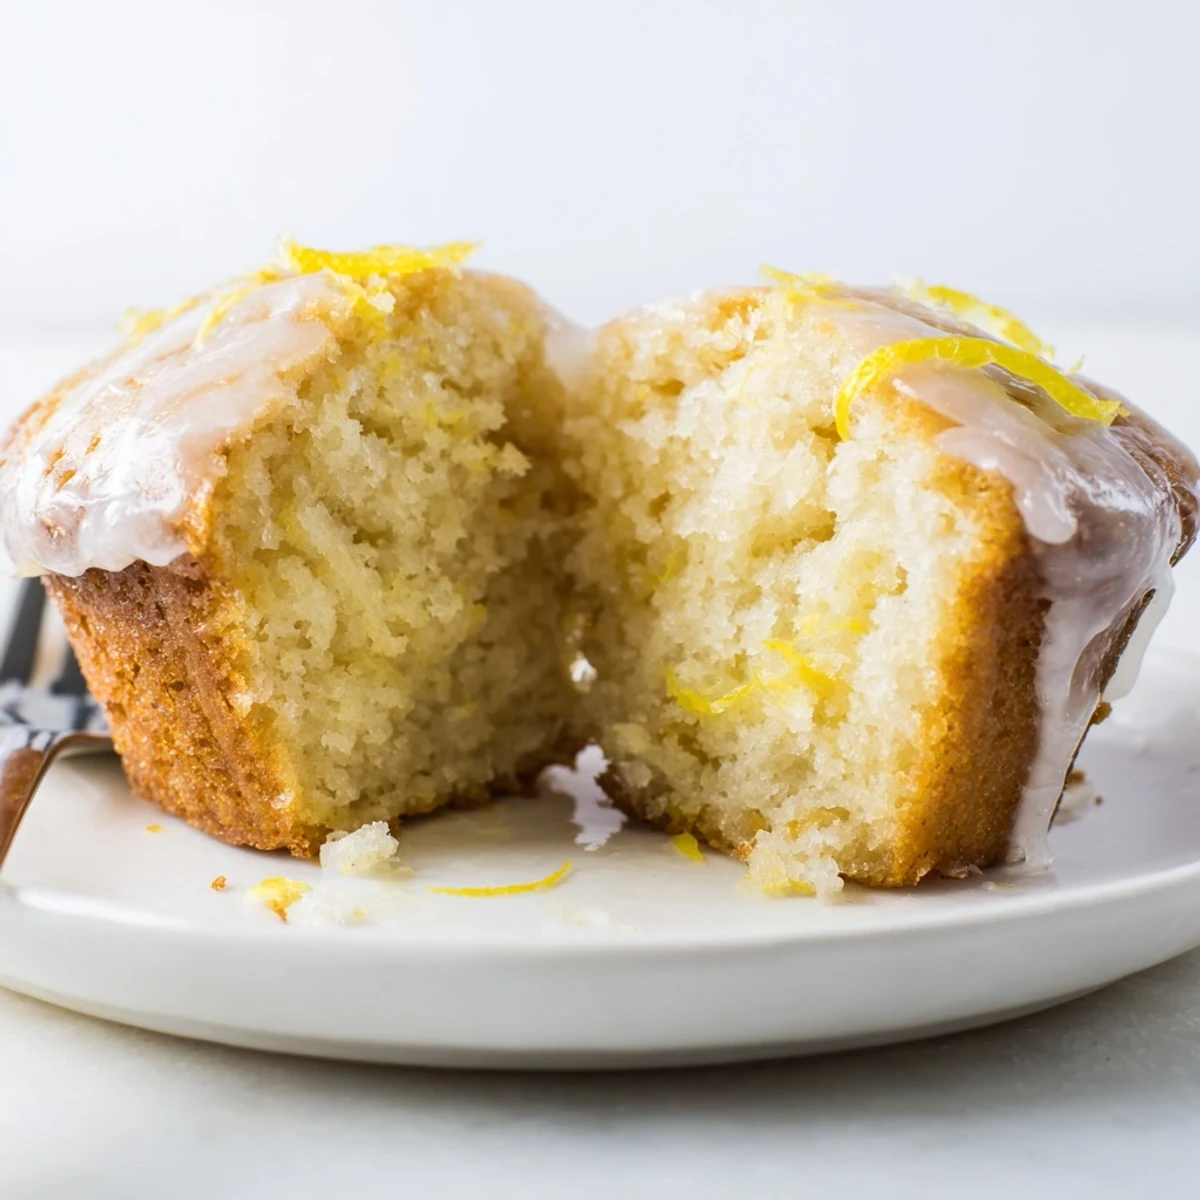
 However you choose to make them, these Glazed Lemon Ginger Muffins always manage to brighten up any kitchen and any mood. I hope they do the same for you and your favorite people.
Recipe FAQs
- → How do I tell when the muffins are done?
-
A toothpick inserted into the center should come out clean or with a few moist crumbs. Tops should be lightly golden and spring back when touched. If the centers still jiggle, give them another minute or two and recheck.
- → Can I swap Greek yogurt for buttermilk?
-
Yes. Use an equal amount of buttermilk for a slightly tangier, moister crumb. If your batter becomes too thin, reduce a tablespoon or two of the liquid; if too thick, add a splash more buttermilk.
- → What's the best way to boost ginger flavor?
-
Use freshly grated ginger for clear, spicy notes and add chopped crystallized ginger for bursts of chew and sweetness. Ground ginger is more muted—use sparingly alongside fresh for balance.
- → How should I store or freeze these muffins?
-
Store cooled muffins in an airtight container at room temperature for up to 2 days, or refrigerate up to 4–5 days. Freeze unglazed muffins wrapped tightly for up to 3 months; thaw, then glaze just before serving.
- → Can I reduce the sugar or make a gluten-free version?
-
Reduce granulated sugar slightly (try 10–20% less) and taste the batter—texture will be similar. For gluten-free, use a 1:1 all-purpose gluten-free blend and add a bit of xanthan gum if the blend lacks it to help with structure.
- → Any tips for zesting lemons and avoiding bitterness?
-
Use a microplane to zest only the colored outer peel; avoid the white pith which is bitter. Zest before juicing the lemons for easier handling and to collect the maximum aroma.
