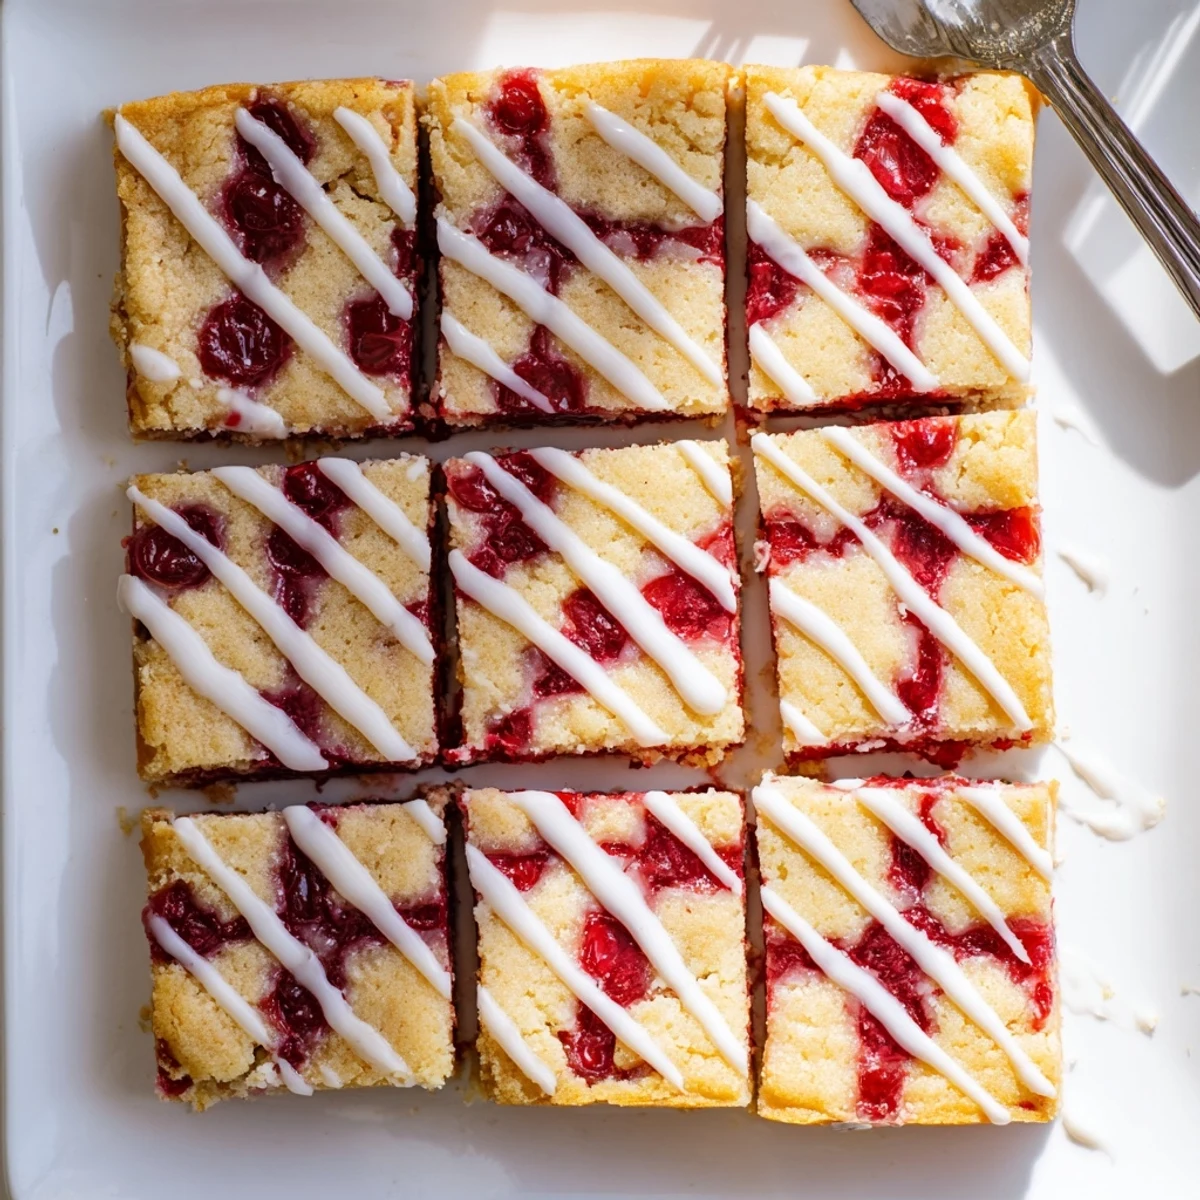
 Pin it
 These tender, buttery bars feature a soft cookie-like base spread with sweet cherry pie filling, then topped with small dollops of remaining dough that bake until golden. A simple vanilla glaze drizzled over the cooled bars adds the perfect finishing touch. The combination of the buttery crust, sweet-tart cherries, and creamy glaze creates an irresistible handheld dessert that's easier than traditional pie.
There's something about the smell of butter and vanilla baking together that stops people in their tracks. I discovered these cherry pie bars during a summer when I needed something portable for a beach potluck but didn't want to haul a pie dish through the sand. Now they're my go to whenever I need a dessert that looks impressive but won't leave me stressed in the kitchen.
Last summer I made three batches in one week for different gatherings and each time someone asked for the recipe. There's this moment when you pull them from the oven and the edges are golden while the cherry filling bubbles through that feels like pure kitchen magic. My neighbor actually knocked on my door to ask what I was baking because the scent drifted through our open windows.
Ingredients
- Unsalted butter: Softening it properly makes all the difference between a tender crumb and a tough one so leave it out for at least an hour
- Granulated sugar: Cream this thoroughly with the butter until it looks pale and fluffy which creates that melt in your mouth texture
- Eggs: Room temperature eggs incorporate better preventing the dough from separating or becoming dense
- Vanilla and almond extract: The almond extract is optional but it adds this subtle nutty note that makes people wonder what your secret ingredient is
- All purpose flour: Measure by weight if you can since too much flour will make these bars heavy instead of tender
- Salt: A small amount balances all that sweetness and brightens the cherry flavor
- Cherry pie filling: Use the whole can without draining it as that syrup keeps the bars moist and creates those beautiful jammy pockets
- Powdered sugar: Sift this first or your glaze will have stubborn lumps that won't dissolve no matter how much you whisk
- Milk: Start with two tablespoons and add more only if needed since thicker glaze stays put better on the bars
Instructions
- Get your oven and pan ready:
- Preheat to 350°F and either grease your 9x13 inch pan well or line it with parchment paper letting some hang over the sides for easy removal later
- Cream the butter and sugar:
- Beat the softened butter and granulated sugar together until the mixture turns pale and fluffy which takes about three to five minutes with a mixer
- Add the eggs and extracts:
- Drop in the eggs one at a time letting each fully incorporate before adding the next then mix in the vanilla and almond extract until everything is combined
- Combine the dry ingredients:
- Whisk the flour and salt together in a separate bowl then gradually add it to the wet mixture mixing only until you no longer see streaks of flour
- Create the base layer:
- Press about two thirds of the dough into your prepared pan using an offset spatula or the back of a spoon to create an even layer that covers the bottom completely
- Add the cherry filling:
- Spoon the entire can of cherry pie filling over the dough layer and spread it gently so the cherries are distributed evenly across the surface
- Add the topping:
- Drop small spoonfuls of the remaining dough over the cherries leaving some gaps so the bright red filling shows through and creates those beautiful pockets of fruit
- Bake until golden:
- Slide the pan into the oven and bake for 30 to 35 minutes until the top is lightly golden and the edges are set while the center still has a slight jiggle
- Let them cool completely:
- Place the pan on a wire rack and walk away for at least an hour because cutting these while warm will give you a gooey mess instead of clean bars
- Make the glaze:
- Whisk together the powdered sugar milk and vanilla until smooth adding more milk only if the glaze is too thick to drizzle off a spoon
- Finish and slice:
- Drizzle the glaze over the completely cooled bars then wait about 15 minutes for it to set before cutting them into squares
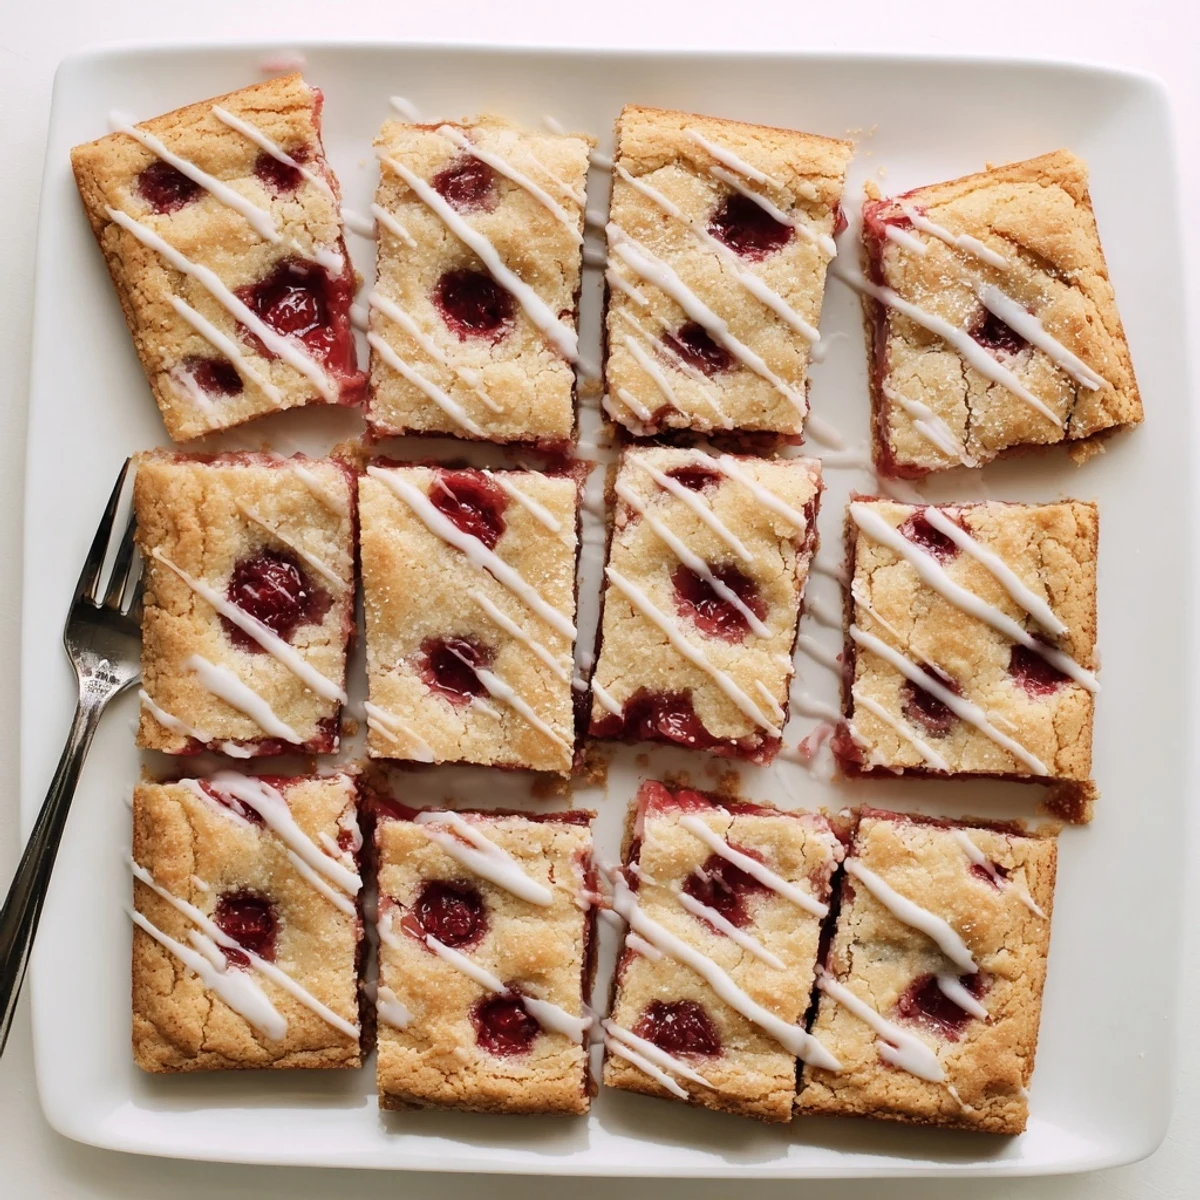 Pin it
 My aunt tasted these at a family gathering and immediately asked if I could make them for her birthday instead of a traditional cake. There's something about biting into that buttery crust followed by the sweet cherry filling that just makes people pause mid conversation and close their eyes for a second.
Making These Your Own
I've experimented with different fruit fillings and while cherry remains the classic blueberry gives you this gorgeous purple color throughout. The key is sticking with fillings that have some body to them since fresh fruit would release too much water and make the bottom soggy.
Storage and Serving
These bars actually improve after a day in the refrigerator as the flavors meld together and the crust becomes more like a shortbread. I serve them at room temperature though because that's when the buttery notes really shine through.
Perfect Presentation Every Time
A little trick I learned is to chill the glazed bars for 30 minutes before slicing which gives you cleaner edges and less crumbly pieces. Use a sharp knife wiped clean between cuts and you'll get bakery worthy squares that look as good as they taste.
- Sprinkle a few slivered almonds over the glaze before it sets for a pretty crunch
- A pinch of cinnamon in the dough adds warmth that pairs beautifully with the cherries
- Cut them into smaller squares if you're serving a large crowd since these are quite rich
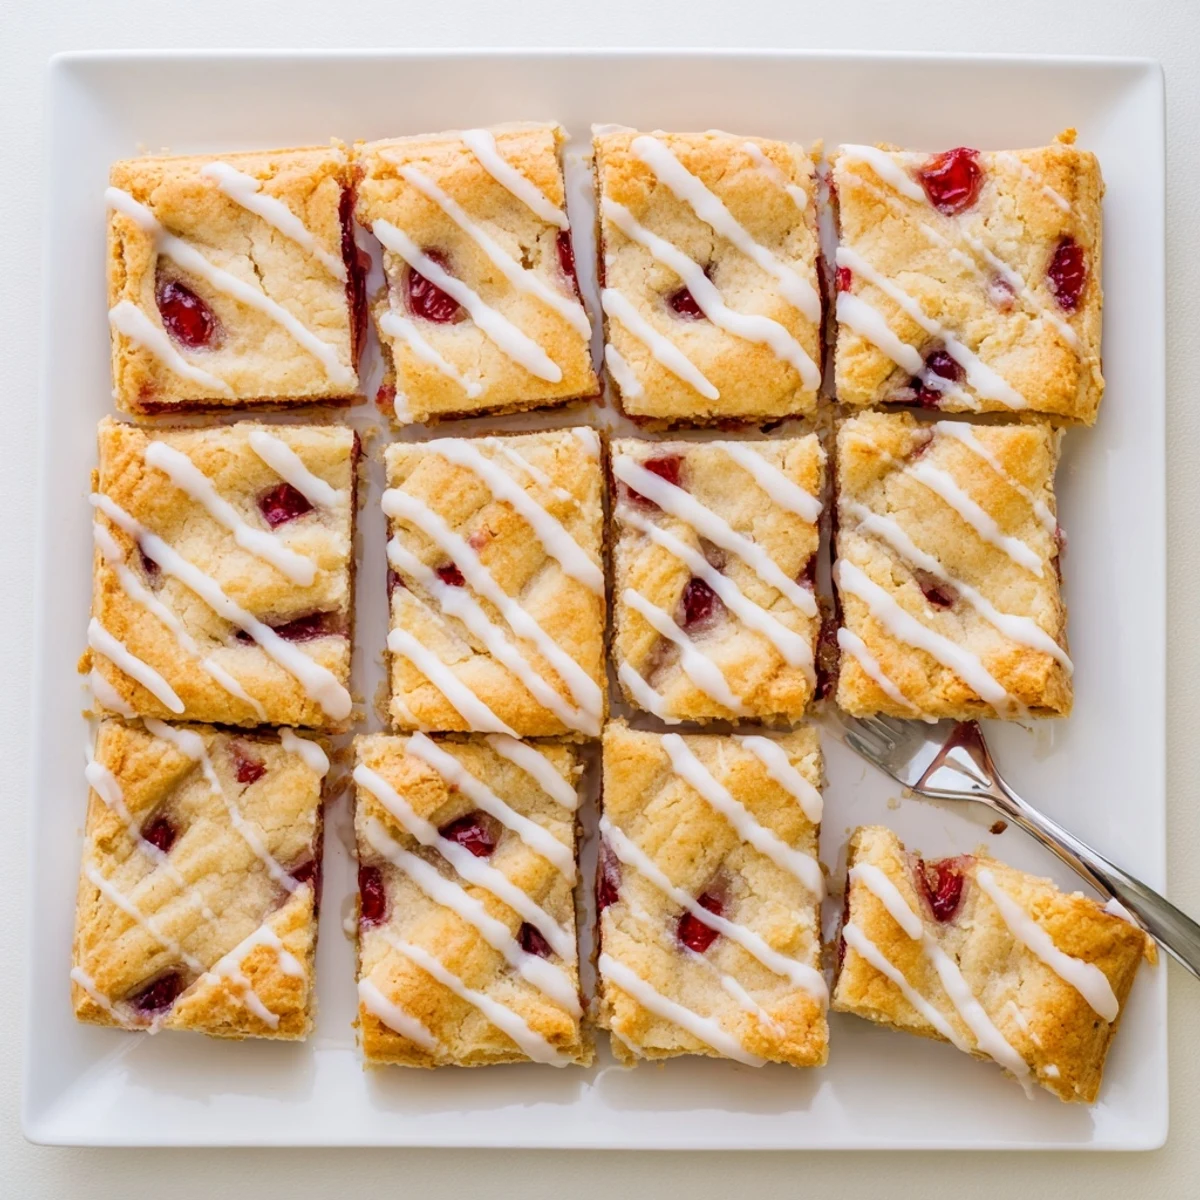 Pin it
 These cherry pie bars have become my signature dessert because they deliver all the comfort of a homemade pie with half the effort and twice the portability. There's genuine joy in serving something that makes people close their eyes and smile after that first bite.
Recipe FAQs
- → Can I use fresh cherries instead of canned filling?
-
You can use fresh cherries, but you'll need to cook them down with sugar and cornstarch to create a thick filling similar to canned pie filling. This adds extra prep time but allows you to control the sweetness level.
- → How should I store these bars?
-
Store in an airtight container at room temperature for up to 3 days. For longer storage, refrigerate for up to a week. The bars can also be frozen for up to 3 months—wrap individually in plastic wrap and place in a freezer bag.
- → Can I make these ahead of time?
-
Yes! The bars actually taste better the next day as flavors meld. You can bake them 1-2 days in advance, but add the glaze shortly before serving for the freshest appearance and texture.
- → What other fruit fillings work well?
-
Blueberry, apple, strawberry, or raspberry pie filling all work beautifully. Peach and blackberry are also delicious options that pair perfectly with the buttery dough and vanilla glaze.
- → Why does my dough seem too thick to spread?
-
The dough should be thick, similar to sugar cookie dough. If it's too stiff to spread easily, let it soften at room temperature for 10-15 minutes. You can also use wet hands or a greased spatula to press it into the pan.
- → Can I skip the glaze?
-
Absolutely! The bars are delicious without glaze—they'll be slightly less sweet but still wonderful. You could also dust with powdered sugar or serve plain with a scoop of vanilla ice cream.
