 Pin it
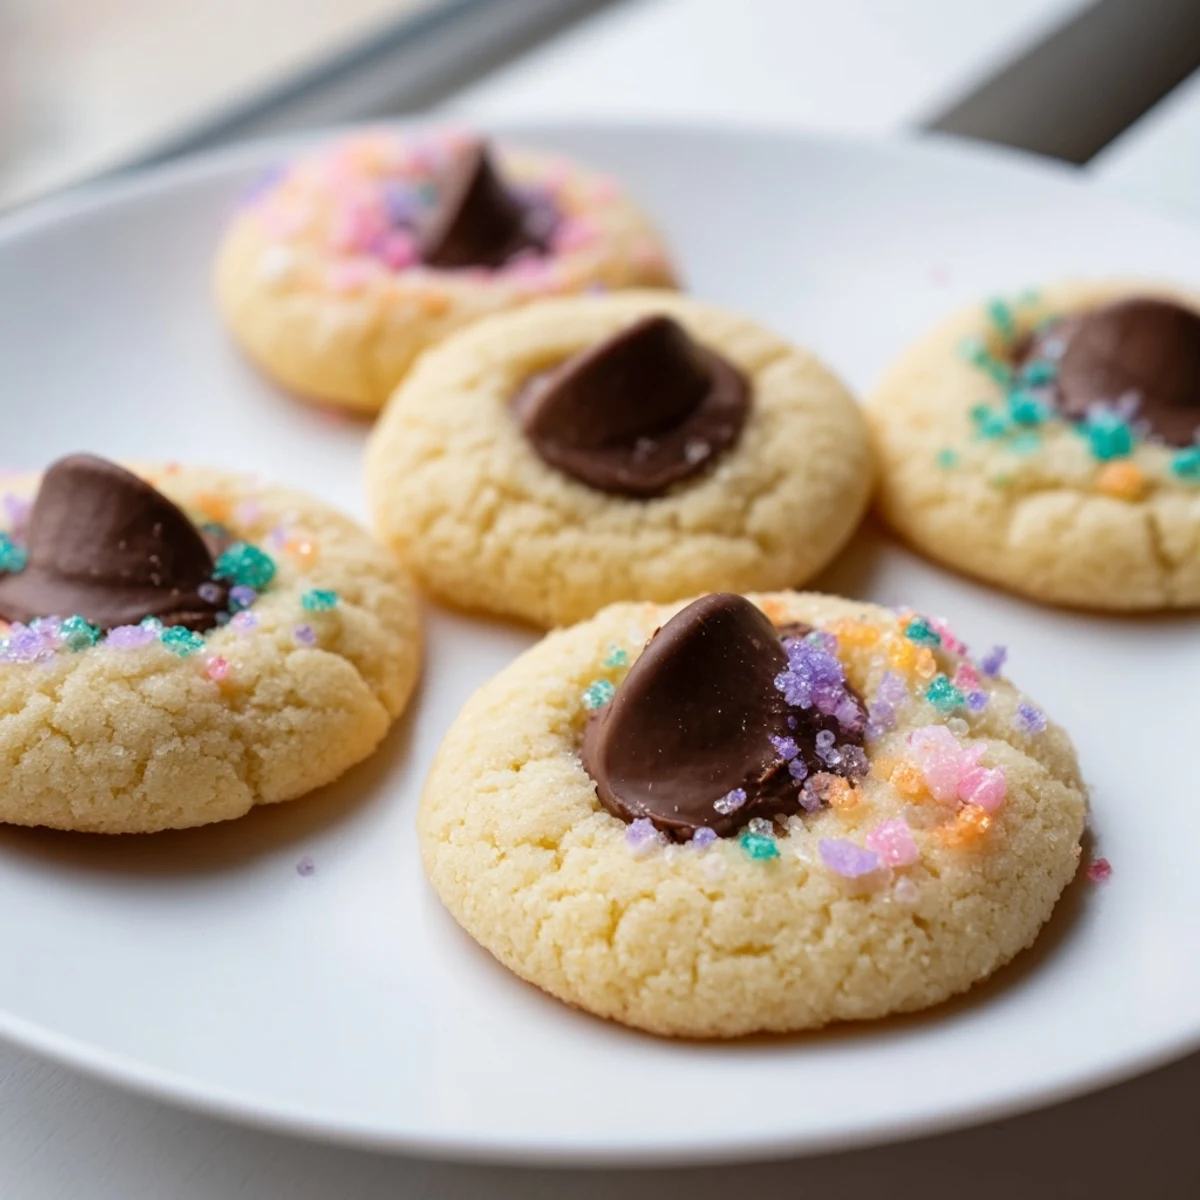
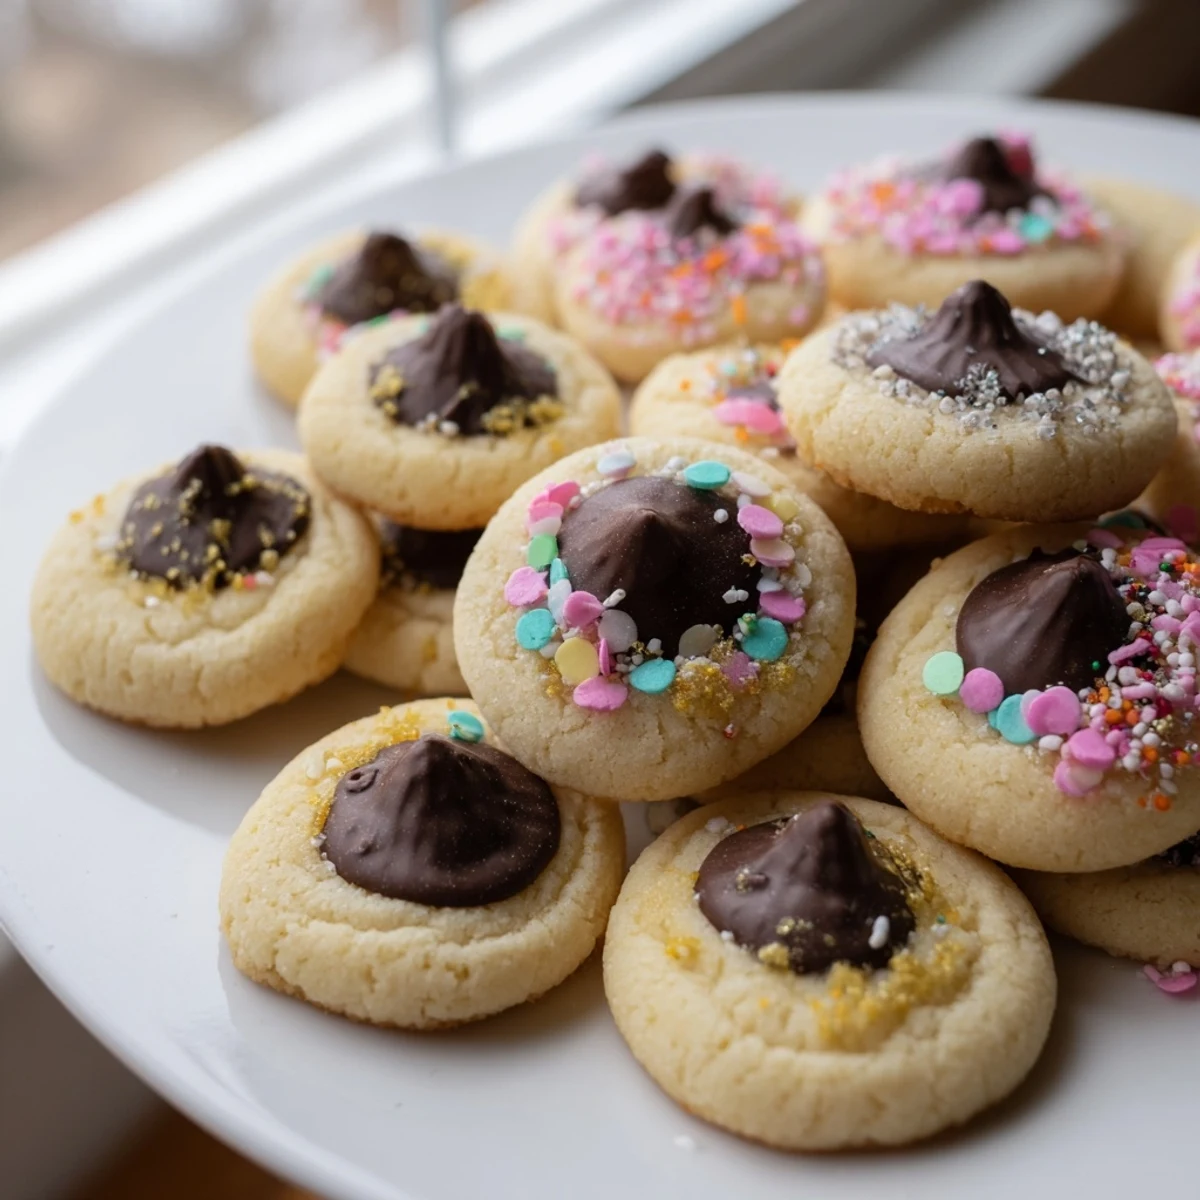
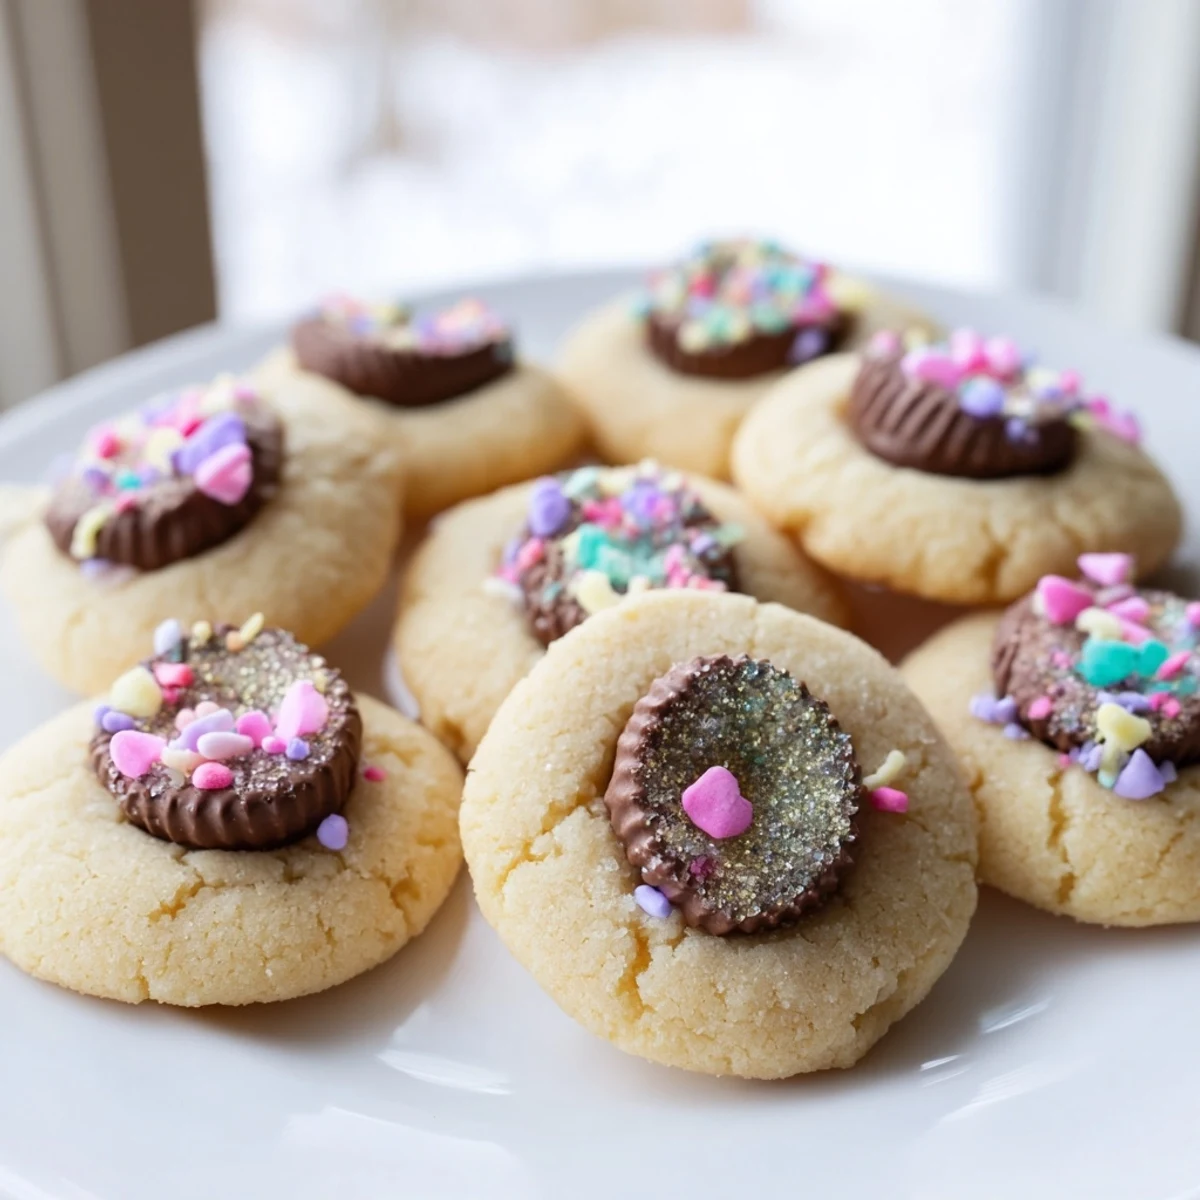
 These delightful blossom cookies feature a soft, buttery base rolled in pastel sprinkles and topped with a chocolate kiss pressed into the center while warm. The 30-minute process involves creaming butter and sugar, adding vanilla, and shaping dough balls that bake until set but still soft.
The magic happens when you press the chocolate into each warm cookie, creating that signature blossomed appearance. Perfect for Easter baskets, spring parties, or anytime you want a festive treat that's both beautiful and delicious.
The kitchen was already chaos when my daughter suggested we bake something for her class Easter party. I had half a bag of pastel sprinkles leftover from who knows what, and those chocolate kisses were staring at me from the pantry shelf. We made these cookies on a rainy Tuesday afternoon, flour dusting everything, her sneaking spoonfuls of dough when she thought I wasn't looking.
Last spring I made three batches for a neighborhood gathering, and honestly, I should have made four. They disappeared faster than anything else on the dessert table, and my neighbor's six year old asked if I could please bring them to her birthday party next month.
Ingredients
- Unsalted butter: Room temperature butter is non-negotiable here, it creates that tender melt-in-your-mouth texture
- Granulated sugar: Cream this thoroughly with the butter until it looks pale and fluffy, about 3 full minutes
- Large egg: Bring this to room temperature too so it incorporates evenly without curdling the mixture
- Pure vanilla extract: Don't skimp on quality here, it's the backbone flavor that ties everything together
- All-purpose flour: Spoon and level your flour instead of scooping directly, which prevents dense cookies
- Salt: Just enough to enhance the other flavors without making these taste salty
- Baking powder: Gives these their gentle lift while keeping them soft and thick
- Chocolate blossom kisses: Press them in immediately after baking while the cookies are still hot and soft
- Pastel sprinkles: Roll the dough balls in these before baking for that festive speckled look
Instructions
- Get your oven ready:
- Preheat to 350°F and line your baking sheets with parchment paper, which prevents sticking and makes cleanup so much easier
- Cream the butter and sugar:
- Beat them together until the mixture looks pale and fluffy, which incorporates air for a lighter cookie
- Add the egg and vanilla:
- Mix until completely combined, scraping down the sides of the bowl to catch any unmixed bits
- Whisk the dry ingredients:
- In a separate bowl, combine the flour, salt, and baking powder so they're evenly distributed
- Combine everything:
- Gradually add the dry ingredients to the butter mixture, mixing just until you no longer see streaks of flour
- Shape the cookies:
- Scoop tablespoon-sized portions, roll into smooth balls, then coat them in pastel sprinkles before arranging on the baking sheet
- Bake until just set:
- The edges should look firm but centers still slightly soft, about 8 to 10 minutes
- Add the chocolate:
- Press a chocolate kiss into the center of each warm cookie immediately, being gentle so the kiss doesn't sink too deep
- Cool completely:
- Let them sit on the baking sheet for 5 minutes before transferring to a wire rack
 Pin it
 These became my go-to contribution for every spring gathering after my goddaughter declared them better than anything from a bakery. There's something about pulling that warm tray from the oven, watching the chocolate soften just enough to meld with the cookie beneath, that feels like pure celebration.
Making These Ahead
I've learned through many last-minute baking sessions that the dough freezes beautifully. Scoop it into balls, roll in sprinkles, and freeze on a baking sheet before transferring to a storage bag. Bake straight from frozen, adding just 1 to 2 minutes to the baking time.
Flavor Variations
White chocolate kisses create a stunning contrast against the pastel sprinkles, while caramel-filled ones add this gooey surprise in the center. Sometimes I'll add lemon zest to the dough, which makes these taste remarkably like spring itself.
Serving Suggestions
These cookies travel well and actually taste better on the second day, once the flavors have had time to meld. I'll sometimes package them in clear treat bags tied with pastel ribbon for teachers, neighbors, or anyone who needs a little brightness in their day.
- Arrange them on a tiered cake stand for maximum visual impact
- Serve with strawberry milk or herbal tea for a complete afternoon treat
- Keep a batch in the freezer for unexpected guests
 Pin it
 Every time I make these, I remember that rainy afternoon with flour everywhere and chocolate fingerprints on the counter, the way baking with someone you love turns simple ingredients into memories.
Recipe FAQs
- → Why press the chocolate kiss into warm cookies?
-
Pressing the chocolate into warm cookies allows it to slightly melt and adhere to the dough, creating the signature blossomed appearance. If added to completely cooled cookies, the chocolate won't stick properly and may fall off.
- → Can I freeze the dough?
-
Yes, scoop the dough into balls and freeze on a baking sheet until solid, then transfer to a freezer bag. Bake from frozen, adding 1-2 minutes to the baking time. You can also freeze the finished cookies for up to 3 months.
- → What other chocolates work well?
-
White chocolate kisses, caramel-filled chocolates, or even peanut butter cups create delicious variations. The key is choosing something that melts slightly when pressed into warm cookies for better adhesion.
- → How do I know when they're done?
-
The edges should look set and slightly golden while the centers still appear soft. Avoid overbaking since they continue cooking on the hot tray. The soft center is essential for pressing in the chocolate properly.
- → Can I make these without sprinkles?
-
Absolutely! The sprinkles add festive color but aren't essential. You can roll the dough in colored sanding sugar, leave them plain, or even brush with egg wash and add a light dusting of glitter sugar before baking.
