 Pin it
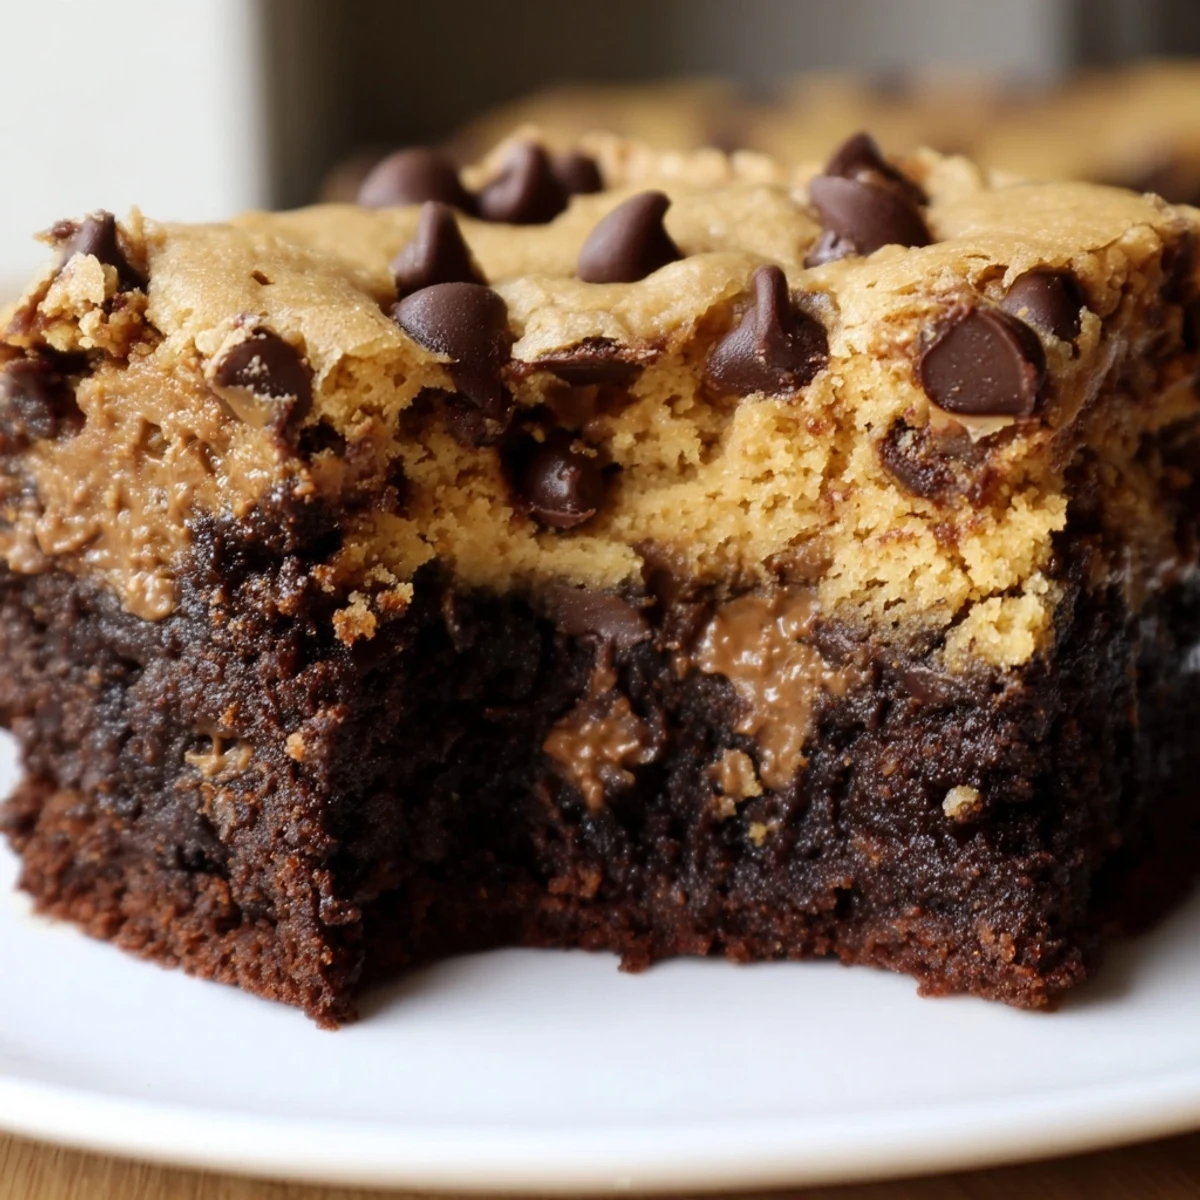
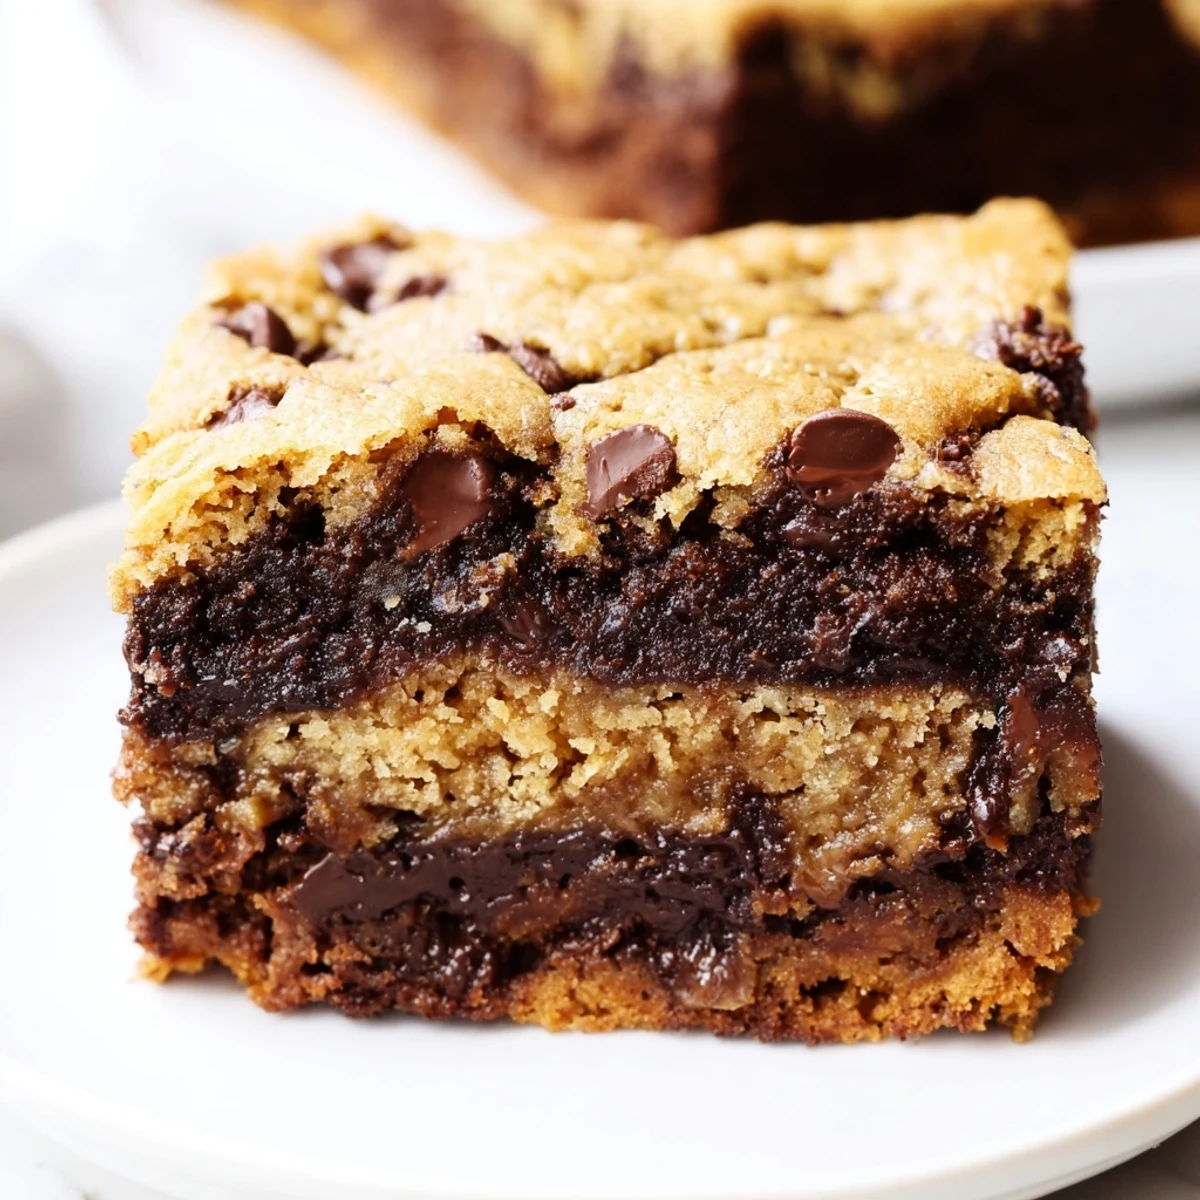
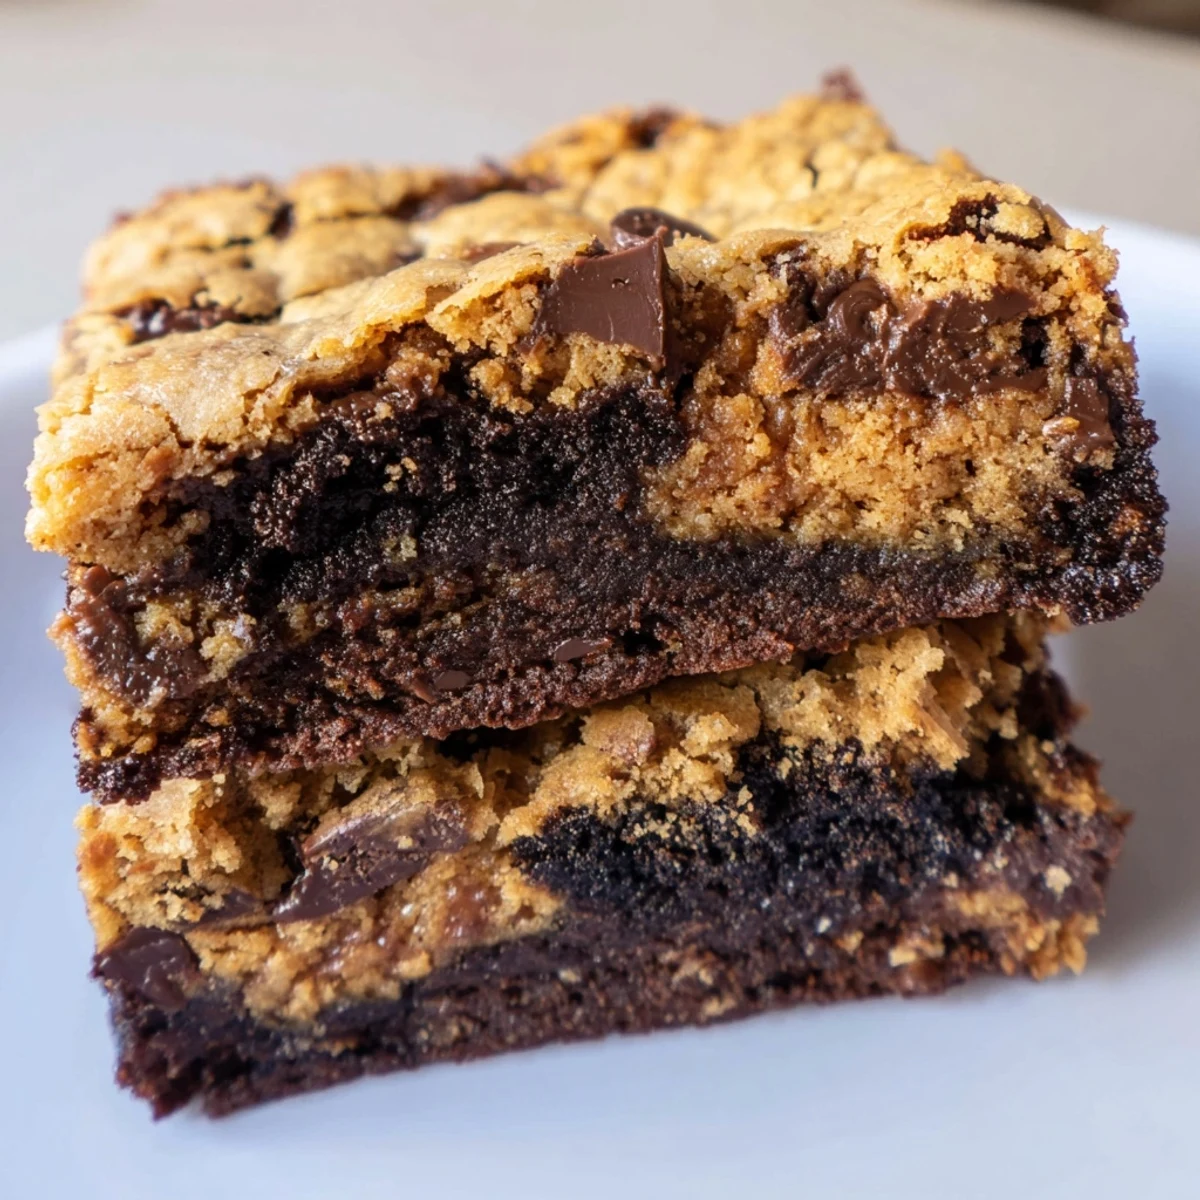
 These double-layer squares deliver the best of both worlds: a dense, fudgy brownie base topped with classic chewy cookie dough. The brownie layer brings deep cocoa notes and moist texture, while the cookie topping adds buttery sweetness with pockets of melted chocolate. Each bite offers contrasting textures that satisfy every craving.
Ready in just 55 minutes, these bars come together with simple pantry staples and basic baking techniques. The brownie batter whisks up quickly with melted coconut oil, while the cookie layer uses creamed vegan butter for that perfect chew. Both layers feature generous chocolate chips for extra indulgence.
Perfect for gatherings, afternoon treats, or dessert with a scoop of vegan ice cream. These squares keep well for days and actually improve in flavor as they sit. Serve them warm for the ultimate gooey experience, or chilled for a firmer, fudgier bite.
The first time I made these brookies, my roommate walked into the kitchen and asked what smelled so incredible. When I explained they were vegan, she literally didn't believe me until she watched me take a bite.
I brought these to a potluck last summer and watched three different people go back for seconds. My friend Sarah actually hid one in her purse to take home because she didn't want to ask for another in front of everyone.
Ingredients
- All-purpose flour: This creates the structure for both layers. Sift it first if you want extra airy cookies.
- Unsweetened cocoa powder: Dutch-process cocoa gives the brownie layer that deep, almost black color and intense chocolate flavor.
- Brown sugar: The molasses in brown sugar keeps both layers moist and creates that irresistible crackly top on the brownies.
- Baking powder and baking soda: Don't mix these up. Brownies need baking powder for lift, cookies need baking soda for spread.
- Coconut oil or vegan butter: Melted coconut oil makes the brownie layer denser. Use refined coconut oil if you don't want any coconut flavor coming through.
- Plant milk: Any unsweetened variety works here. I've used almond, soy, and oat interchangeably with great results.
- Vegan dark chocolate chips: These should be at least 60% cacao for the best flavor contrast. Some brands use palm oil, so check if that matters to you.
- Vanilla extract: Pure vanilla extract makes a noticeable difference. I accidentally used imitation once and the flavor fell flat.
- Vegan butter: For the cookie layer, you want softened butter that you can press into with your finger. I keep mine at room temperature for 30 minutes before baking.
Instructions
- Get your oven ready:
- Preheat to 350°F (175°C) and line an 8x8 inch pan with parchment paper. Let the paper hang over the sides so you can lift the whole thing out later.
- Make the brownie batter:
- Whisk flour, cocoa powder, brown sugar, baking powder, and salt in a medium bowl until combined. Add the melted coconut oil, plant milk, and vanilla. Mix until just combined. Don't overmix. Fold in the chocolate chips and spread evenly in your prepared pan.
- Prepare the cookie dough:
- Cream the vegan butter with both sugars until fluffy. This takes about 2 minutes with a hand mixer. Add the plant milk and vanilla. Stir in flour, baking soda, and salt until just combined, then fold in the chocolate chips.
- Layer it all together:
- Drop spoonfuls of cookie dough over the brownie layer. Gently spread it out. Wet your hands or spatula with water to keep the dough from sticking to everything.
- Bake to perfection:
- Bake for 30 to 35 minutes. The top should be golden and a toothpick in the center should have moist crumbs, not wet batter. Let them cool completely in the pan before slicing.
 Pin it
 My mom called me after trying these, slightly offended that she'd been baking with eggs and butter all these years when this version exists. I considered that a win.
Making Them Gluten-Free
I've tested this with a 1-to-1 gluten-free flour blend and the texture holds up surprisingly well. The brownie layer becomes slightly more cake-like, but in a good way. Just add an extra tablespoon of plant milk to the brownie batter if the dough feels too stiff to spread.
Storage and Freezing
These keep for about four days in an airtight container, though they never last that long in my house. For longer storage, wrap individual squares in plastic and freeze for up to two months. Thaw them on the counter for an hour and they're ready to eat.
Serving Suggestions
Warm a square for 15 seconds in the microwave and serve with vegan vanilla ice cream. The contrast between the hot brookie and cold ice cream is something else. You can also crumble them over vegan ice cream sundaes for an impressive dessert topping.
- Sprinkle flaky sea salt over the top before baking for a salted chocolate version
- Swap the chocolate chips for chopped vegan peanut butter cups in either layer
- Add 1 teaspoon of espresso powder to the brownie batter to deepen the chocolate flavor
 Pin it
 Every time I make these, I'm reminded that the best desserts are the ones shared with people you love. Or eaten standing at the counter at midnight. Both count.
Recipe FAQs
- → What's the texture of these bars like?
-
The bottom layer delivers dense, fudgy brownie texture with intense cocoa flavor, while the top provides chewy, buttery cookie dough goodness. You get contrasting textures in each bite—soft and slightly gooey brownie meeting tender, substantial cookie crumb.
- → Can I make these gluten-free?
-
Absolutely. Substitute the all-purpose flour with a 1:1 gluten-free flour blend in both layers. The result remains just as delicious with slightly more tender crumb structure. Many brands work well without additional adjustments.
- → How should I store these?
-
Keep in an airtight container at room temperature for up to 5 days. For longer storage, refrigerate for up to 10 days or freeze individually wrapped squares for up to 3 months. They actually taste better the next day as flavors meld.
- → Why did my layers mix during spreading?
-
The cookie dough is heavier than brownie batter. To minimize mixing, drop the cookie dough in small dollops across the brownie layer rather than pouring it all at once. Gently connect the dots with your spatula. A slight swirl creates beautiful marble patterns.
- → Can I use different chocolate varieties?
-
Definitely. Try dark chocolate for intense richness, semi-sweet for balanced sweetness, or even white chocolate chips in the cookie layer for contrast. Chopped chocolate bars work beautifully too and create those irresistible puddles throughout.
- → What's the best way to tell when they're done?
-
The top should be golden brown, and a toothpick inserted in the center should come out with moist crumbs rather than wet batter. The edges will pull slightly from the pan. Remember, these continue cooking as they cool, so slightly underbaked is ideal.
