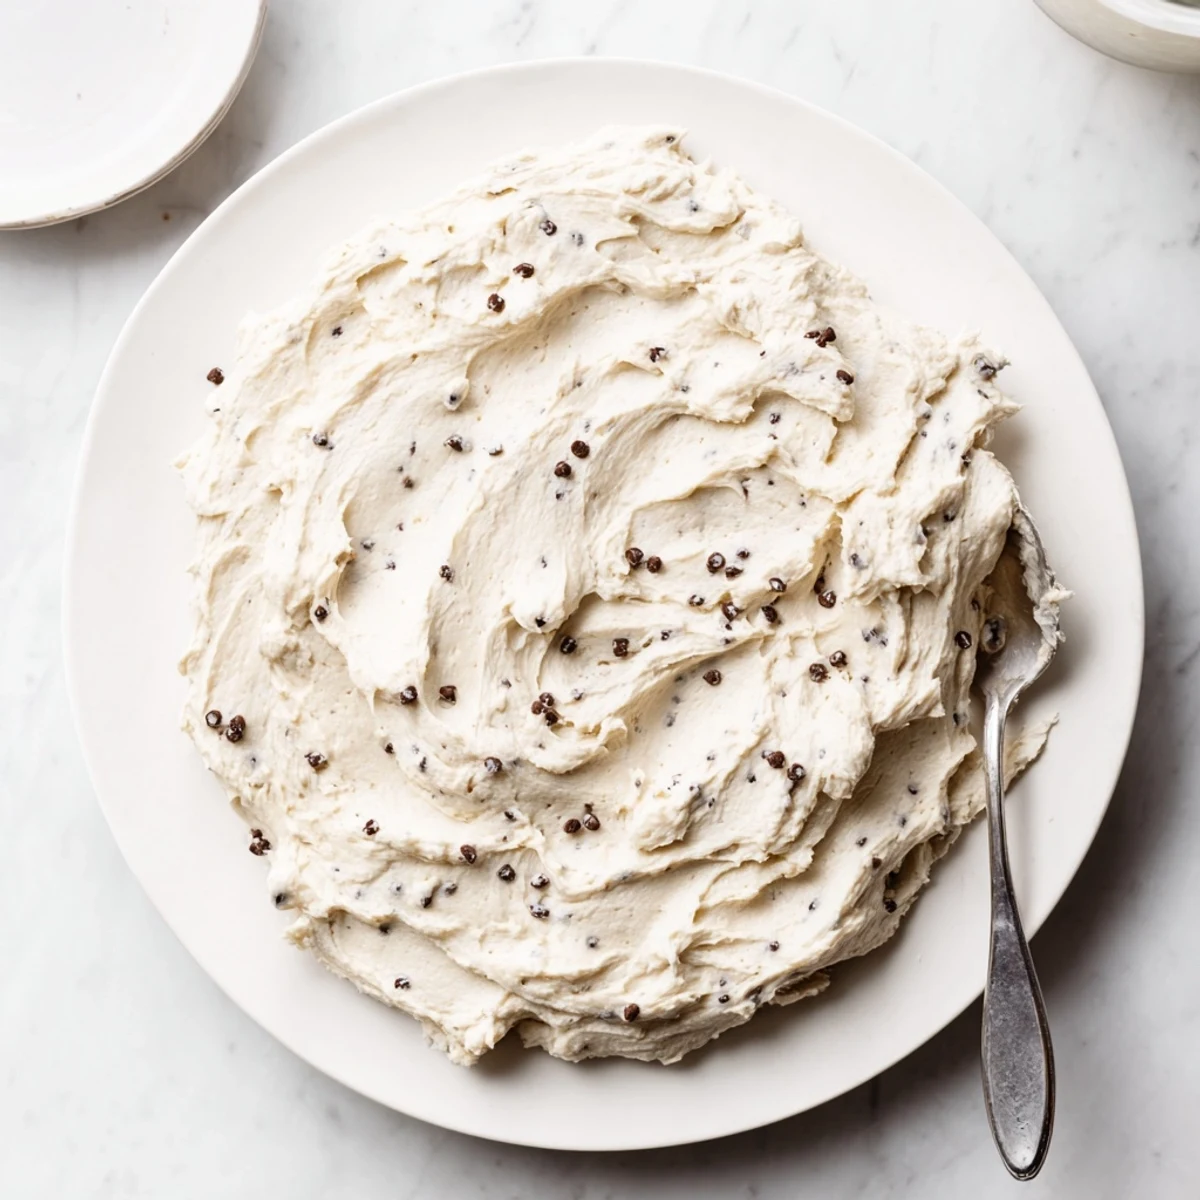
 Pin it
 This indulgent chocolate chip cookie dough frosting delivers the classic taste of raw cookie dough in a spreadable form. Creamy butter and brown sugar create the perfect base, while heat-treated flour ensures safety without compromising that authentic dough texture. Mini chocolate chips add familiar bursts of sweetness throughout. The result is a rich, velvety topping perfect for spreading generously over cooled cupcakes, smoothing onto layer cakes, or simply enjoying by the spoonful. Quick to prepare and endlessly customizable, this frosting brings nostalgic cookie dough flavors to any dessert.
The first time I made this frosting, I accidentally licked the spoon and forgot to frost the cupcakes entirely. My roommate walked into the kitchen to find me standing there, spoon in hand, with a dozen naked cupcakes staring back at us. We laughed and ended up dipping fresh fruit into the bowl instead of bothering with the actual baking part.
Last summer my niece asked if we could make 'edible cookie dough' for her birthday cake. I had never heat-treated flour before, but watching her face light up when she realized she could eat as much as she wanted made that extra step worth every second. The cake was almost secondary to the frosting itself.
Ingredients
- Unsalted butter: softened to room temperature so it whips up properly without leaving lumps behind
- Light brown sugar: packed tightly into the measuring cup because that moisture is what gives the frosting its cookie dough personality
- Whole milk: adds just enough creaminess to make the texture smooth without making it runny
- Pure vanilla extract: dont skimp here because it balances all that brown sugar richness
- Heat-treated flour: this non-negotiable step makes raw flour safe to eat and gives the frosting its authentic dough consistency
- Fine sea salt: cuts through the sugar and makes those chocolate chips pop
- Mini chocolate chips: smaller chips distribute more evenly throughout the frosting so you get chocolate in every bite
Instructions
- Cream the butter and sugar:
- Beat softened butter and brown sugar until the mixture looks pale and fluffy, scraping down the bowl halfway through to ensure everything gets incorporated evenly
- Add the wet ingredients:
- Pour in milk and vanilla, beating until the frosting transforms from grainy to silky smooth
- Incorporate the dry ingredients:
- Mix in heat-treated flour and salt on low speed, watching as the frosting thickens into that familiar cookie dough texture
- Fold in the chocolate chips:
- Use a spatula to gently distribute the chips, being careful not to overwork the frosting
- Frost or store:
- Spread immediately on your treats or refrigerate in an airtight container, bringing it back to room temperature before using
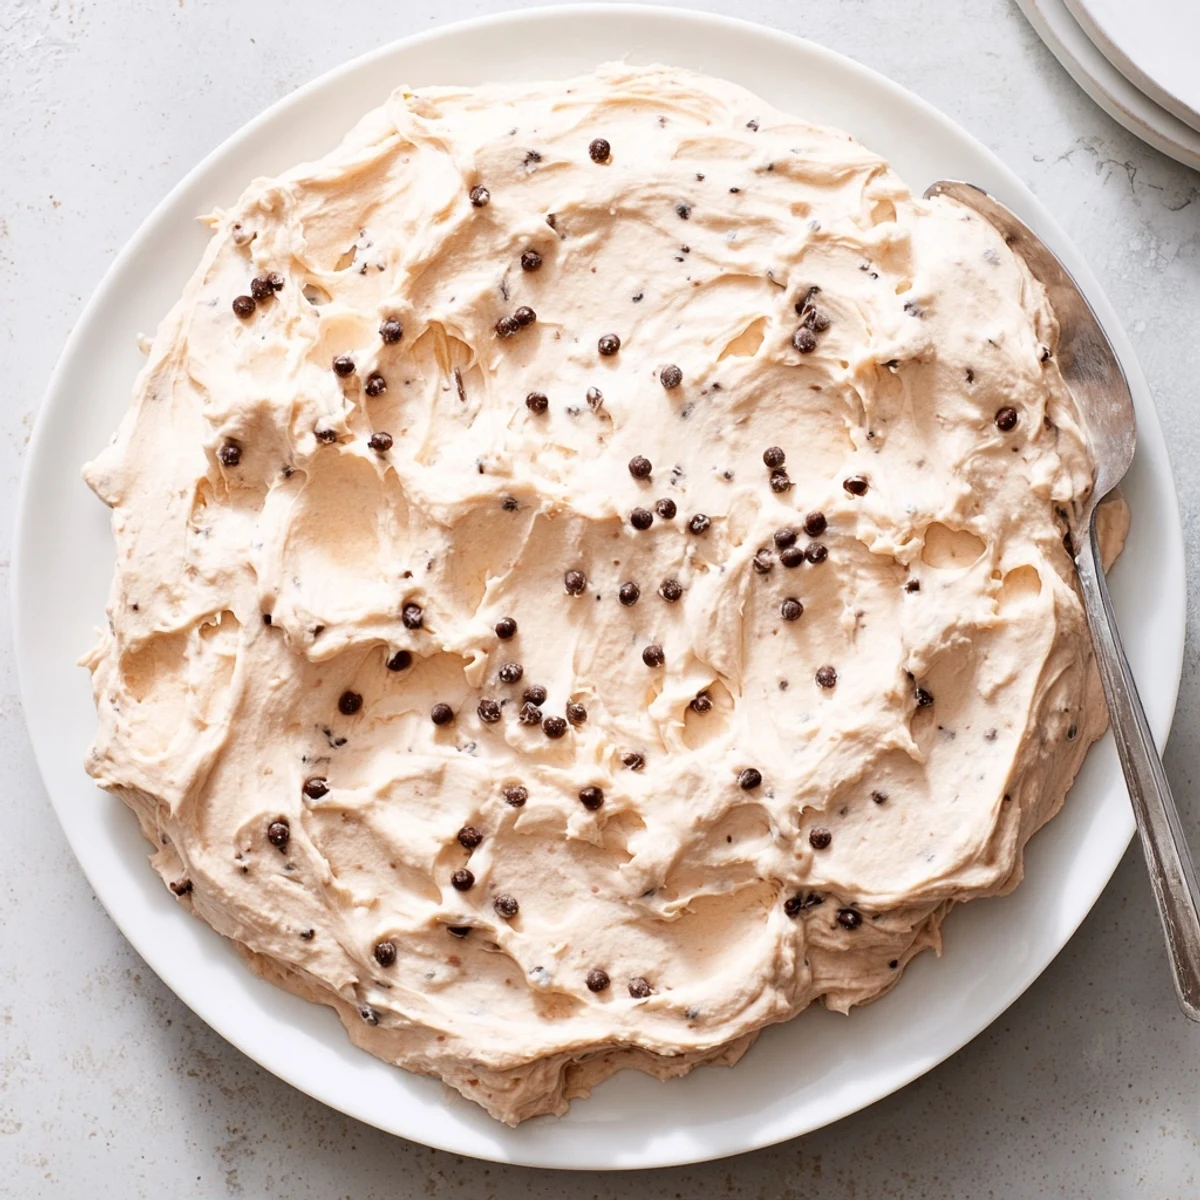 Pin it
 My friend Sarah used this on her wedding cupcakes instead of traditional fondant and guests kept asking where she bought them. Seeing people sneak second cupcakes just for the frosting reminded me why simple recipes often become the most memorable ones.
Getting the Texture Right
The key is beating that butter and brown sugar until your arms want to fall off. It should look lighter in color and feel aerated, almost like youre making creamed butter for cookies. If the frosting feels too stiff, add milk one tablespoon at a time.
Customization Ideas
Sometimes I swap half the brown sugar for white sugar when I want a lighter flavor. You can also fold in crushed Oreos or chopped nuts instead of chocolate chips. The base recipe is surprisingly forgiving once you master the texture.
Storage and Make-Ahead Tips
This frosting keeps beautifully in the refrigerator for up to three days. Bring it to room temperature and give it a quick stir before using, as it will firm up when chilled.
- Make the frosting a day ahead and let it come to room temperature while you bake
- Leftovers freeze well in a sealed container for up to a month
- Let frozen frosting thaw overnight in the refrigerator before using
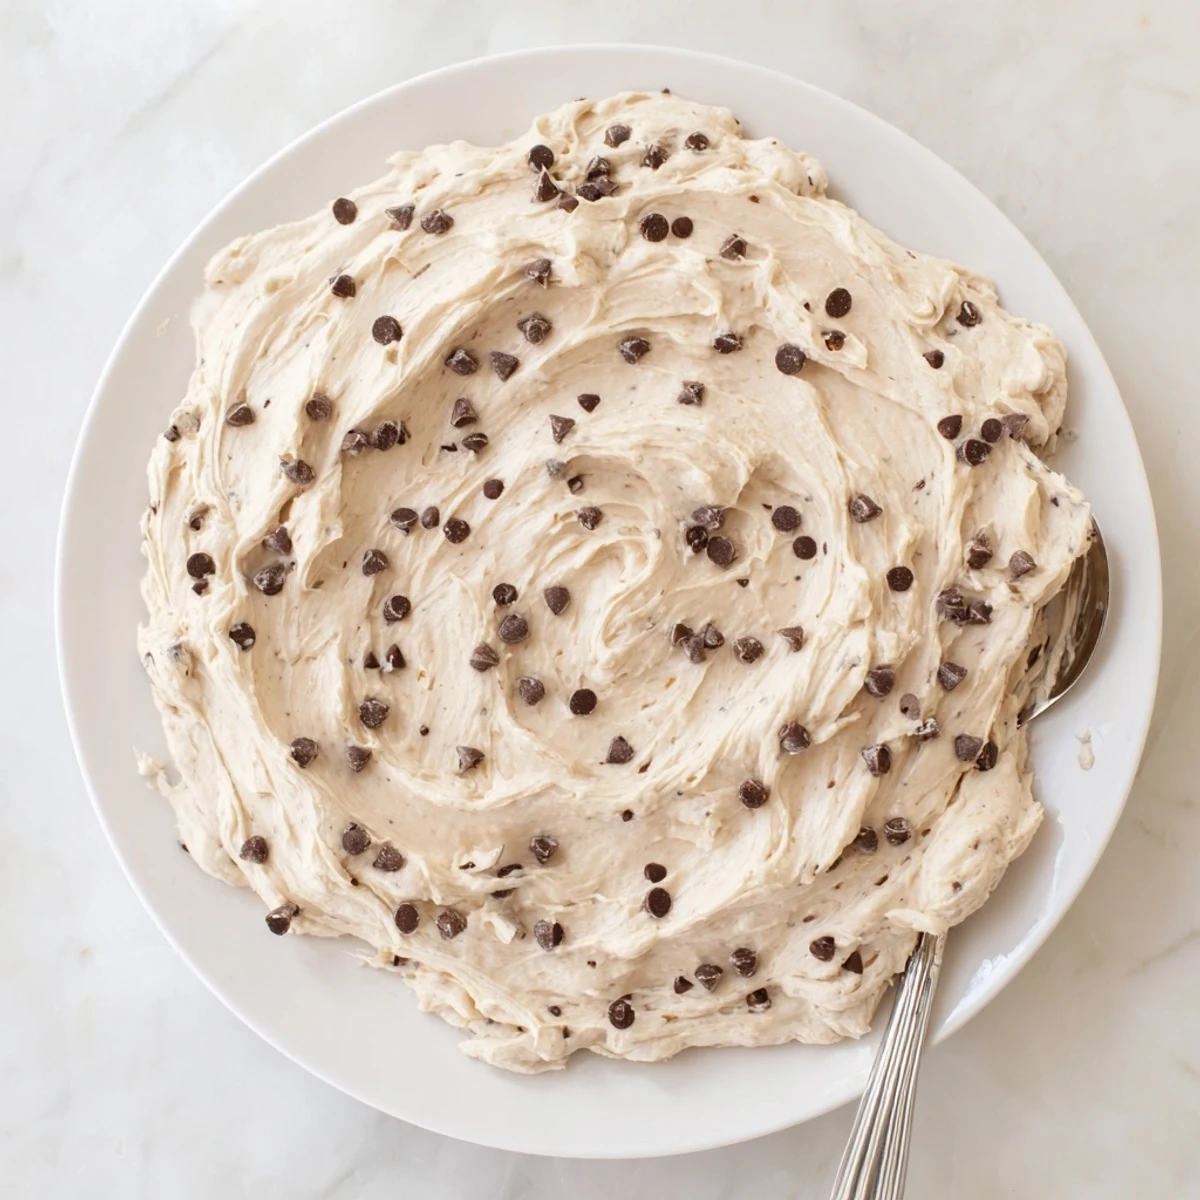 Pin it
 Whether you frost something or just grab a spoon, this recipe is basically childhood nostalgia in edible form. Enjoy every bite.
Recipe FAQs
- → Why do I need to heat-treat the flour?
-
Heat-treating flour kills any potential bacteria, making it safe to eat in this no-bake frosting. Simply spread flour on a baking sheet and bake at 350°F for 5-7 minutes, then cool completely before using.
- → Can I pipe this frosting onto cupcakes?
-
This frosting has a soft, doughy texture that doesn't hold intricate piped shapes well. It's best spread generously with a knife or offset spatula for a rustic, homemade look.
- → How should I store leftover frosting?
-
Refrigerate in an airtight container for up to 3 days. Let come to room temperature and stir before using. The texture may firm up when chilled but softens again at room temperature.
- → Can I make this frosting ahead of time?
-
Yes, prepare up to 3 days in advance and refrigerate. Bring to room temperature and give it a quick stir before frosting your treats. The flavors often improve after resting.
- → What can I use instead of mini chocolate chips?
-
Try chopped pecans or walnuts for nutty crunch, white chocolate chips for a sweeter variation, or even crushed Oreos for a cookies-and-cream twist on the classic dough flavor.
- → How much frosting does this recipe make?
-
This yields approximately 2 cups, enough to generously frost 12 cupcakes or cover a 9-inch cake. For double-layer cakes, you may want to prepare 1.5 times the recipe.
