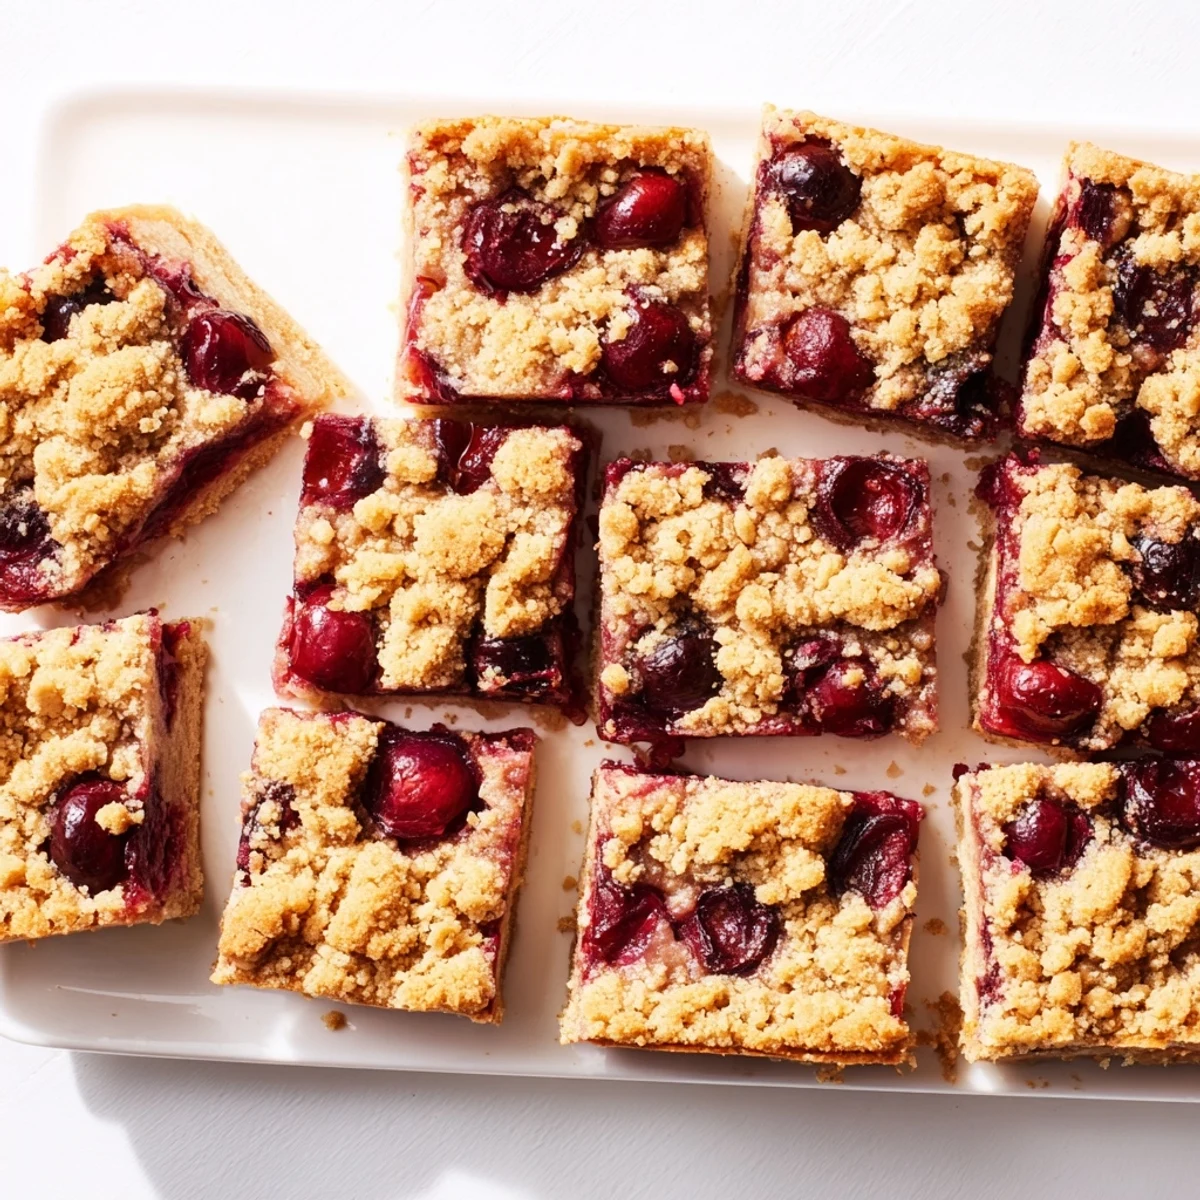
 Pin it
 These handheld treats feature a buttery, cinnamon-spiced crumble base and topping that envelops a luscious sweet-tart cherry filling. The fresh or frozen cherries are thickened with cornstarch and brightened with lemon juice and vanilla for balanced flavor.
Simply press two-thirds of the oat-free crumble mixture into your pan, layer with the cherry filling, and sprinkle remaining crumbs on top. After baking until golden and bubbly, cool completely before cutting into neat bars.
The crumble texture comes from cold butter worked into the flour mixture until coarse crumbs form. This creates that irresistible contrast between tender fruit filling and crisp, buttery topping.
The smell of butter and cinnamon hitting the hot oven air still takes me back to my tiny first apartment, where these bars saved more than one dinner party when I forgot to make dessert. Id toss them together during commercial breaks, feeling incredibly clever that something this simple could make my friends eyes light up like that. Now they are my go-to for bake sales and potlucks because they travel so beautifully and never fail to disappear first.
Last summer my neighbor brought over a mountain of cherries from her tree, and I made three batches of these bars back to back. We sat on her back porch eating them warm from the pan, cherry juice staining our fingers, while she told me about learning to bake from her grandmother. Now every time cherry season rolls around, I text her first.
Ingredients
- 2 cups (250 g) all-purpose flour: The backbone of that tender, cookie like crust that holds everything together without getting tough
- 1 cup (200 g) granulated sugar: Sweetens just enough to let the cherries shine while keeping that sophisticated grown up dessert quality
- 1/2 teaspoon baking powder: Gives the crumble a tiny lift so it bakes up lighter and more delicate
- 1/4 teaspoon salt: Wakes up all the flavors and keeps the butter from feeling too heavy
- 1/2 teaspoon ground cinnamon: Warm spices make these feel cozy and homey, like the best kind of hug from your oven
- 1 cup (225 g) unsalted butter, cold and diced: Cold butter creates those irresistible nuggets of crisp topping that make crumble so addictive
- 1 large egg: Binds the dough just enough so you can press it into the pan without it crumbling apart
- 3 cups (450 g) pitted fresh or frozen cherries, halved: Fresh cherries are a dream when in season, but frozen work beautifully and actually release more juices
- 1/2 cup (100 g) granulated sugar: Balances the natural tartness of cherries without making them cloyingly sweet
- 2 tablespoons cornstarch: Thickens those cherry juices into a perfect jammy consistency that stays put when you cut the bars
- 1 tablespoon lemon juice: Brightens everything and highlights the cherries natural acidity
- 1/2 teaspoon vanilla extract: Rounds out the fruit flavors with that classic vanilla warmth
Instructions
- Get your oven ready:
- Preheat to 350°F (175°C) and line a 9x9-inch pan with parchment, letting some hang over the sides like little handles to lift the bars out later.
- Mix the dry crumble ingredients:
- Whisk flour, sugar, baking powder, salt, and cinnamon in a big bowl until everything looks evenly combined and smells warmly spiced.
- Work in the butter and egg:
- toss in the cold butter pieces and crack in the egg, then use a pastry cutter or your fingers to mash until you have uneven, buttery crumbs throughout.
- Press in the bottom crust:
- Grab about two-thirds of the mixture and press it firmly into the bottom of your pan, keeping the layer even and making sure there are no gaps.
- Prepare the cherry filling:
- In a separate bowl, toss cherries with sugar, cornstarch, lemon juice, and vanilla until every piece is coated and the mixture looks glossy.
- Layer the cherries:
- Spread the cherry mixture evenly over the pressed crust, making sure the fruit is in one level layer.
- Sprinkle on the topping:
- Crumble the remaining dough mixture over the cherries with your fingers, leaving some bigger clumps for that gorgeous textured topping.
- Bake until golden:
- Bake for 38 to 42 minutes until the top is golden brown and you can see the cherry filling bubbling up through the crumbs in places.
- Cool completely:
- Let the bars cool completely in the pan before using the parchment handles to lift them out and cutting into sixteen squares.
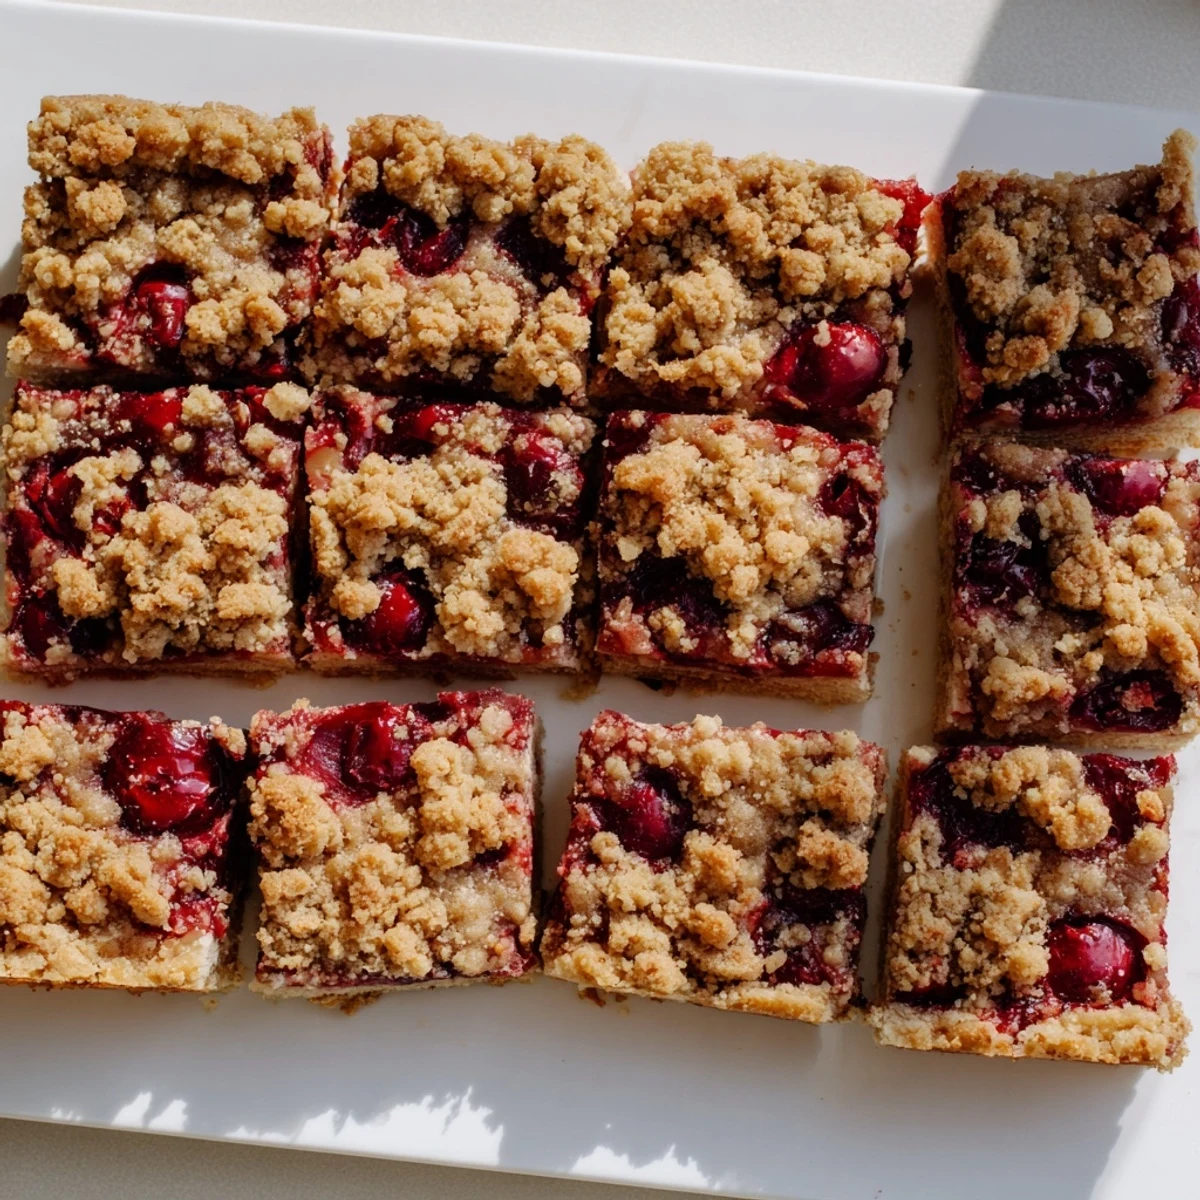 Pin it
 My daughter helped me make these for the first time last weekend, and watching her carefully press the crumbs into the pan with such concentration brought me right back to learning alongside my own mom. She insisted on cutting the very first bar herself, somewhat unevenly, and declared it the best thing shes ever made.
Making These With Frozen Cherries
Frozen cherries actually release more juice as they bake, creating an even more luscious filling layer. No need to thaw them first, just toss them straight from the freezer with the sugar and cornstarch. The baking time might stretch by a few minutes, but that extra fruitiness is worth the wait.
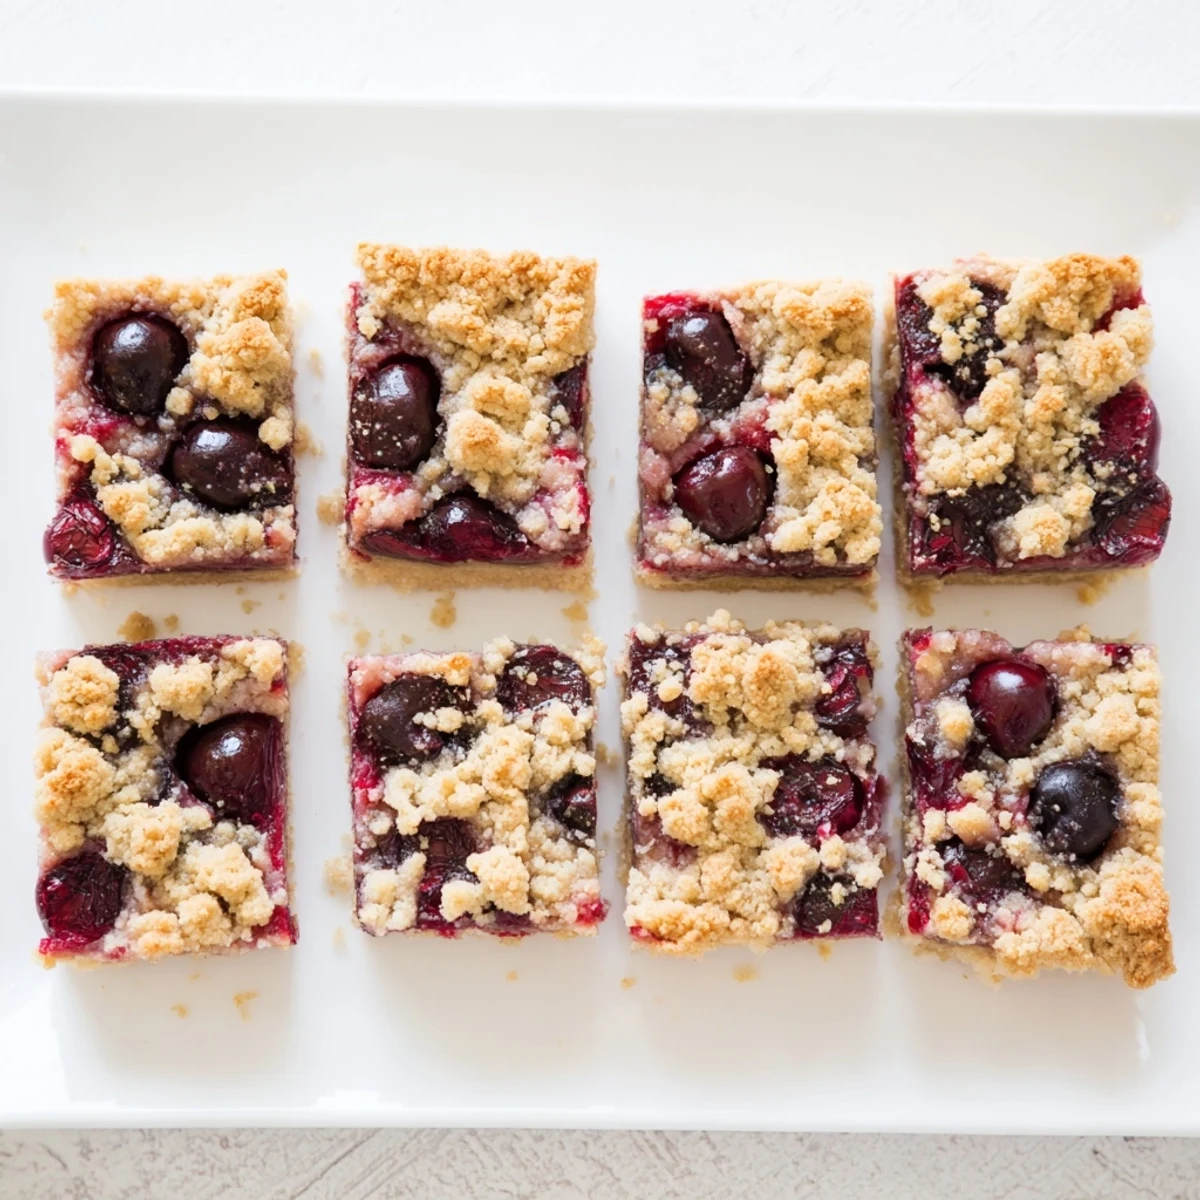
Getting Clean Cuts Every Time
Run your knife under hot water and wipe it clean between cuts for the most picture-perfect squares. A little chill time in the fridge after cooling helps too, making these firm enough to cut cleanly without losing those gorgeous cherry juices. Room temperature bars are delicious, but chilled ones hold their shape beautifully for serving.
Storage And Make-Ahead Tips
These bars keep remarkably well at room temperature for up to three days, covered tightly, though the crust will soften slightly. For longer storage, wrap individual bars and freeze them, then thaw at room temperature when that craving hits.
- They are actually fantastic straight from the freezer, like a little cherry crumble ice cream bar
- The parchment overhang makes storing the whole uncut batch so much easier
- If transporting, cut them after you arrive to keep everything tidy
 Pin it
 There is something profoundly satisfying about a dessert that feels special enough for company but humble enough for a Tuesday afternoon. These cherry crumble bars have become that recipe in my house, the one I make when I want to share something that feels like a warm embrace.
Recipe FAQs
- → Can I use frozen cherries instead of fresh?
-
Yes, frozen cherries work beautifully. No need to thaw first—simply toss them with the sugar and cornstarch mixture. They may require an extra 2-3 minutes of baking time.
- → How should I store these bars?
-
Keep in an airtight container at room temperature for up to 3 days. For longer storage, refrigerate for up to a week. They also freeze well for up to 3 months.
- → Can I make these gluten-free?
-
Absolutely. Substitute the all-purpose flour with a 1:1 gluten-free flour blend. The texture and taste remain virtually identical.
- → Why must I cool completely before cutting?
-
The cherry filling needs time to set as it cools. Cutting while warm causes the bars to crumble and the filling to run. Cooling ensures clean, neat slices.
- → What other fruits can I use?
-
Mixed berries, blueberries, raspberries, or sliced stone fruits like peaches or plums all work wonderfully. Adjust sugar based on fruit sweetness.
