 Pin it
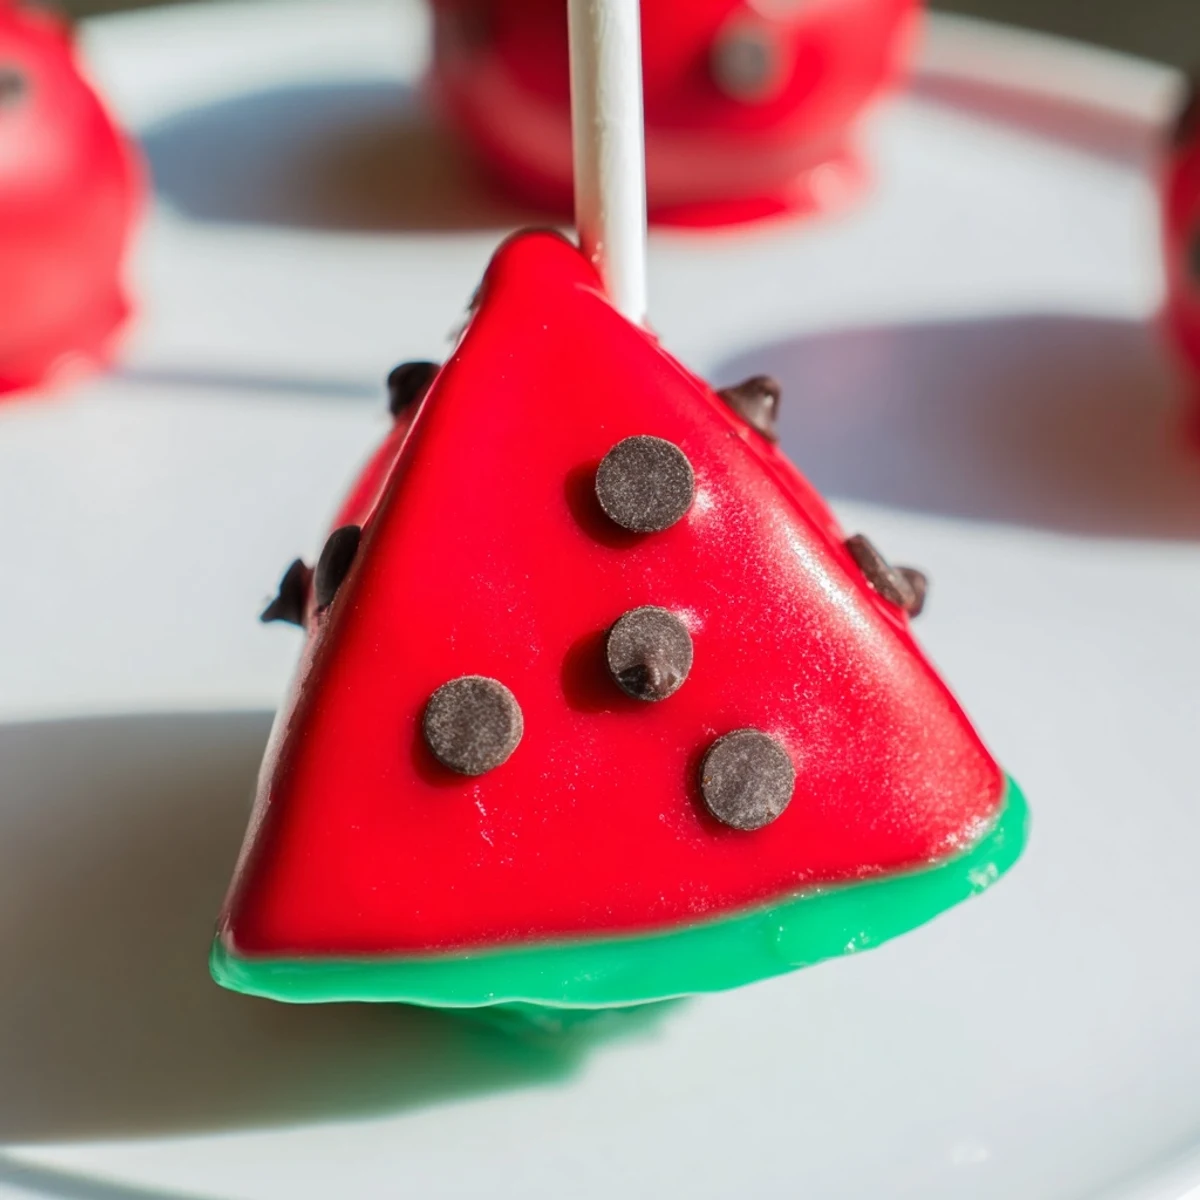
 These playful watermelon-shaped cake pops combine moist vanilla cake with rich cream cheese frosting, formed into teardrop slices and coated in vibrant pink and green candy melts. The chocolate chip "seeds" add realistic detail while providing a satisfying crunch. Perfect for summer gatherings, birthday parties, or as a fun cooking project with kids. Each pop delivers the classic vanilla cake flavor with a creamy, candy-coated exterior that mimics everyone's favorite summer fruit.
My niece's birthday party last July was sweltering, the kind of heat where even the ice cream melted before we could serve it. I'd promised watermelon treats but sliced fruit was proving disastrous in the sun. Standing there watching sticky juice drip everywhere, I wondered if I could capture that summer essence in something handheld and mess-free. These cake pops were my midnight solution, and they've been my go-to summer crowd-pleaser ever since.
I brought a batch to my neighbor's block party last summer, setting them on a bright blue serving tray right next to the actual watermelon slices. For the first hour, everyone kept bypassing the real fruit for the cake pops. One little girl actually asked if I could make her birthday cake look like a giant watermelon slice. Now they're the first thing people ask me to bring to any summer gathering.
Ingredients
- Vanilla cake mix or homemade cake: The cake base needs to be completely cool before crumbling, so I usually bake it the night before or use leftover cake from another project
- Eggs: Room temperature eggs blend better with the cake mix for a more even texture
- Vegetable oil: This keeps the cake moist and tender, which is crucial because we're adding more moisture later with frosting
- Cream cheese: Make sure it's properly softened or you'll get lumps in your frosting that make shaping the pops difficult
- Unsalted butter: I let this sit out for at least 30 minutes so it creams beautifully with the cheese
- Powdered sugar: Sift this first if it's been sitting in your pantry for a while to avoid any gritty texture
- Pure vanilla extract: Don't skimp here since vanilla is the primary flavor in the cake base
- Pink or red candy melts: I've found that adding a tiny bit of vegetable oil helps these melt into a perfectly smooth coating
- Green candy melts: You might need more than 200g depending on how deep you want the rind to look
- Lollipop sticks: Dip each stick in melted candy before inserting to create a secure anchor that won't fall out later
- Mini chocolate chips: These create that perfect watermelon seed look without any black color mixing needed
- Vegetable oil: Keep this handy for thinning the candy melts if they're too thick for smooth dipping
Instructions
- Bake your cake base:
- Prepare the vanilla cake according to package directions or your favorite homemade recipe. Let it cool completely on a wire rack before proceeding
- Whip up the frosting:
- Beat the softened cream cheese and butter together until fluffy, then gradually add powdered sugar and vanilla until everything is silky smooth
- Create the pop mixture:
- Crumble the cooled cake into fine pieces in a large bowl. Add frosting one spoonful at a time, mixing gently until the mixture holds together when squeezed but isn't overly sticky
- Shape into watermelon forms:
- Roll the mixture into 24 even balls, then gently pinch one side to create a slight teardrop or triangular shape that mimics a watermelon wedge
- Prep the sticks:
- Melt a small amount of green candy melts and dip about 1cm of each lollipop stick into the chocolate before inserting it into the shaped cake balls. Place them in the freezer for 20 minutes to set
- Add the red coating:
- Melt the pink candy melts with a teaspoon of oil if needed. Dip each chilled pop into the red coating, letting excess drip off, then press mini chocolate chips into the wet surface while the coating is still soft
- Create the green rind:
- Melt the green candy melts and dip just the bottom portion of each cake pop to form that characteristic watermelon rind. Stand them upright to set completely
 Pin it
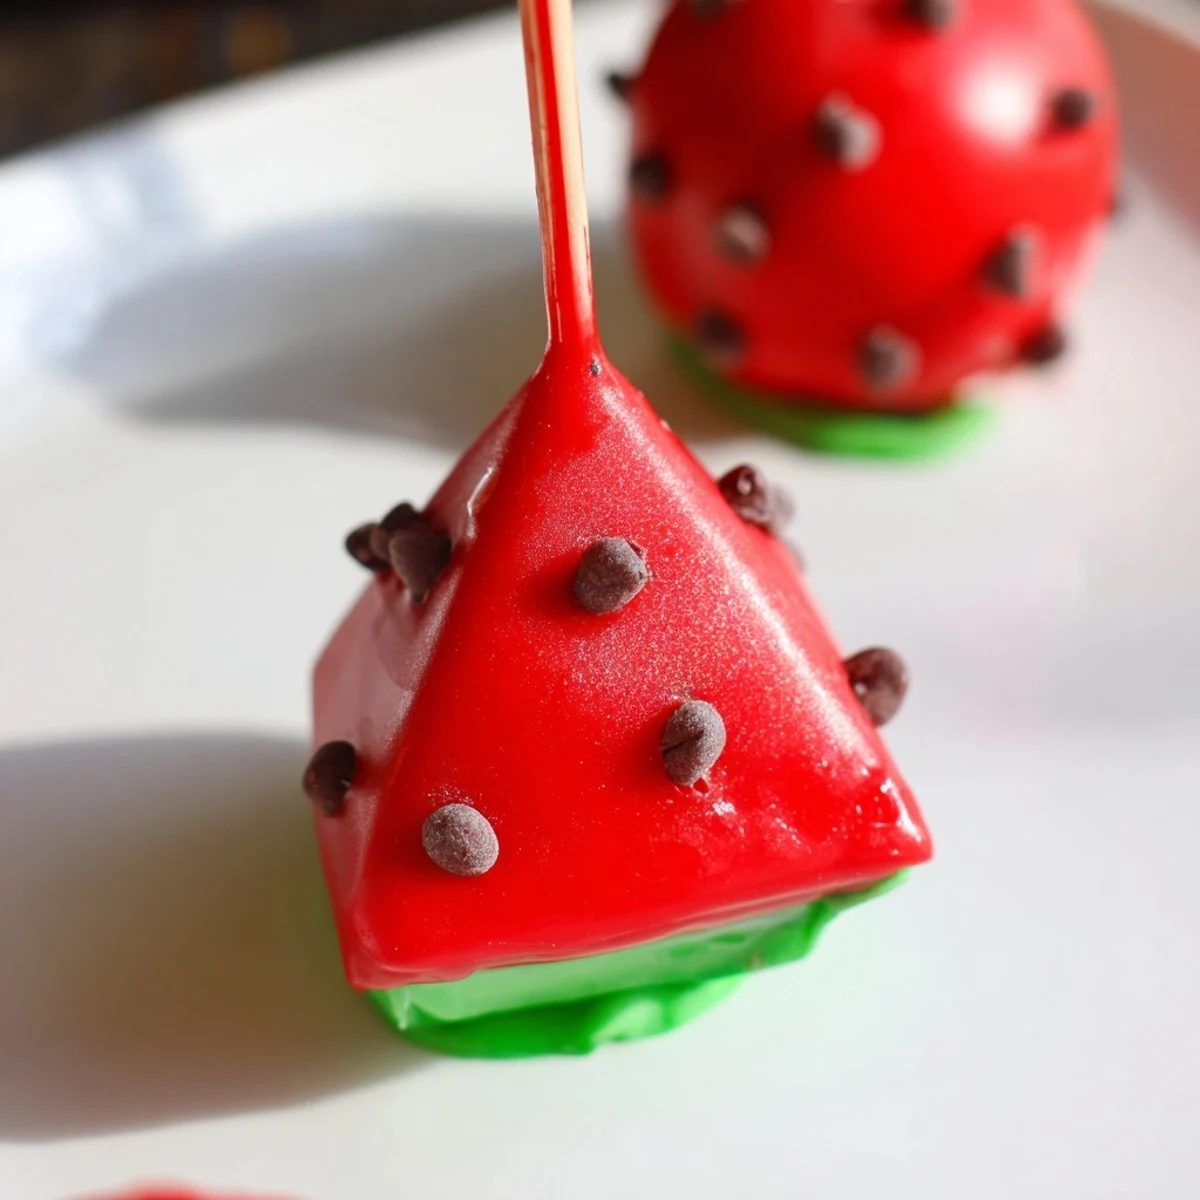
 Last summer I made these for my daughter's soccer team end-of-season party. The coach told me later that the kids were so busy examining the tiny chocolate seed details that they actually sat down and ate slowly instead of grabbing treats and running back to the field. Sometimes it's the little touches that make a simple dessert feel special.
Getting That Watermelon Shape Right
I've found that gently pressing the cake balls against the edge of my counter creates that natural watermelon wedge shape better than trying to sculpt it with my hands. The pressure should be light, just enough to create a slight angle on one side. Don't worry if they're not perfect, since the candy coating hides most irregularities anyway.
Working With Candy Melts
Temperature matters more than you'd think when working with candy melts. I keep a bowl of warm water nearby and set my melting bowl inside it if the candy starts to thicken while I'm working. This keeps everything at that perfect dipping consistency without needing to reheat and potentially seize the chocolate.
Display And Serving Ideas
These pops look stunning displayed upright in a real watermelon half that you've hollowed out and stabilized with crumpled foil at the bottom. It creates such a wow factor at parties and keeps the pops stable while the coating sets completely.
- Chill your serving display for 15 minutes before inserting the pops to help the coating set faster
- Wrap each pop individually in clear treat bags tied with green ribbon for party favors
- These stay fresh in the refrigerator for up to 3 days if stored in an airtight container
 Pin it
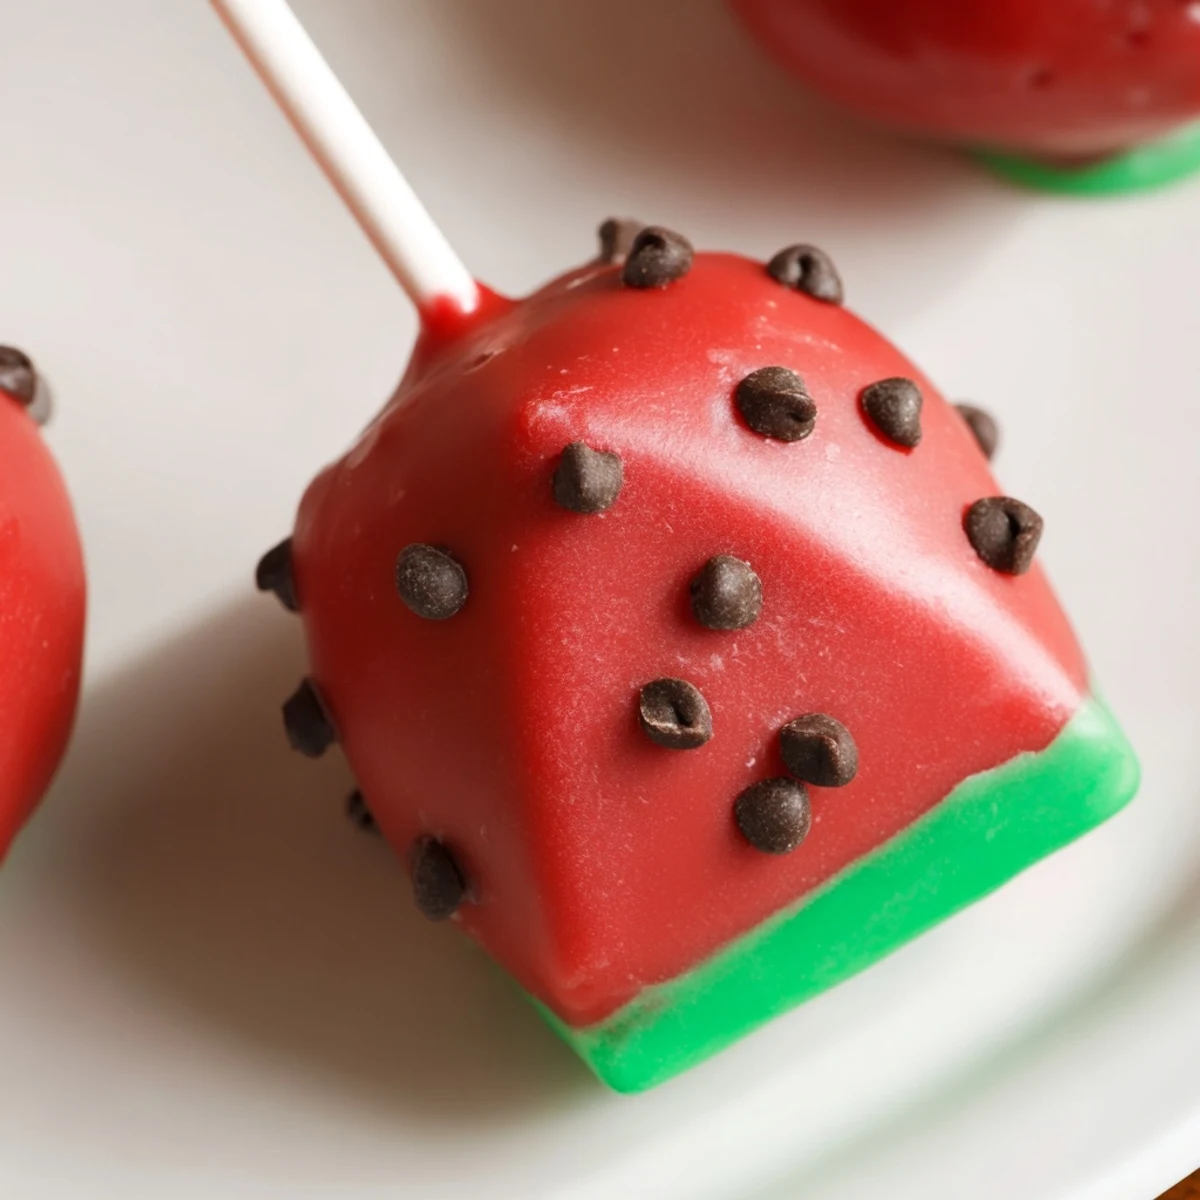
 There's something genuinely satisfying about biting into these and getting that perfect contrast between the crisp candy shell and the soft cake inside. They've become my signature summer treat, and I hope they bring that same joy to your kitchen.
Recipe FAQs
- → How far in advance can I make these?
-
These can be made up to 2 days ahead. Store in an airtight container at room temperature or in the refrigerator. The candy coating helps keep them fresh and prevents drying.
- → Can I use store-bought cake and frosting?
-
Absolutely! Using a ready-made cake and store-bought frosting saves time without sacrificing taste. Just ensure the cake is completely cooled before crumbling.
- → What if my candy melts are too thick?
-
Add vegetable oil one teaspoon at a time, stirring thoroughly until you reach a smooth, dippable consistency. This helps the coating flow evenly and prevents clumping.
- → How do I prevent the sticks from falling out?
-
Dip each stick tip in melted candy before inserting—this acts as glue when it hardens. Chill the pops for at least 20 minutes before dipping to ensure they're secure.
- → Can I make these without special equipment?
-
You don't need a cake pop stand! Use a sturdy piece of styrofoam, an egg carton with holes poked in the bottom, or even a tall glass filled with uncooked rice to hold the pops upright while setting.
- → What's the best way to get the watermelon shape?
-
Start by rolling a ball, then gently pinch one side to create a slight point. The teardrop shape mimics a watermelon wedge. Don't worry about perfection—slight variations make them look more authentic!
