 Pin it
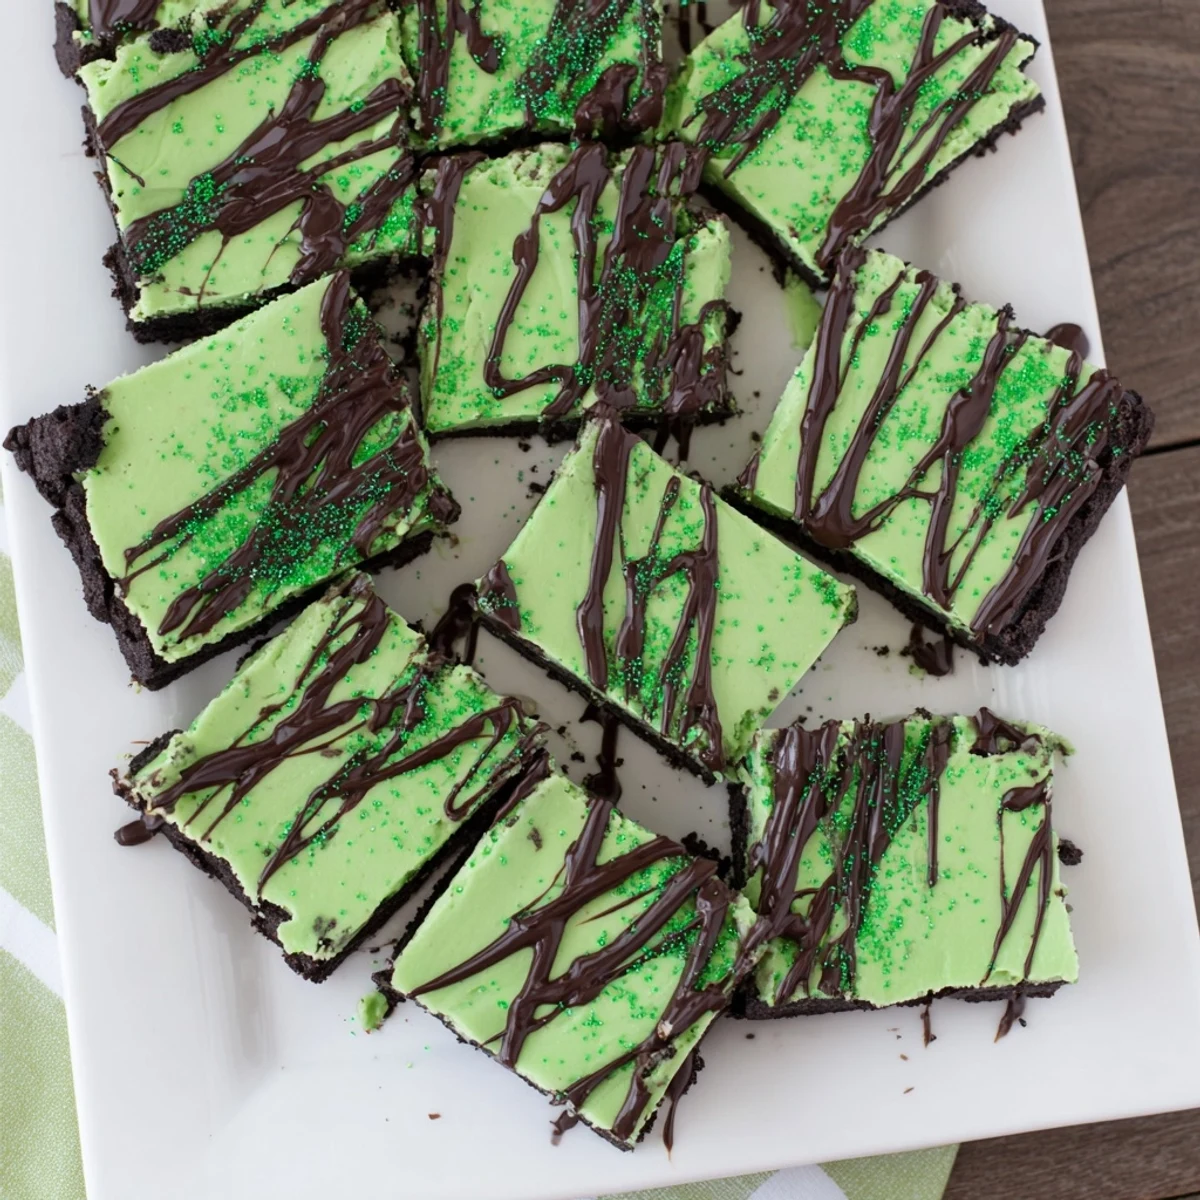
 These indulgent squares combine the best of both worlds - silky cheesecake meets rich fudge in a festive St. Patrick's Day treat. The chocolate cookie crust provides a satisfying crunch, while the creamy white chocolate layer gets its signature flavor from Irish cream liqueur and refreshing peppermint extract.
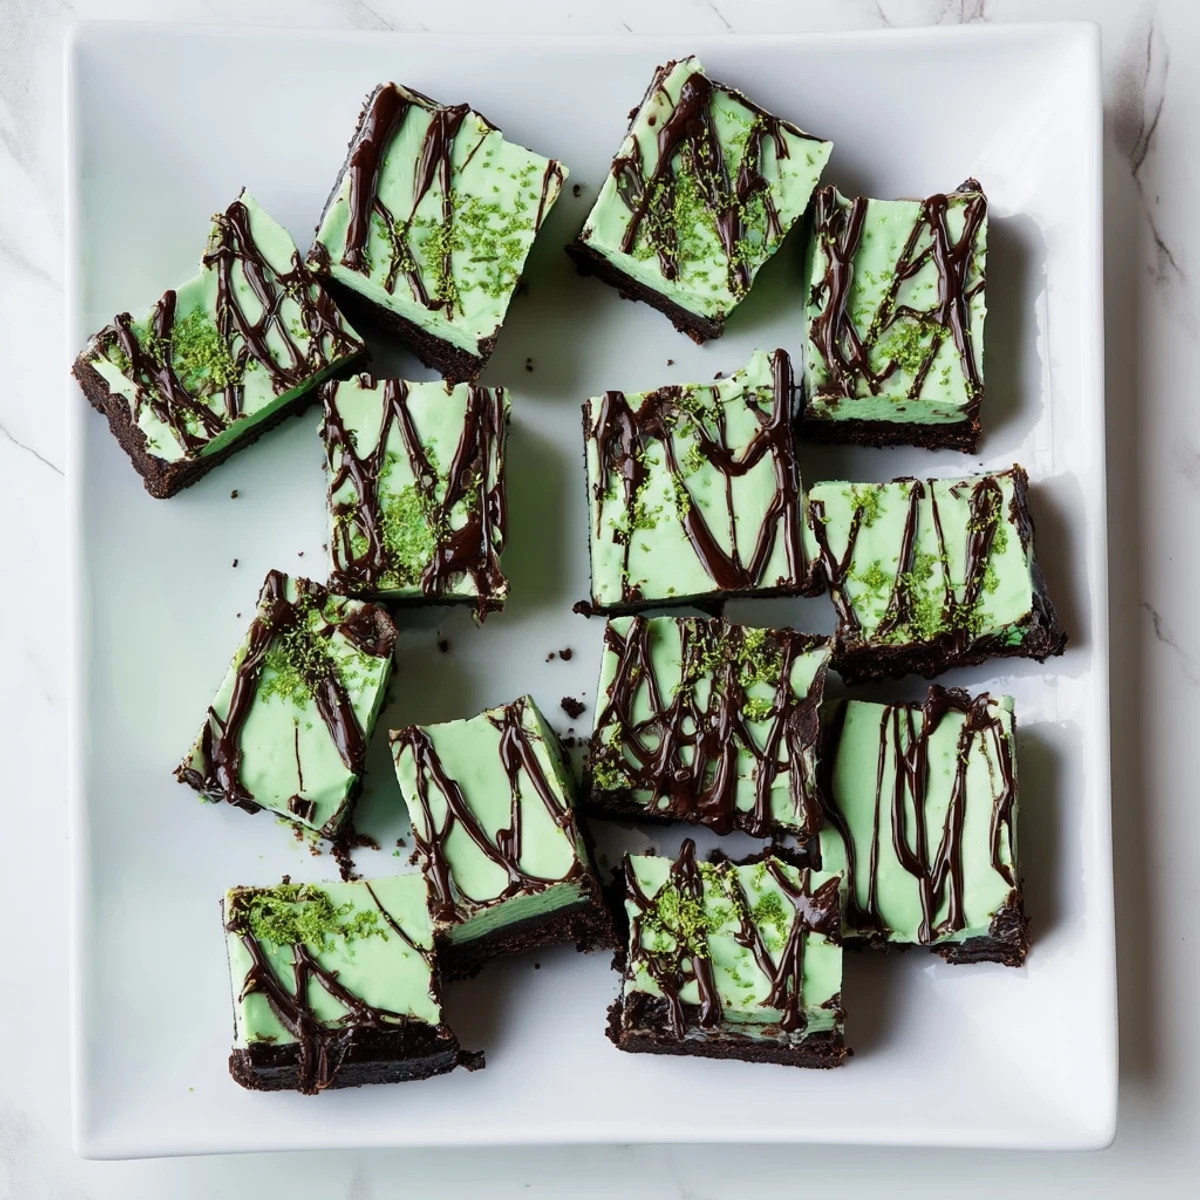
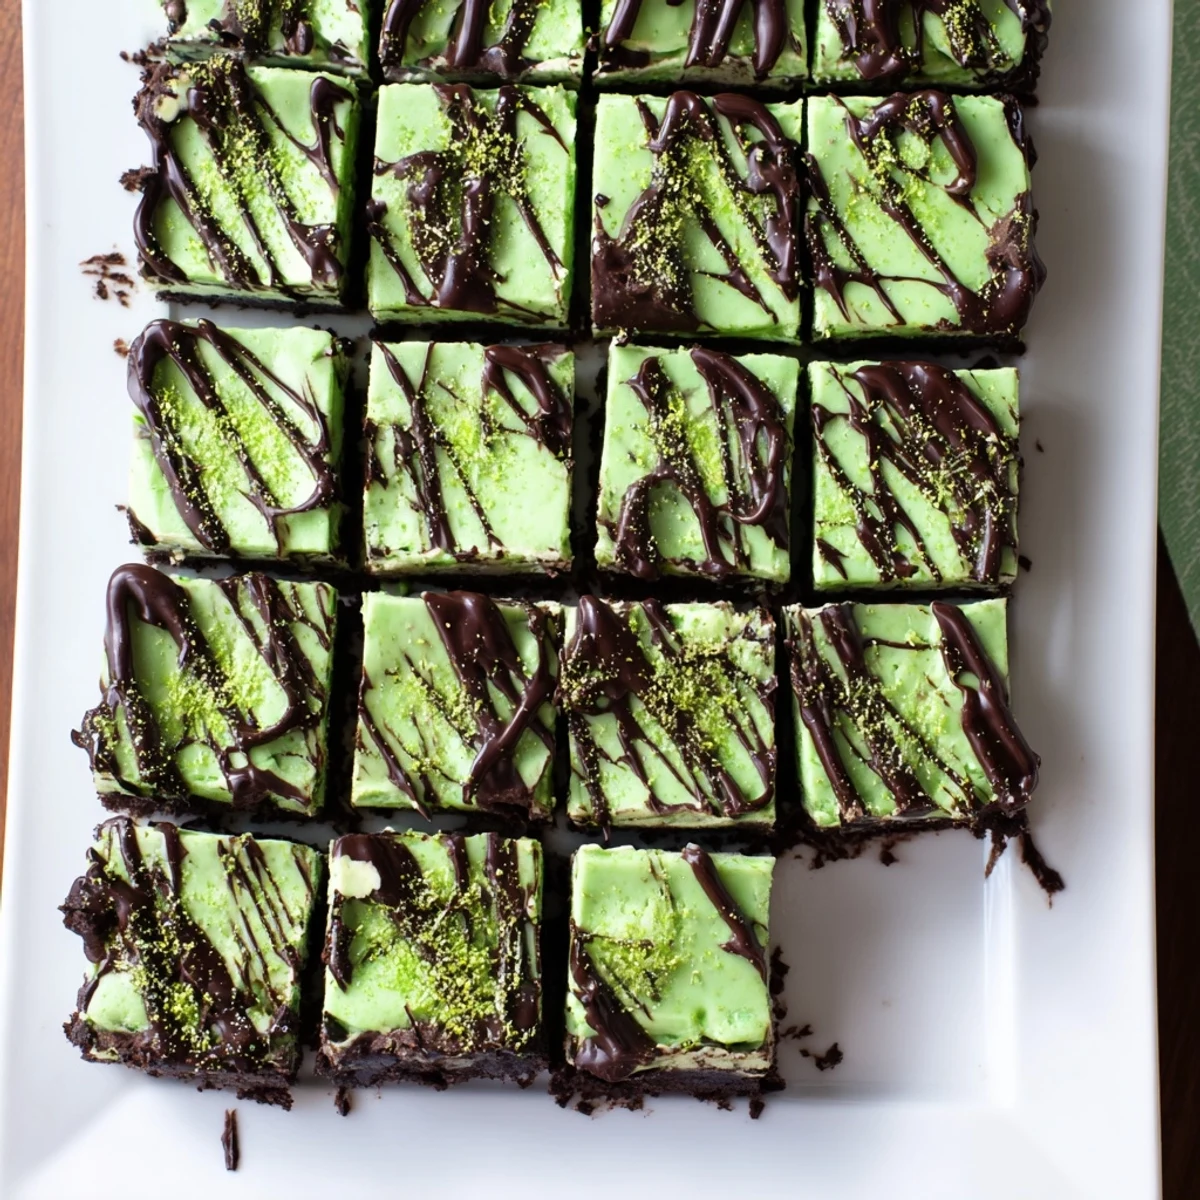
What makes these bars special is their texture - dense and fudgy like traditional fudge, but with the tangy creaminess of cheesecake. The optional green coloring adds a festive touch, and the dark chocolate drizzle creates beautiful contrast.
Perfect for parties, holiday gatherings, or whenever you want something truly special.
The kitchen counter was scattered with green food coloring bottles like I was conducting some kind of St. Patrick's Day science experiment. My roommate walked in, eyeing the white chocolate melting on the stove suspiciously, until that first wave of mint hit her. We ended up eating the scraps straight from the bowl with spoons, standing over the sink like guilty teenagers.
I brought these to a friend's March birthday party last year, tucked into a green tin with a shamrock sticker slapped on top. The birthday girl texted me at midnight that same night, demanding the recipe because her husband had eaten half the pan while everyone was playing board games. Now they are a standing request for every gathering.
Ingredients
- Chocolate cookie crumbs: Oreos with the filling scraped out work perfectly here. I have found that chocolate wafers give a cleaner taste but sometimes you just need that nostalgic cookie flavor
- Unsalted butter: Melt it completely so every crumb gets coated and pressed together. This creates a solid foundation that will not crumble when you cut the squares
- Cream cheese: Absolutely must be softened to room temperature. I learned this the hard way when I tried to rush it once and ended up with tiny lumps throughout the fudge layer
- White chocolate chips: Use good quality white chocolate here since it is the main flavor. Cheaper brands can seize or taste waxy and will ruin the silky texture
- Sweetened condensed milk: This creates that fudge-like consistency. Do not confuse it with evaporated milk or the bars will not set properly
- Irish cream liqueur: Baileys is classic but any Irish cream works. The alcohol bakes out slightly but leaves behind those warm vanilla and cocoa notes
- Peppermint extract: Start with one teaspoon. Mint extract is potent and you cannot undo it once added. Better to add more than to overpower the whole batch
- Green food coloring: Two to three drops usually gives a soft mint color without looking artificial. Skip it if you prefer the natural ivory shade of white chocolate
- Salt: Just a quarter teaspoon balances all that sugar. It makes the mint pop and keeps the white chocolate from becoming cloyingly sweet
Instructions
- Prep your pan like you mean it:
- Crumple parchment paper into a ball then smooth it out. This makes it more pliable so it fits into corners neatly. Leave those overhangs long. You will be grateful later when you can lift the whole slab out in one piece
- Build the chocolate foundation:
- Mix those chocolate crumbs with melted butter until it looks like wet sand. Press it into your pan with the bottom of a measuring cup. The flat bottom presses the crust evenly without your fingers leaving uneven divots. Pop it in the fridge while you make the filling
- Melt white chocolate gently:
- Set up a double boiler with simmering water. Stir constantly until the white chocolate is completely smooth. White chocolate is temperamental and can seize if it gets too hot. Low and slow wins this race every time
- Cream that cheese:
- Beat your room temperature cream cheese until it is smooth and creamy. Scrape the bowl well. You want absolutely no lumps because this is the base of everything that follows
- Bring it all together:
- Pour in that melted white chocolate along with the sweetened condensed milk, Irish cream, peppermint extract, and salt. Mix until it is glossy and smooth. Now add your food coloring if you want that festive green tint
- Layer and smooth:
- Pour the fudge mixture over your chilled crust. Use an offset spatula or the back of a spoon to smooth the top completely. Tap the pan on the counter a few times to release any air bubbles
- Patience is essential here:
- Refrigerate for at least three hours but overnight is even better. The texture improves as everything sets and the flavors meld. I promise it is worth the wait
- The finishing touch:
- Once the fudge is completely set, melt some dark chocolate and drizzle it over the top. Add those green sprinkles immediately while the chocolate is still wet so they stick
- Clean cuts make perfect squares:
- Use a sharp knife and wipe the blade between every single cut. This simple step keeps the layers from smearing together. You will get those restaurant-clean edges that make the bars look professional
 Pin it
 My sister called me last February completely panicked because she had promised to bring dessert to a work potluck but had zero time to bake. I talked her through these bars on the phone and she texted afterward that people asked for the recipe more than anything else at the party. Now she makes them for every occasion and pretends they are complicated.
Making These Without Alcohol
The non-alcoholic version tastes just as creamy and minty. Replace the Irish cream with an extra tablespoon of sweetened condensed milk plus a teaspoon of vanilla extract. You lose that subtle warmth from the liqueur but gain a cleaner vanilla flavor that many people prefer.
Getting That Perfect Green Color
Gel food coloring gives you more control than liquid. Start with a toothpick amount and mix thoroughly. You can always add more but you cannot take it back. I once added too much and the bars looked like something radioactive. They tasted great but the color was alarming.
Storage and Serving
These bars need to stay refrigerated because of the cream cheese. They will keep for a week in an airtight container though honestly they have never lasted that long in my house. Let them sit at room temperature for ten minutes before serving for the ideal texture.
- Layer pieces of parchment between stacked squares so they do not stick together
- Cut them while slightly cold but serve at room temperature for the creamiest mouthfeel
- These freeze beautifully for up to three months if you wrap them tightly
 Pin it
 There is something satisfying about a dessert that looks impressive but requires zero actual baking. These have become my go-to when I need something festive but do not want to turn on the oven.
Recipe FAQs
- → Can I make these without alcohol?
-
Yes, simply replace the Irish cream liqueur with an equal amount of sweetened condensed milk plus 1 teaspoon of vanilla extract. The bars will still be creamy and delicious.
- → How long do these need to chill?
-
Refrigerate for at least 3 hours, but overnight chilling produces the cleanest cuts and firmest texture. The longer chilling time allows flavors to meld together perfectly.
- → Can I freeze these squares?
-
Absolutely! Wrap individual squares in plastic wrap, then store in a freezer-safe container for up to 3 months. Thaw in the refrigerator overnight before serving.
- → Why use a double boiler for melting chocolate?
-
White chocolate scorches easily over direct heat. A double boiler provides gentle, indirect heat that melts it smoothly without seizing or burning. If using a microwave, heat in 30-second intervals.
- → How can I get clean cuts?
-
Use a sharp knife warmed under hot water, wiping the blade clean between each cut. For extra precision, chill the squares thoroughly and cut while cold.
