 Pin it
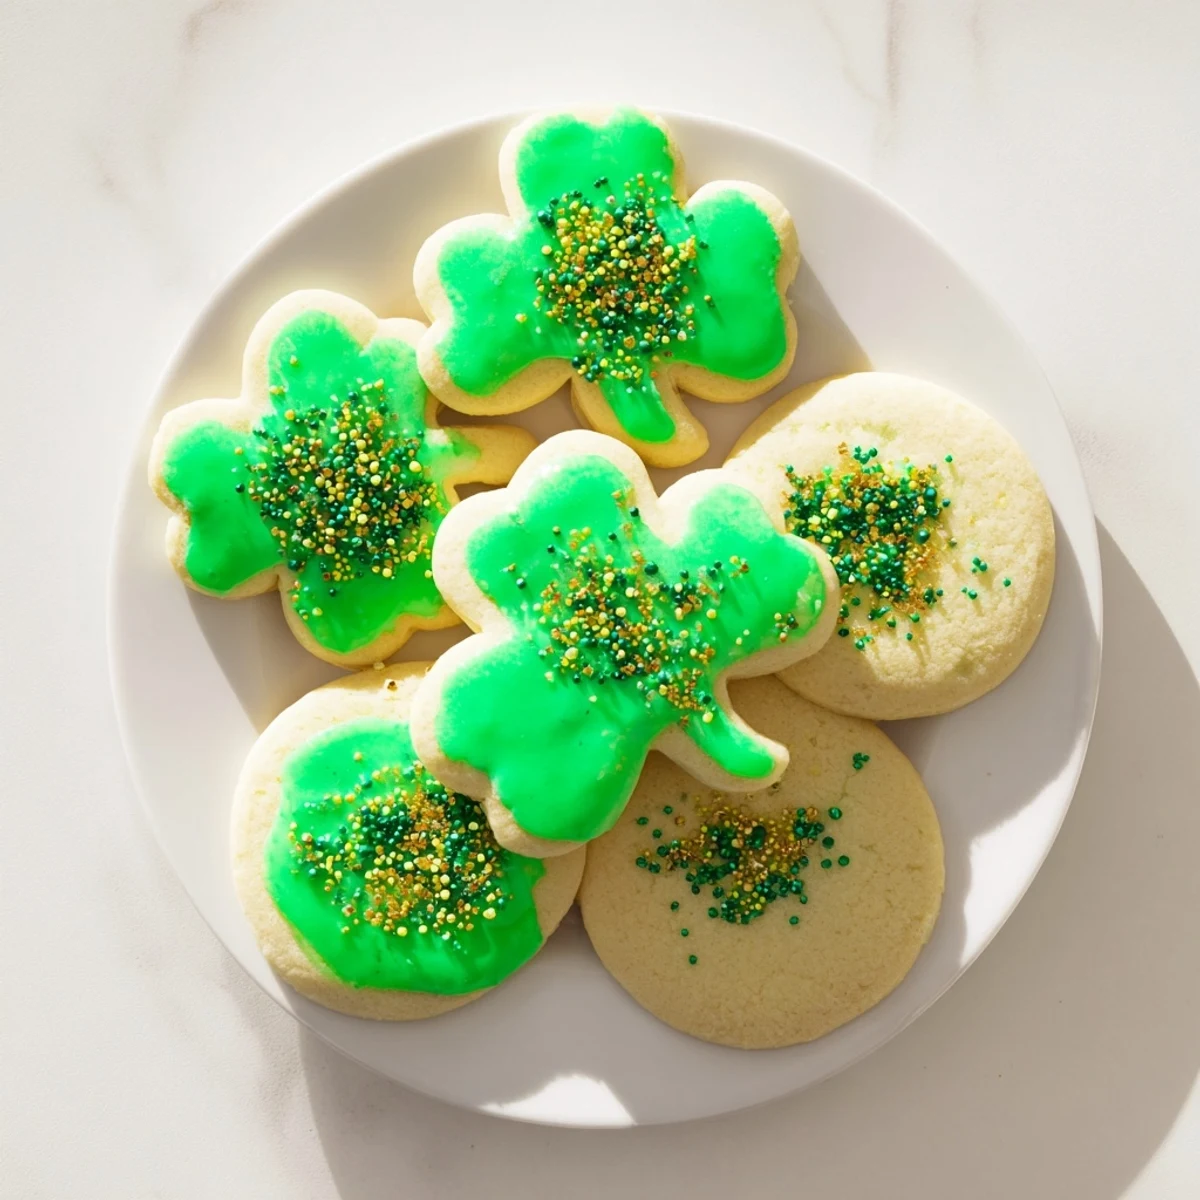
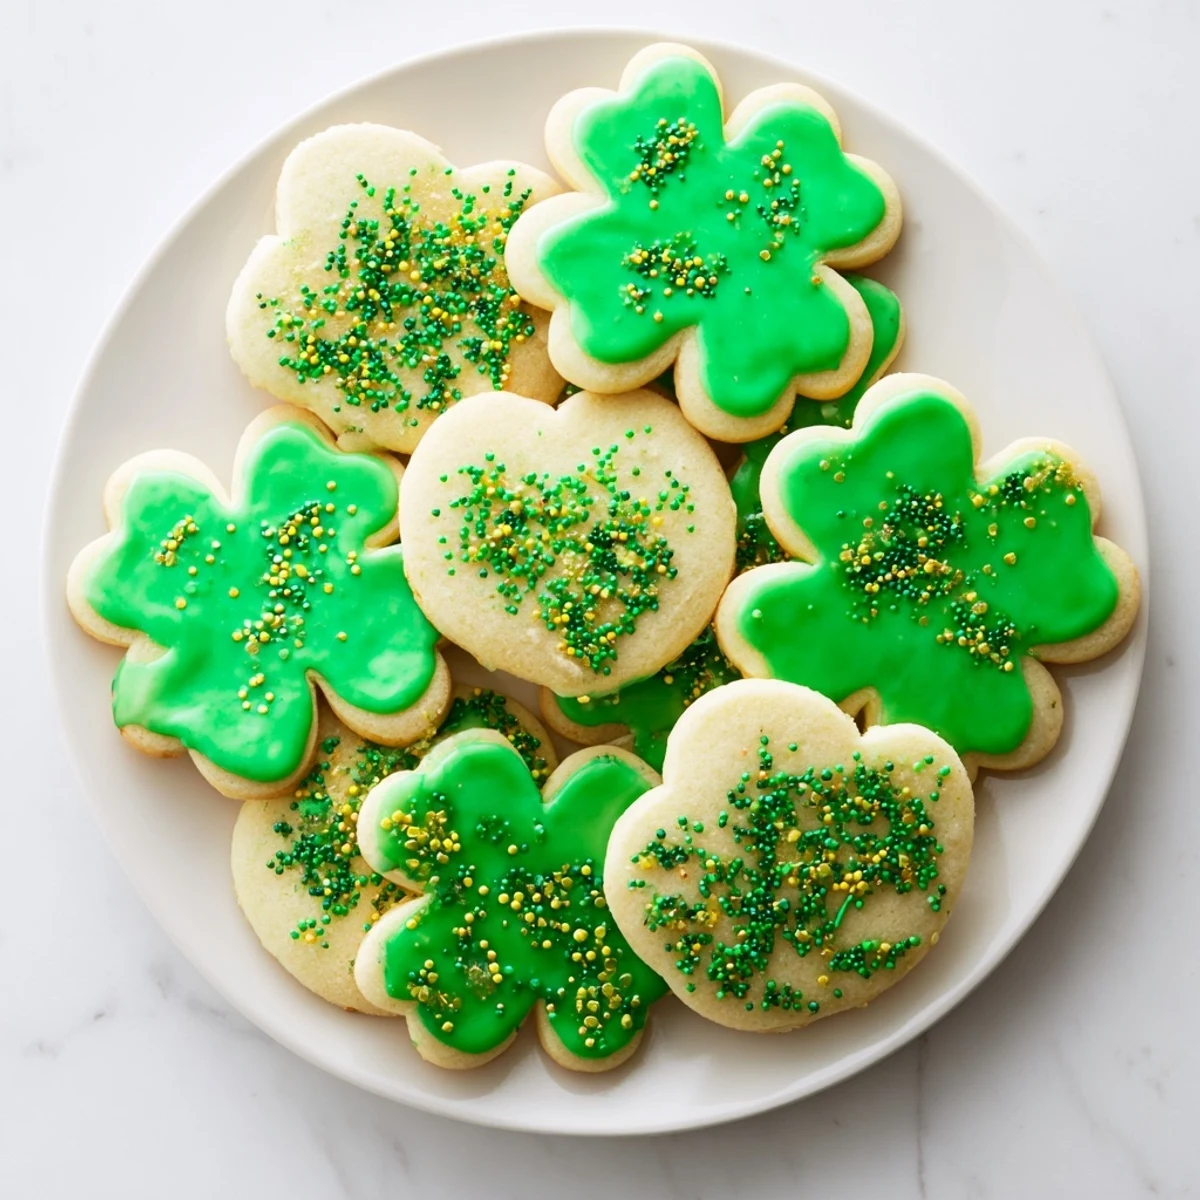
 Create delightful sugar cookies with a tender, buttery texture that melts in your mouth. The dough features pure vanilla extract with optional almond notes for depth. After chilling, roll and cut into shamrock shapes for authentic St. Patrick's Day charm. The signature green icing uses powdered sugar whisked with milk and vanilla, tinted to your preferred shade. Top with sprinkles for extra festivity. These cookies stay fresh for five days, making them perfect for preparing ahead of celebrations.
Last March, my youngest came home from school absolutely determined that we needed \"something green and special\" for the class party. The snow was still melting outside, but she had shamrocks on the brain and wouldn\'t take no for an answer. We ended up making these sugar cookies while dancing to Irish music in our socks, and the whole house smelled like butter and vanilla by dinner time. Now it\'s just not St. Patrick\'s Day without them.
One year I brought these to a friend\'s St. Paddy\'s Day dinner, fully expecting them to sit untouched beside all the soda bread and Irish stew. By the time dessert rolled around, people were literally hovering over the platter, and the shamrock shapes disappeared first. Something about that bright green icing just makes people happy, even the ones who swear they don\'t like sweets.
Ingredients
- 2 ½ cups all-purpose flour: This is your foundation, so measure it properly—either weigh it or fluff it up before spooning it into your measuring cup
- ½ teaspoon baking powder: Just enough to give these cookies the perfect tender lift without making them cakey or puffy
- ¼ teaspoon salt: Don\'t skip it, that tiny pinch balances all the sugar and wakes up the vanilla flavor
- ¾ cup unsalted butter, softened: Leave it on the counter for exactly one hour—you want it yielding to your touch, not melting or greasy
- 1 cup granulated sugar: Cream this thoroughly with the butter until it looks pale and fluffy, that\'s what creates those tender edges
- 1 large egg: Bring it to room temperature first so it incorporates smoothly instead of turning your dough into a curdled mess
- 1 teaspoon vanilla extract: Use the good stuff here since this is a simple recipe where every flavor shines through
- ½ teaspoon almond extract: This is optional but honestly, it\'s what makes people ask \"what\'s your secret\" over and over again
- 2 cups powdered sugar: Sift it first or your icing will have tiny lumps that drive you crazy later
- 2–3 tablespoons milk: Start with two tablespoons and add more only if your icing is too thick to spread
- 1 teaspoon vanilla extract: Pure vanilla bean paste makes the icing look like tiny speckled snow, which is gorgeous
- Green food coloring: Gel coloring gives you that vibrant emerald green without adding extra liquid to your icing
- Green and gold sprinkles: Hit them with sprinkles while the icing is still wet so they actually stick instead of rolling right off
Instructions
- Whisk the dry trio together:
- In a medium bowl, combine your flour, baking powder, and salt until they\'re evenly distributed, then set this aside while you tackle the butter.
- Work that butter and sugar:
- Beat your softened butter and sugar for a full 2 to 3 minutes until the mixture looks pale and fluffy, stopping halfway to scrape down the sides of the bowl.
- Add the egg and extracts:
- Crack in your egg, pour in both extracts, and mix until everything is beautifully combined—the batter should look smooth and glossy.
- Bring in the flour mixture:
- With your mixer on low speed, gradually add those dry ingredients and mix just until you no longer see visible flour streaks, because overmixing makes tough cookies.
- Shape and chill the dough:
- Divide your dough in half, form each piece into a flat disk, wrap tightly in plastic, and chill for at least one hour—this step is non-negotiable for cut-out cookies that hold their shape.
- Preheat and prep:
- Heat your oven to 350°F and line your baking sheets with parchment paper, which means zero scrubbing later and perfectly browned bottoms.
- Roll and cut:
- On a lightly floured surface, roll one disk at a time to ¼-inch thickness and cut out shamrocks or rounds, gathering and re-rolling scraps only once to keep the cookies tender.
- Arrange and bake:
- Place your cutouts on the prepared sheets with about an inch of breathing room, then bake for 8 to 10 minutes until the edges are just barely turning golden.
- Cool completely:
- Let the cookies rest on the hot baking sheet for exactly 2 minutes before moving them to a wire rack—those couple minutes set the structure so they don\'t break apart.
- Make the green icing:
- Whisk together powdered sugar, milk, and vanilla until perfectly smooth, then add gel food coloring one drop at a time until you reach your desired shade of green.
- Decorate and set:
- Frost each cooled cookie with that gorgeous green icing, shower with sprinkles while wet, and let everything set for about 30 minutes before stacking or serving.
 Pin it
 My daughter\'s teacher still mentions these cookies every time I see her, and that was three years ago. Sometimes the simplest recipes, made with a little extra love and a lot of green sprinkles, become the ones people remember most.
Making Them Ahead
The dough disks freeze beautifully for up to three months, so I always double the batch in late February and stash half in the freezer. Just thaw it overnight in the fridge and you\'re ready to roll and bake fresh cookies the same day.
Getting That Perfect Green
Start with one tiny drop of gel food coloring and work your way up, because you can always add more but you can\'t take it back. I aim for that soft minty shade that looks like spring rather than neon, which somehow tastes better to everyone who tries them.
Storage Secrets
Once the icing is completely dry, layer these between sheets of wax paper in an airtight container and they\'ll stay fresh for five whole days. If you need them to last longer, freeze the undecorated cookies and ice them right before serving.
- Put the container on the counter, not in the fridge, or the cookies will soften and lose that perfect tender crunch
- If your sprinkles start falling off, the icing wasn\'t dry enough before stacking—give it another hour next time
- These make fantastic teacher gifts stacked in a clear cellophane bag with a simple green ribbon
 Pin it
 There\'s something magical about pulling a tray of these from the oven, the kitchen warm and smelling of vanilla, knowing they\'re about to make someone\'s St. Patrick\'s Day a little sweeter.
Recipe FAQs
- → How long should I chill the cookie dough?
-
Chill the dough for at least 1 hour before rolling. This step is essential as it firms the butter, prevents spreading during baking, and makes the dough easier to handle when cutting shapes.
- → Can I make these cookies ahead of time?
-
Absolutely. You can chill the dough for up to 24 hours before baking, or freeze the dough disks for up to 3 months. Once baked, store decorated cookies in an airtight container for up to 5 days.
- → What if I don't have shamrock cookie cutters?
-
Round cutters work beautifully for these cookies. You can also create free-form shamrock shapes by arranging three small circles of dough together, or use any festive cutter you have on hand.
- → How do I get the right icing consistency?
-
Start with 2 tablespoons of milk and whisk until smooth. Add more milk one teaspoon at a time until the icing reaches a thick but pourable consistency. It should coat the back of a spoon without running off too quickly.
- → Why did my cookies spread too much while baking?
-
This usually happens when the dough becomes too warm. Always chill the dough thoroughly, and if your kitchen is warm, chill the cut cookies on the baking sheet for 10 minutes before putting them in the oven.
- → Can I use natural food coloring for the icing?
-
Yes, matcha powder, spirulina, or spinach juice can create natural green hues. Keep in mind that natural colors may be subtler than artificial food coloring and may affect the icing flavor slightly.
