 Pin it
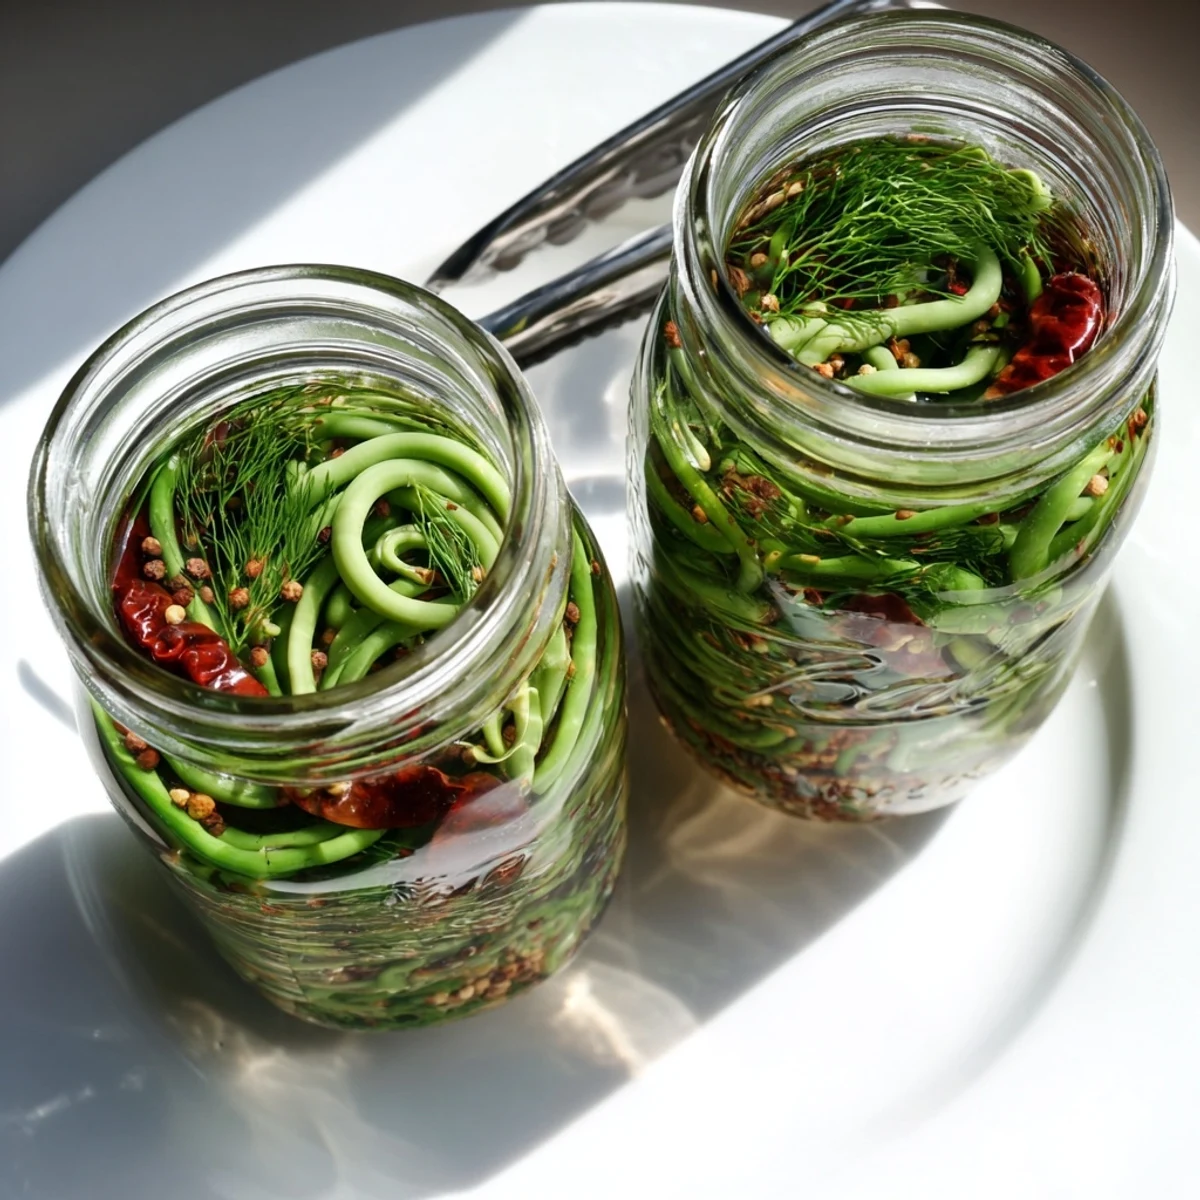
 Create tangy, spicy pickled garlic scapes with this simple brining technique. Fresh scapes are packed with chili, dill, and aromatic spices like mustard and coriander seeds, then preserved in a balanced vinegar brine. The result is a crunchy, bold condiment that develops deeper flavors over a week of pickling. These versatile scapes add zest to charcuterie boards, complement grilled meats beautifully, and bring a bright tangy crunch to sandwiches and salads. The process takes just 25 minutes of active time, with a minimum 48-hour curing period for optimal flavor development.
My farmers market vendor laughed when I grabbed five bunches of garlic scapes in one go last June. She said only pickle enthusiasts understand the curly green stalks' potential. That afternoon my entire apartment smelled like warm spices and vinegar. The first jar disappeared within a week.
I brought a jar to a friends summer potluck and watched them get passed around like contraband. Someone actually took the last spear and then tried to drink the remaining brine. Now I make triple batches during scape season.
Ingredients
- Garlic Scapes: Fresh scapes from early summer have the best crunch and mellow garlic flavor that mellows beautifully in the brine
- Distilled White Vinegar: Provides the clean sharp base that lets the spices shine without overpowering
- Water: Balances the vinegar intensity so the pickles remain tangy not harsh
- Granulated Sugar: Just enough to round out the acidity and highlight the natural sweetness of the scapes
- Kosher Salt: Essential for proper pickling and flavor development
- Black Peppercorns: Adds subtle warmth and aromatic depth
- Mustard Seeds: Provide gentle heat and classic pickle flavor
- Coriander Seeds: Contribute citrusy notes that complement the garlic
- Red Pepper Flakes: Adjustable heat level based on your preference
- Dried Chilies: Whole chilies infuse slow building warmth without overwhelming
- Bay Leaves: Add an earthy savory backbone to the brine
- Fresh Dill: Optional but adds bright herbal freshness
Instructions
- Get Your Jars Ready:
- Wash jars and lids thoroughly with hot soapy water then sterilize by boiling for 10 minutes or running through a hot dishwasher cycle. Let everything cool slightly before packing.
- Prep the Scapes:
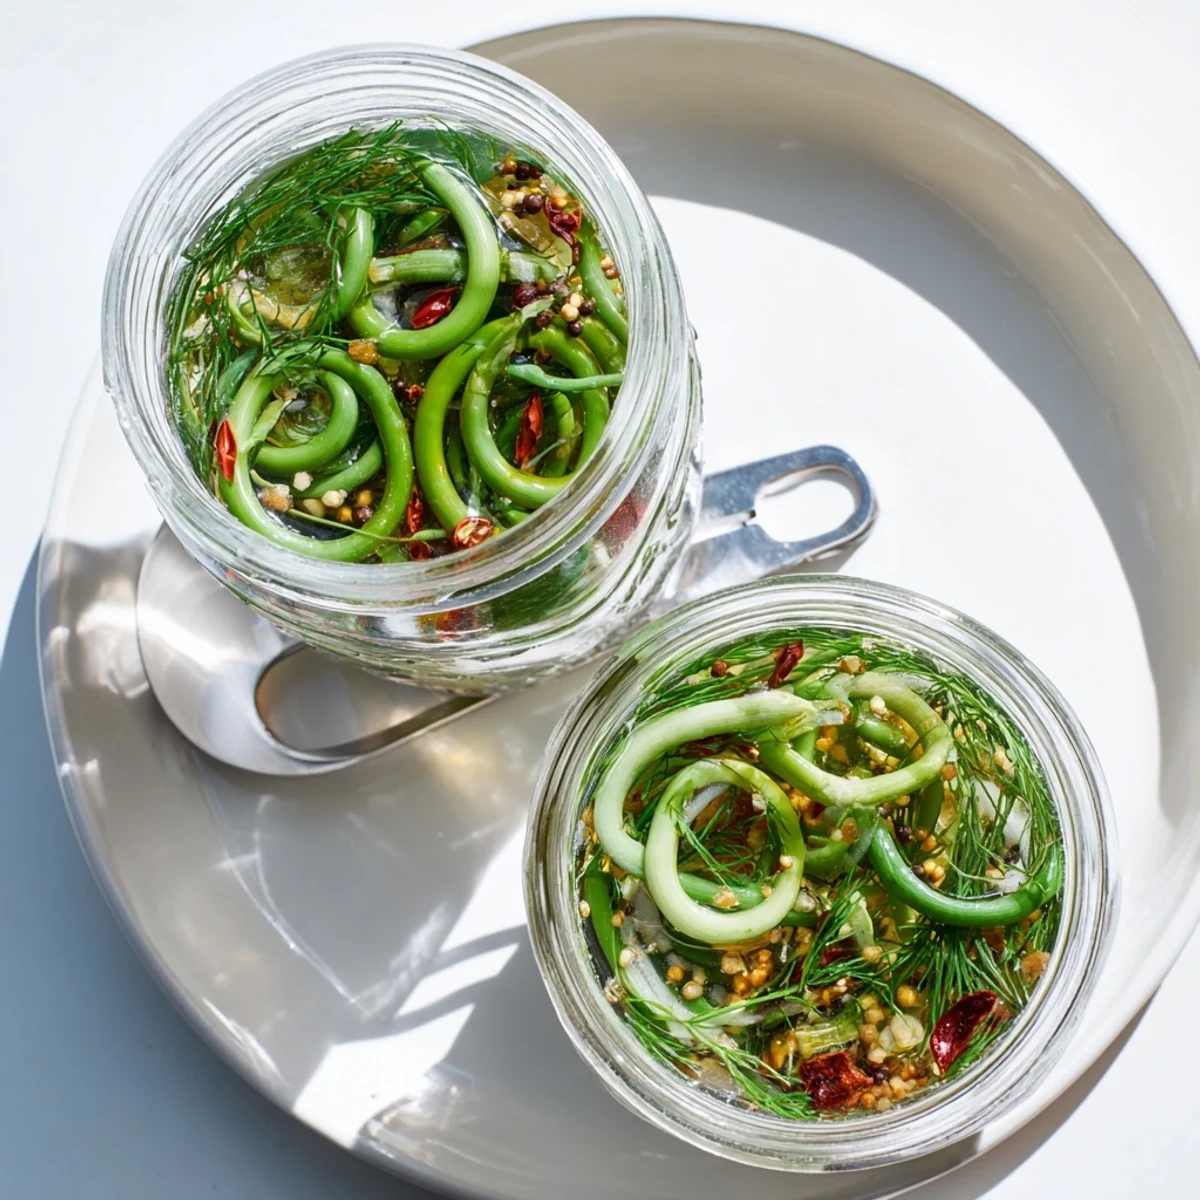
- Trim the woody ends from the garlic scapes and cut them into lengths that fit your jars. You can leave them straight or curl them artistically to maximize space.
- Pack Everything In:
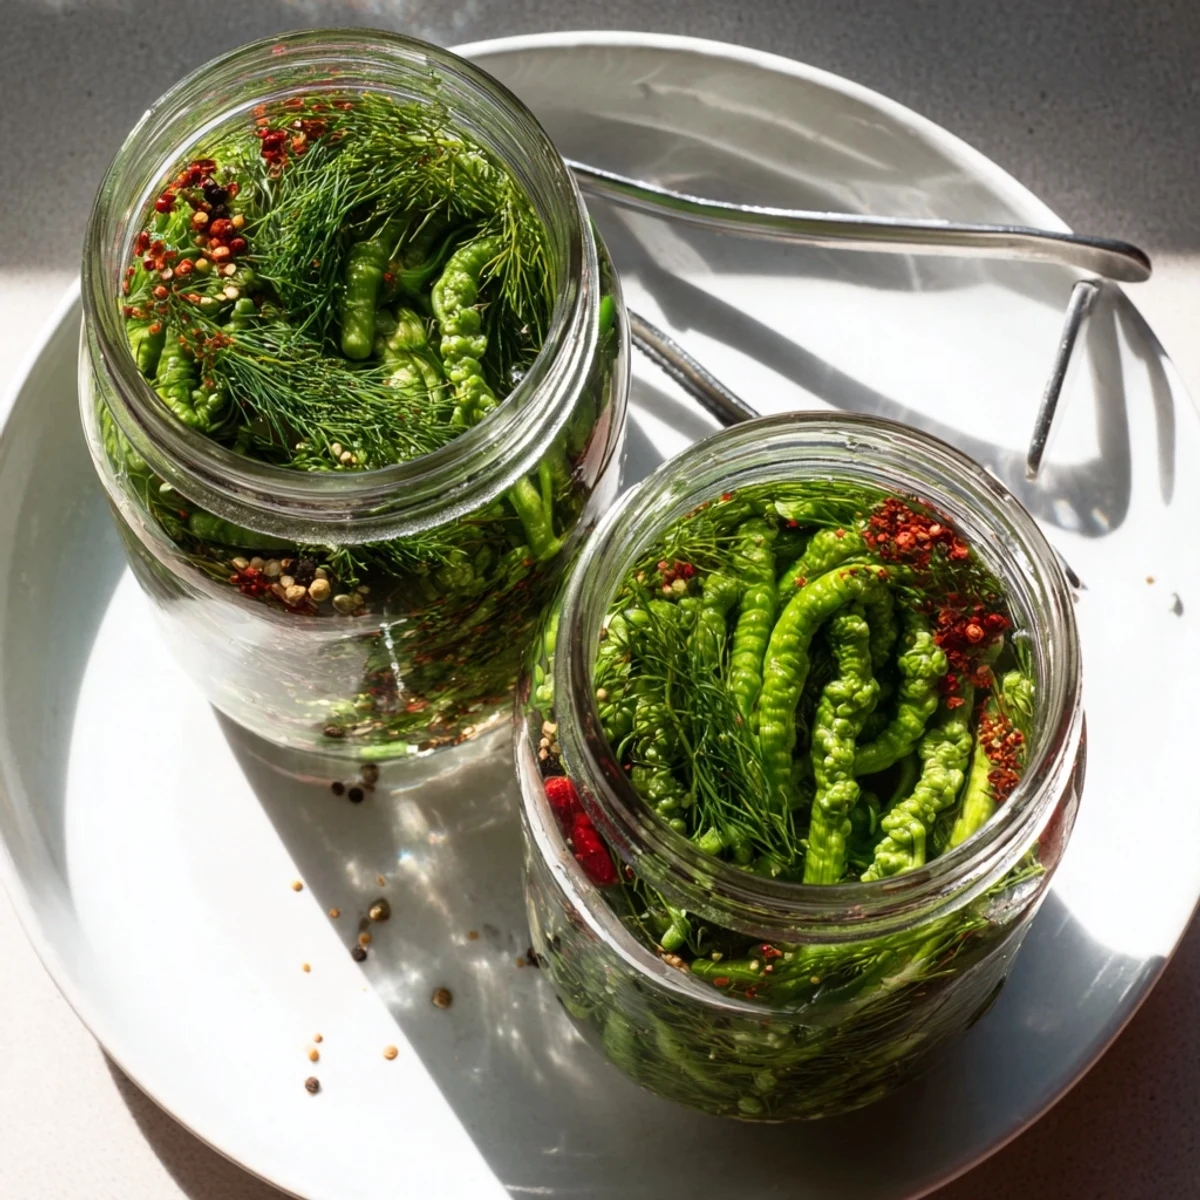
- Divide the scapes between jars along with fresh dill and dried chilies. Add half the peppercorns mustard seeds coriander red pepper flakes and a bay leaf to each jar pressing gently to fit more.
- Make the Brine:
- Combine vinegar water sugar and salt in a saucepan. Bring to a boil stirring occasionally until the sugar and salt completely dissolve.
- Pour and Seal:
- Carefully pour hot brine over the jar contents ensuring scapes stay submerged. Leave about half an inch of headspace then seal with lids.
- The Waiting Game:
- Let jars cool to room temperature then refrigerate. Wait at least 48 hours before opening though patience pays off after a week when flavors really deepen.
 Pin it
 My sister texted me at midnight asking for the recipe after she tasted one at my birthday party. Now every June she texts me when scapes appear at her market. We both pickle on the same weekend and compare results.
The Heat Factor
I once went heavy on red pepper flakes and created something that cleared sinuses across three rooms. Start with half the suggested amount if you are heat sensitive. You can always add more next batch.
Brine Beyond Pickling
The leftover liquid is liquid gold for vinaigrettes marinades and even bloody marys. I strain it into small jars and keep it in the fridge. A splash brightens up roasted vegetables in seconds.
Seasonal Substitutions
When scape season ends you can use this exact brine for green beans carrots or cauliflower. The timing works the same though vegetables get slightly softer than scapes. Mix and match based on what looks fresh at the market.
- Try adding sliced radishes for extra crunch and color
- A garlic clove or two per jar amplifies the flavor if scapes seem mild
- Label jars with the date so you track how long they have been pickling
 Pin it
 These pickles have become my go to host gift all summer long. The curly green stalks look beautiful in the jar and taste even better.
Recipe FAQs
- → How long do these pickled garlic scapes last?
-
When properly refrigerated, these spicy pickled garlic scapes will stay fresh for up to one month. Keep the jars sealed and maintain consistent refrigeration temperature for best results.
- → Can I adjust the spice level?
-
Absolutely. Increase the red pepper flakes or add extra dried chilies for more heat. For a milder version, reduce the pepper flakes to 1/4 teaspoon or omit the dried chilies entirely.
- → What's the minimum pickling time before eating?
-
Allow at least 48 hours of refrigeration before opening your first jar. The flavors continue developing and intensify significantly after one week of pickling, making it worth the wait if you can resist.
- → Can I reuse the brine for another batch?
-
The brine can be reused once for a second batch, though the flavor intensity will be slightly diminished. Make sure to bring it to a full boil before pouring over fresh scapes to ensure proper preservation.
- → What can I serve with pickled garlic scapes?
-
These tangy scapes shine on charcuterie boards alongside cheeses and cured meats. They're excellent chopped into potato salads, added to sandwiches for crunch, or served as a sharp counterpoint to rich grilled meats and roasted vegetables.
- → Do I need to process these jars in a water bath?
-
No water bath canning is required since these are refrigerator pickles. Simply sterilize your jars, pack with scapes and spices, pour hot brine over, and refrigerate. This method ensures a crisp texture and quick preparation.
