 Pin it
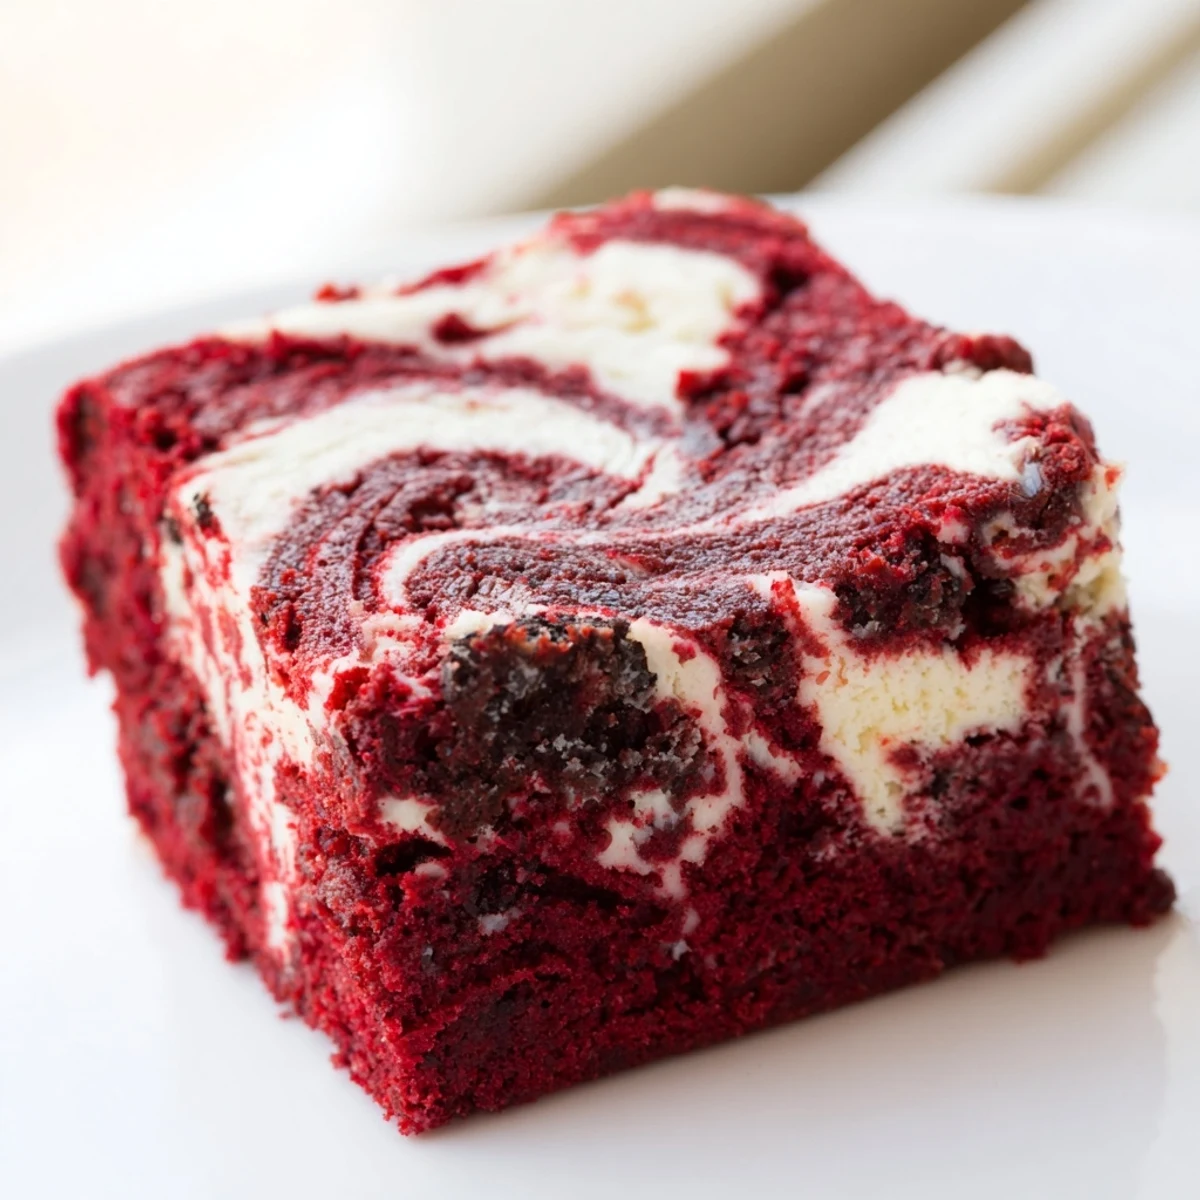
 Experience the ultimate marriage of two beloved desserts in these stunning marbled treats. The vibrant red velvet brownie base delivers intense cocoa notes and a delightfully fudgy texture, while ribbons of velvety cheesecake swirl throughout each bite. Creating the signature marble pattern is simpler than it appears—just dollop reserved batter over the cheesecake layer and gently drag a knife through both mixtures. The result is visually striking with its dramatic red and cream contrast.
Bake until just set for the perfect texture: edges should be slightly firm while the center remains moist. These bars develop even deeper flavors after chilling, making them ideal for preparing ahead. Serve them at room temperature for the softest, most decadent experience.
The first time I made these, my kitchen looked like a crime scene. Red food coloring everywhere, hands stained pink, and that distinct chocolate-vanilla scent already filling the air. But when I pulled that pan from the oven and saw those dramatic swirls of ruby and cream, I knew every messy moment was worth it. These brownies have become my go-to when I need something that looks like I spent hours in the kitchen but actually comes together pretty quickly.
I brought these to a friends birthday last summer and watched her three-year-old literally clap when she saw the inside. That marbled pattern does something magical to people, makes them lean in closer and ask how you did it. My sister-in-law now requests them for every family gathering, which is funny because she swears she does not like red velvet anything else.
Ingredients
- Unsalted butter: Melted completely so it incorporates smoothly into the batter without any lumps
- Granulated sugar: Provides sweetness and helps create that crackly top we all love on brownies
- Large eggs: Room temperature eggs blend better and help achieve the right structure
- Vanilla extract: Use the real stuff here since it shines through in both layers
- Red food coloring: Gel coloring gives a deeper hue without thinning the batter
- All-purpose flour: Just enough to hold everything together without making them cakey
- Unsweetened cocoa powder: Dutch-processed gives a richer, deeper chocolate flavor
- Salt: Essential to balance all that sugar and enhance the chocolate
- Cream cheese: Softened completely so it blends into silky smooth perfection
- Cream cheese layer sugar: Just enough to sweeten without overpowering the tangy cream cheese flavor
Instructions
- Get your oven ready:
- Preheat to 350°F and line an 8x8 inch pan with parchment paper, letting some hang over the sides like little handles
- Make the red velvet base:
- Whisk melted butter and sugar until they become one smooth, glossy mixture, then add eggs, vanilla, and that vibrant red coloring
- Add the dry ingredients:
- Sift in flour, cocoa, and salt, then fold gently until just combined, being careful not to overwork the batter
- Reserve some batter:
- Set aside about 1/4 cup of the red velvet mixture in a small bowl, then spread the rest evenly in your prepared pan
- Make the cheesecake layer:
- Beat softened cream cheese with sugar until absolutely smooth, then add an egg and vanilla, mixing until creamy
- Layer and swirl:
- Pour the cheesecake mixture over the brownie batter and smooth it out, then drop spoonfuls of your reserved red velvet batter on top
- Create the marble:
- Run a knife or skewer through the layers gently, just once or twice, to create those beautiful swirls without overdoing it
- Bake to perfection:
- Bake for 33-36 minutes until the center is just set and a toothpick comes out with those perfect few moist crumbs
- Patience pays off:
- Cool completely in the pan before lifting out, because these need to set up fully for clean cuts
 Pin it
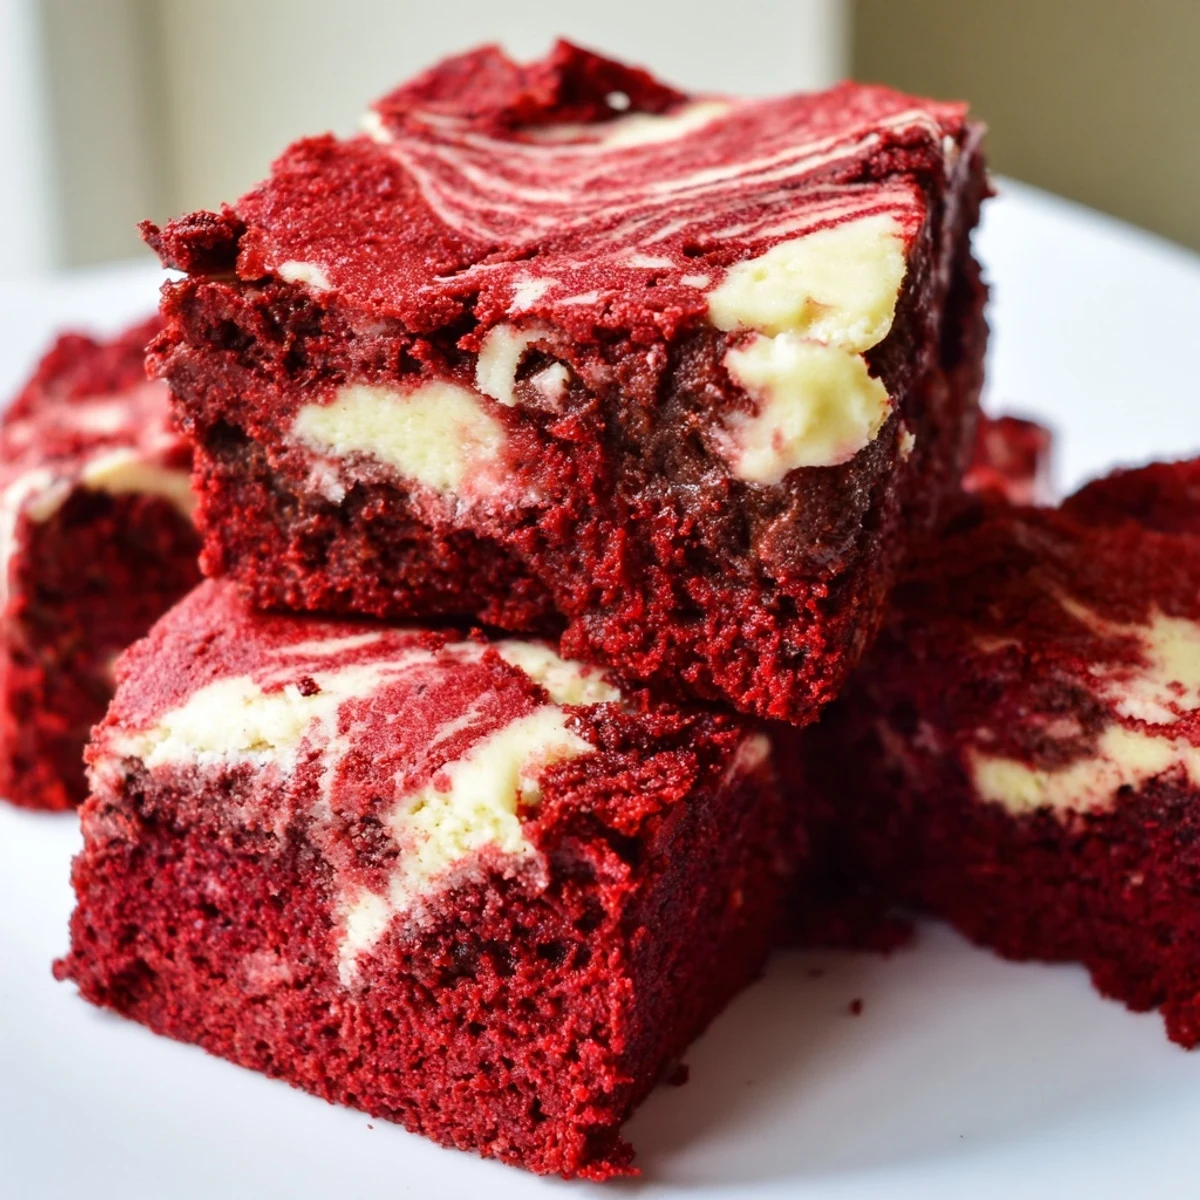
 These have become my secret weapon for potlucks because they disappear faster than anything else I make. Something about that combination of textures and colors makes people keep coming back for just one more square. Last Christmas I packaged them in little boxes with ribbon and my neighbors still talk about them.
Getting the Perfect Swirl
The marble effect looks intimidating but it is actually quite forgiving. I like to drop my reserved batter in six evenly spaced spoonfuls, then drag a butter knife through them in a simple S pattern. The key is using one continuous motion without lifting your knife, and then stopping even if it does not look perfect yet. Overworking it blends the layers too much and you lose that dramatic contrast.
Storage and Serving
These actually taste better after chilling in the refrigerator overnight, since both layers firm up and the flavors have time to mingle. I always recommend serving them slightly chilled, especially if you want clean cuts, but let them sit at room temperature for about 15 minutes before serving. The texture difference between cool and room temp is remarkable, so you can decide based on your preference.
Make-Ahead Tips
You can make the batter up to 24 hours ahead and store it separately in the refrigerator, but the swirling happens best when the batter is cold. Both layers thicken up nicely, which actually makes creating the marble pattern even easier. Just bring everything to room temperature for about 20 minutes before baking so they cook evenly.
- Wrap the completely cooled brownies tightly and freeze for up to 3 months
- Thaw frozen brownies in the refrigerator overnight for best texture
- Add a dusting of powdered sugar right before serving for extra drama
 Pin it
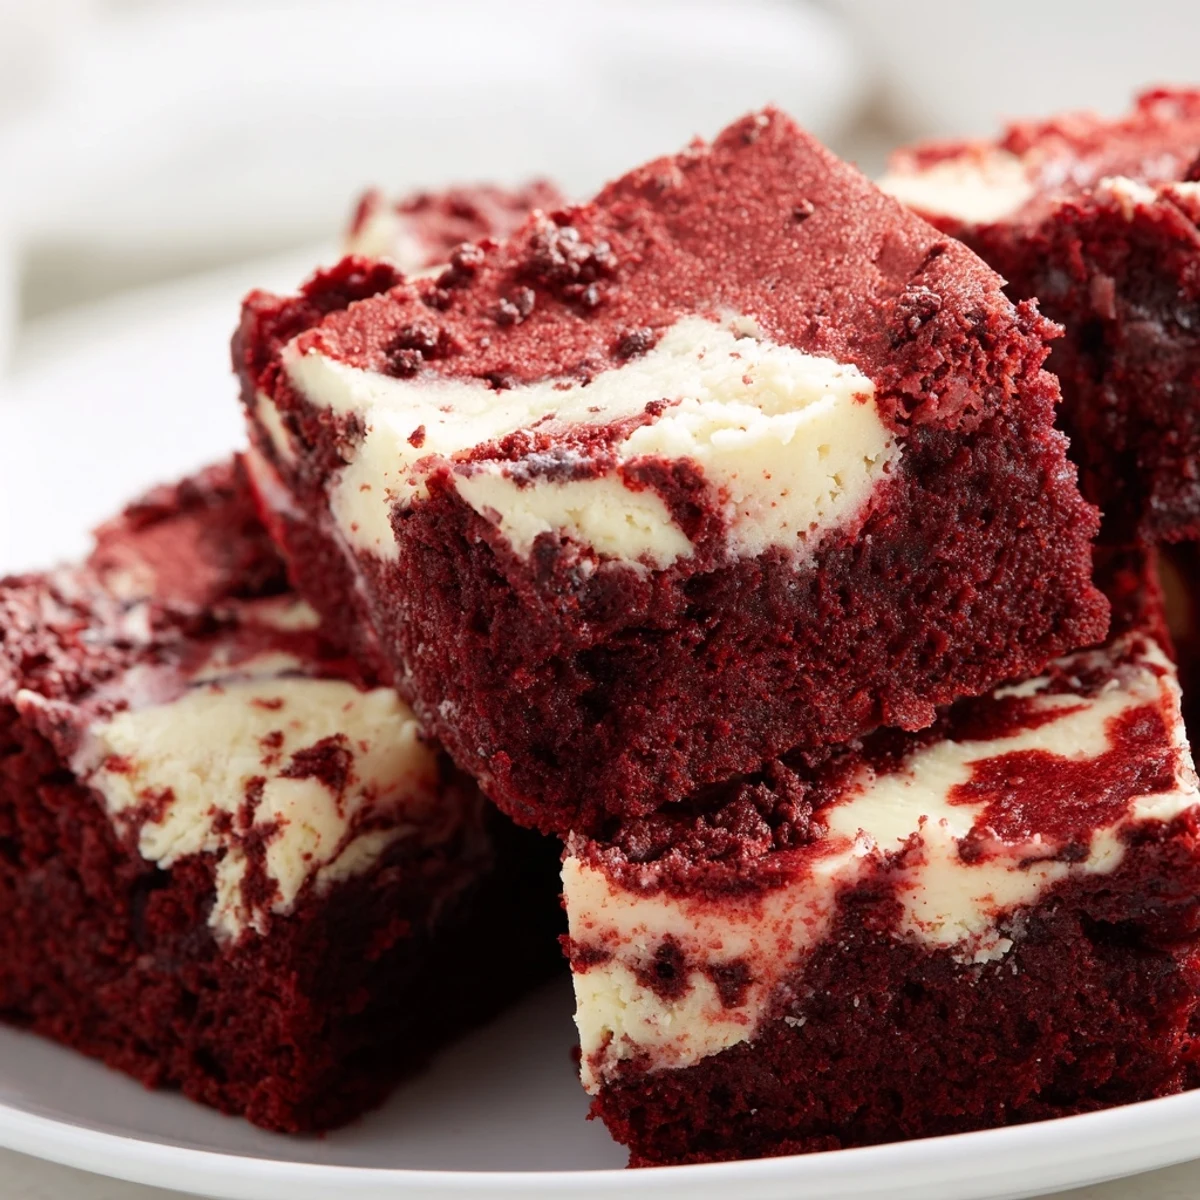
 There is something deeply satisfying about cutting into that first square and seeing exactly how your swirl turned out. No two batches ever look exactly alike, which I think is part of their charm.
Recipe FAQs
- → How do I know when the brownies are done baking?
-
Insert a toothpick into the center—it should come out with a few moist crumbs rather than completely clean batter. The edges will appear set while the center retains a slight jiggle. Avoid overbaking to maintain that coveted fudgy texture.
- → Can I use liquid food coloring instead of gel?
-
Yes, liquid food coloring works perfectly. You may need slightly more liquid than gel to achieve the same vibrant red hue. Start with one tablespoon and add more as needed until you reach your desired color intensity.
- → Why do I need to reserve some red velvet batter?
-
The reserved batter creates the beautiful marbled pattern on top. Without those dollops, you'd lose the striking red swirls that make these desserts so visually impressive. The contrast between the red batter and cream cheese layer is essential for that signature look.
- → Should I serve these chilled or at room temperature?
-
Both ways are delicious. Chilled brownies offer a firmer, denser texture with more pronounced cheesecake flavor. Room temperature servings feel softer and more fudgy. Try both to discover your preference—they're equally irresistible.
- → Can I freeze these for later?
-
Absolutely. Wrap individual squares tightly in plastic wrap, then place in a freezer bag for up to three months. Thaw overnight in the refrigerator before serving. The texture remains remarkably consistent after freezing.
- → What's the best way to achieve clean swirls?
-
Run your knife or skewer through the batters just once or twice in an S-shaped pattern. Over-swirling blends the colors too much, diminishing the marble effect. Gentle, minimal movements create the most defined and attractive patterns.
