
 Pin it
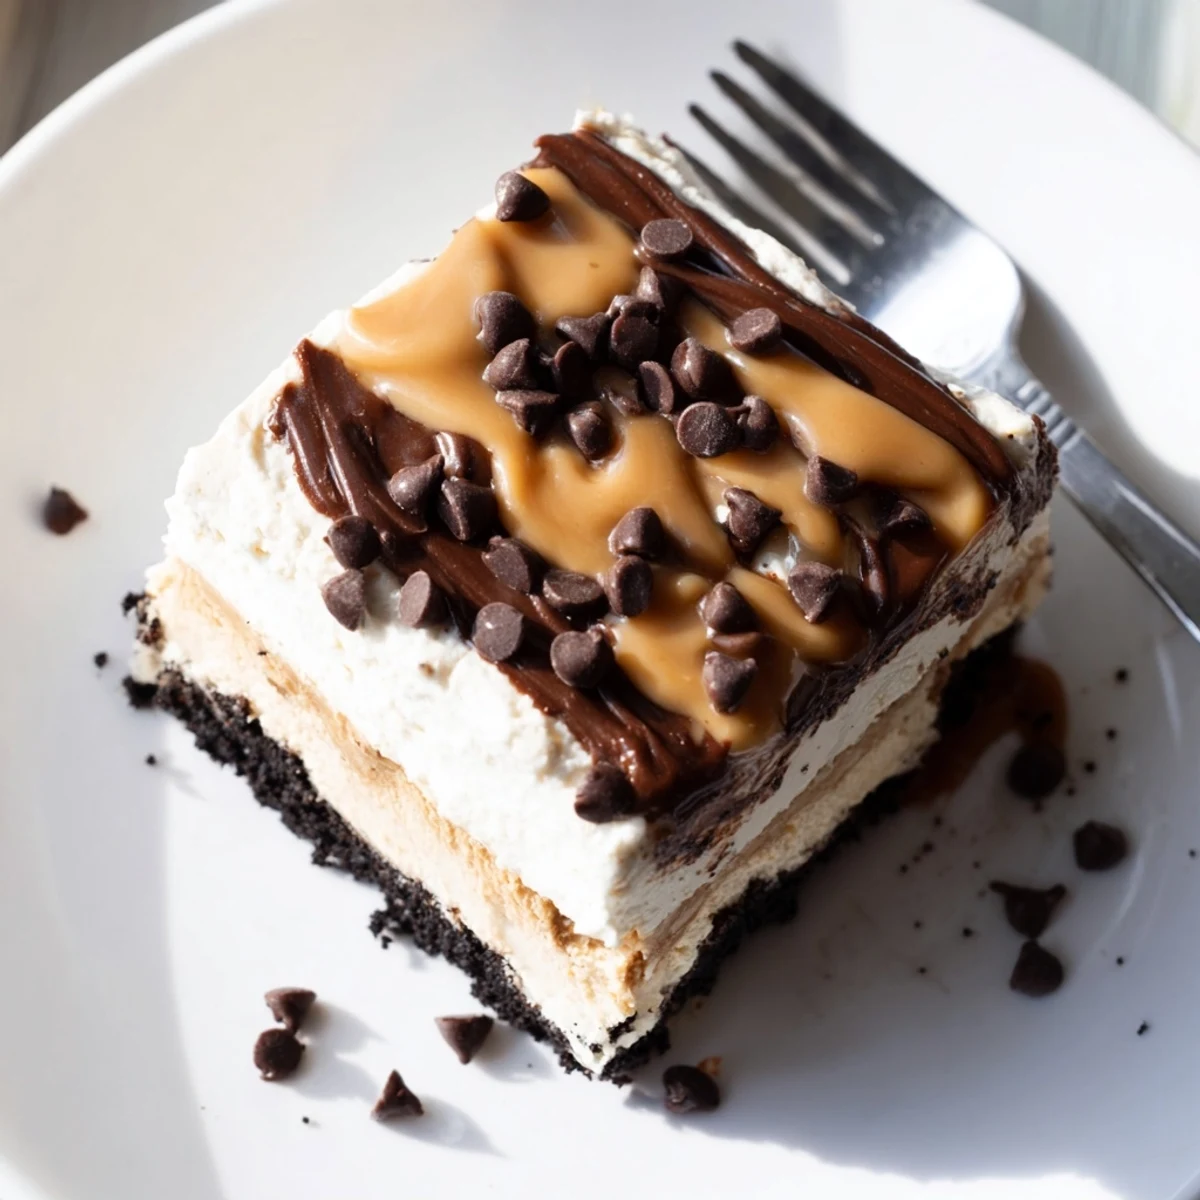
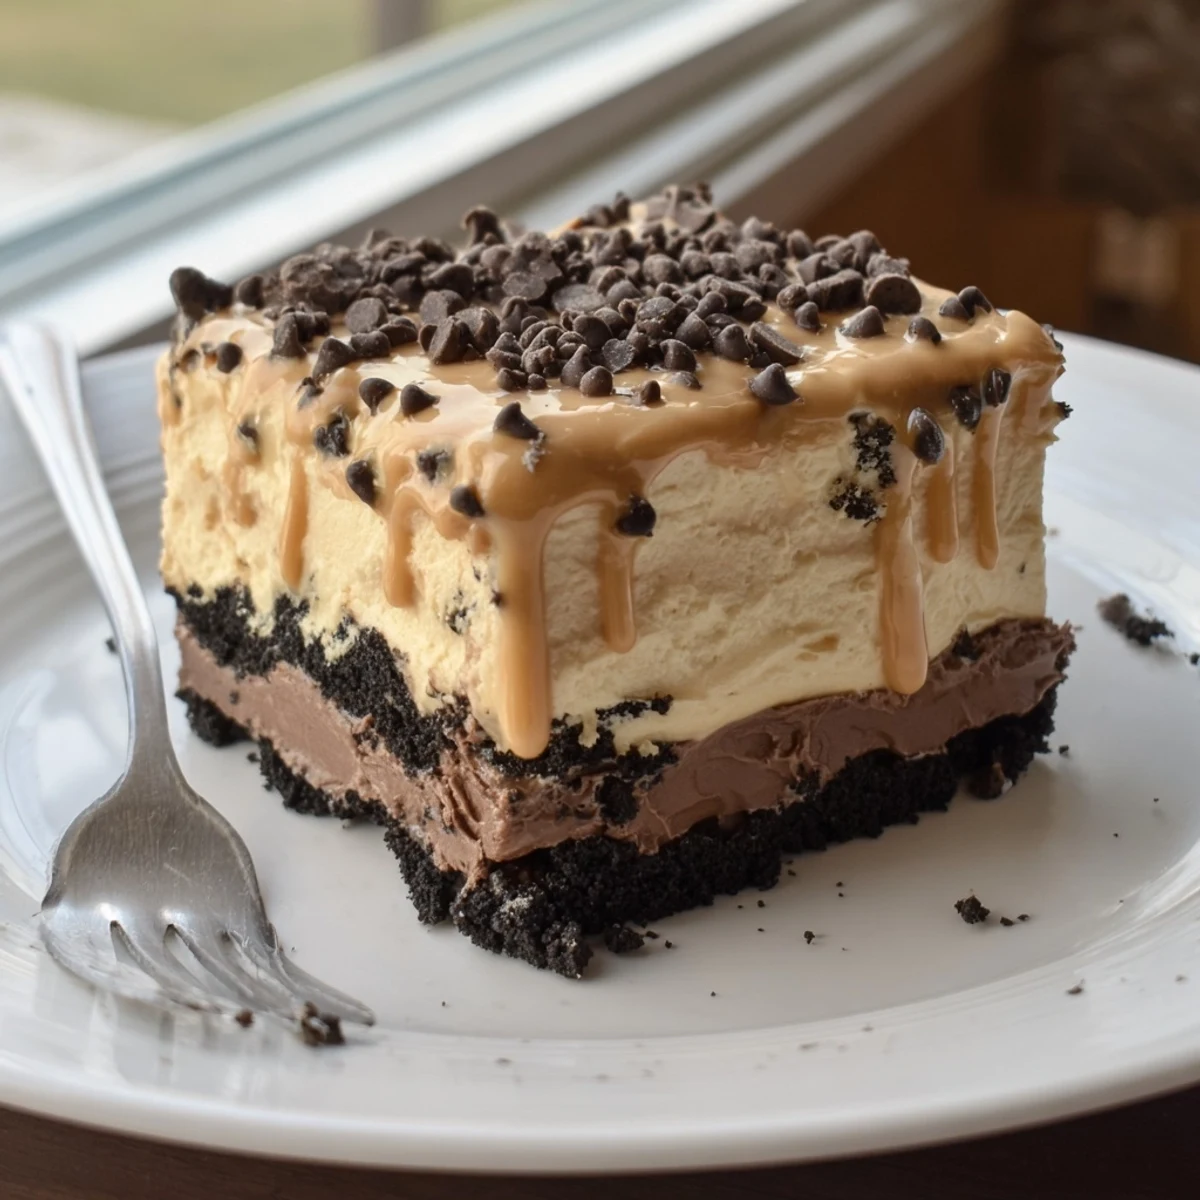
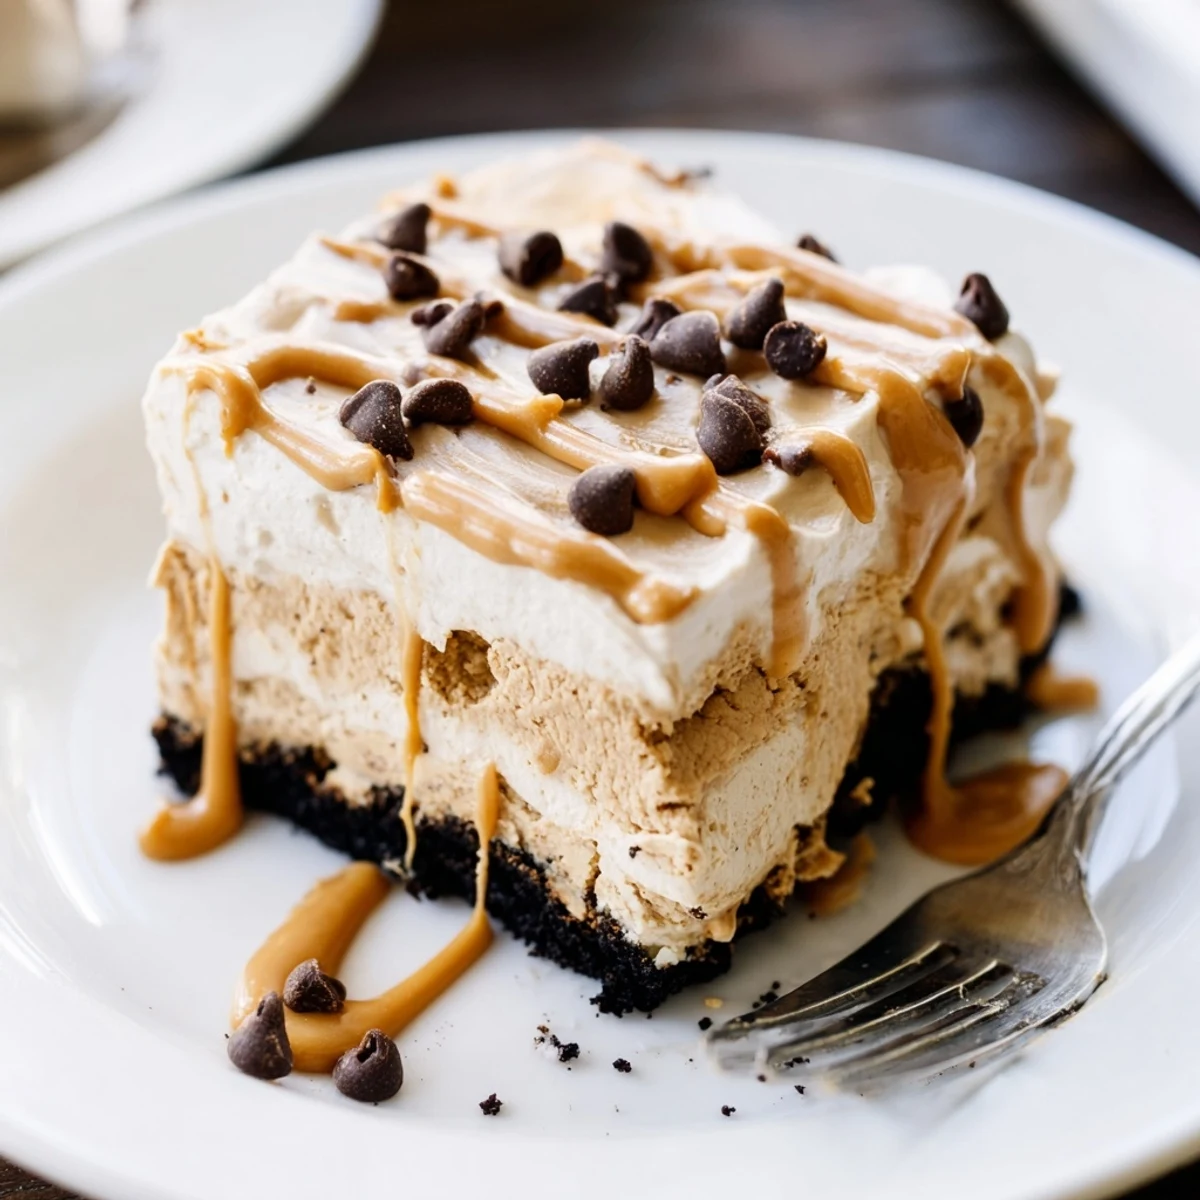
 This no-bake peanut butter layered delight brings together three irresistible textures in one pan. A buttery chocolate cookie crust forms the base, topped with a silky peanut butter and cream cheese mousse.
The middle layer of rich chocolate pudding adds decadent contrast, while a fluffy whipped topping finishes it all off with an optional peanut butter drizzle and chocolate shavings.
With just 25 minutes of prep and a 3-hour chill, you'll have a stunning dessert that feeds eight and requires zero oven time—ideal for warm days or when you want something impressive without the effort.
My sister brought this dessert to a Fourth of July cookout three years ago and I watched four grown adults fight over the last square. Something about the combination of peanut butter and chocolate in cold, creamy layers makes people lose their manners entirely. I begged her for the recipe on the spot and she just laughed and handed me a napkin with sloppy handwriting. That napkin is now stained with chocolate and taped inside my pantry door.
I made this for my coworkers during a brutal February week when morale was scraping the floor. By noon the pan was licked clean and someone asked if I was taking orders. The best part was watching people peel back the plastic wrap and just stare at those distinct layers before cutting.
Ingredients
- Chocolate sandwich cookies (200 g): You want them crushed fine but not powdered because a few bigger crumbs give the crust a satisfying bite.
- Unsalted butter (75 g), melted: This binds the crumbs together so do not skimp or the crust will crumble when you slice.
- Cream cheese (225 g), softened: Leave it on the counter for an hour because cold cream cheese will leave lumps in your peanut butter layer.
- Creamy peanut butter (120 g): Use the standard commercial kind here since natural peanut butter separates and changes the texture.
- Powdered sugar (100 g): This sweetens and stabilizes the middle layer so it spreads like a dream.
- Whipped topping (480 ml total), thawed: Split between the peanut butter layer and the topping so plan ahead and pull it from the freezer early.
- Instant chocolate pudding mix (100 g): Stick with instant because cooked pudding will melt the layer below it.
- Cold milk (375 ml): Whole milk gives the richest set but any milk works in a pinch.
- Melted peanut butter and chocolate shavings (optional): These finish the top with a little visual drama that makes people lean in closer.
Instructions
- Build the crust:
- Toss the crushed cookies with melted butter until the mixture feels like damp sand. Press it firmly and evenly into your baking dish using the back of a spoon or your knuckles and pop it in the fridge to firm up.
- Whip up the peanut butter layer:
- Beat the cream cheese, peanut butter, and powdered sugar until completely smooth with no pale streaks remaining. Gently fold in half of the whipped topping with a spatula and spread this fluffy mixture over the chilled crust.
- Mix the chocolate pudding:
- Whisk the pudding mix and cold milk together for about two minutes until it thickens noticeably. Spread it carefully over the peanut butter layer using gentle strokes so the two do not swirl together.
- Finish the top:
- Spread the remaining whipped topping over the pudding and add any drizzle or chocolate garnish you like. Cover the dish tightly and refrigerate for at least three hours so everything sets into clean sliceable layers.
 Pin it
 My neighbor stopped by unannounced one evening and I sent her home with a square wrapped in foil. She texted me at midnight saying she was standing in her kitchen eating another piece she had somehow justified cutting.
Serving and Presentation Ideas
A dusting of crushed peanuts between the peanut butter and pudding layers adds a welcome crunch that surprises people. I sometimes pipe the top whipped layer with a star tip when I want it to look fancy for a potluck. Individual servings in small mason jars also work beautifully for a dinner party where you want controlled portions.
Making It Your Own
Swap the chocolate cookies for graham crackers if you want a lighter crust that lets the peanut butter shine more. A banana slice tucked between the pudding and the whipped topping turns this into something reminiscent of a peanut butter banana cream pie. You could also use vanilla pudding instead of chocolate for a gentler flavor profile.
Storage and Make Ahead Notes
This dessert actually tastes better on day two because the flavors settle and the crust softens just enough to melt in your mouth. It keeps covered in the fridge for up to four days though in my experience it never lasts that long.
- Do not freeze it because the whipped topping weeps and the texture becomes grainy when thawed.
- Cover the surface directly with plastic wrap before adding the lid to prevent it from absorbing fridge odors.
- Pull it from the fridge ten minutes before slicing so the crust softens slightly for cleaner cuts.
 Pin it
 Some desserts are project cooking and some are just pure comfort with almost no effort and this is firmly the latter. Keep the ingredients stocked and you will always have something that makes people close their eyes on the first bite.
Recipe FAQs
- → Can I make this dessert ahead of time?
-
Yes, this dessert actually benefits from being made in advance. You can prepare it up to 24 hours before serving and keep it covered in the refrigerator. The layers set beautifully and the flavors meld together overnight.
- → What can I substitute for whipped topping?
-
You can use an equal amount of homemade whipped cream. Simply whip 240 ml of heavy cream with 2 tablespoons of powdered sugar until stiff peaks form. This gives a richer, more natural flavor than store-bought whipped topping.
- → How do I get clean slices when cutting?
-
Use a sharp knife and wipe it clean between each cut. For the cleanest slices, you can also run the knife under hot water, dry it quickly, then cut. Chilling the dessert for the full 3 hours ensures it's firm enough to hold its shape.
- → Can I use natural peanut butter instead of creamy?
-
Standard creamy peanut butter works best because it has stabilizers that create a smooth, cohesive layer. Natural peanut butter tends to separate and can make the filling oily. If you only have natural, stir it very thoroughly before measuring and consider adding an extra tablespoon of powdered sugar to help bind it.
- → Is there a gluten-free option for the crust?
-
Absolutely. Simply swap the regular chocolate sandwich cookies for a gluten-free version. Many brands offer gluten-free chocolate sandwich cookies that work perfectly. Also check your pudding mix label to ensure it's gluten-free.
- → How should I store leftovers?
-
Cover the baking dish tightly with plastic wrap or transfer individual portions to airtight containers. Store in the refrigerator for up to 4 days. The cookie crust may soften slightly over time but the dessert remains delicious.