 Pin it
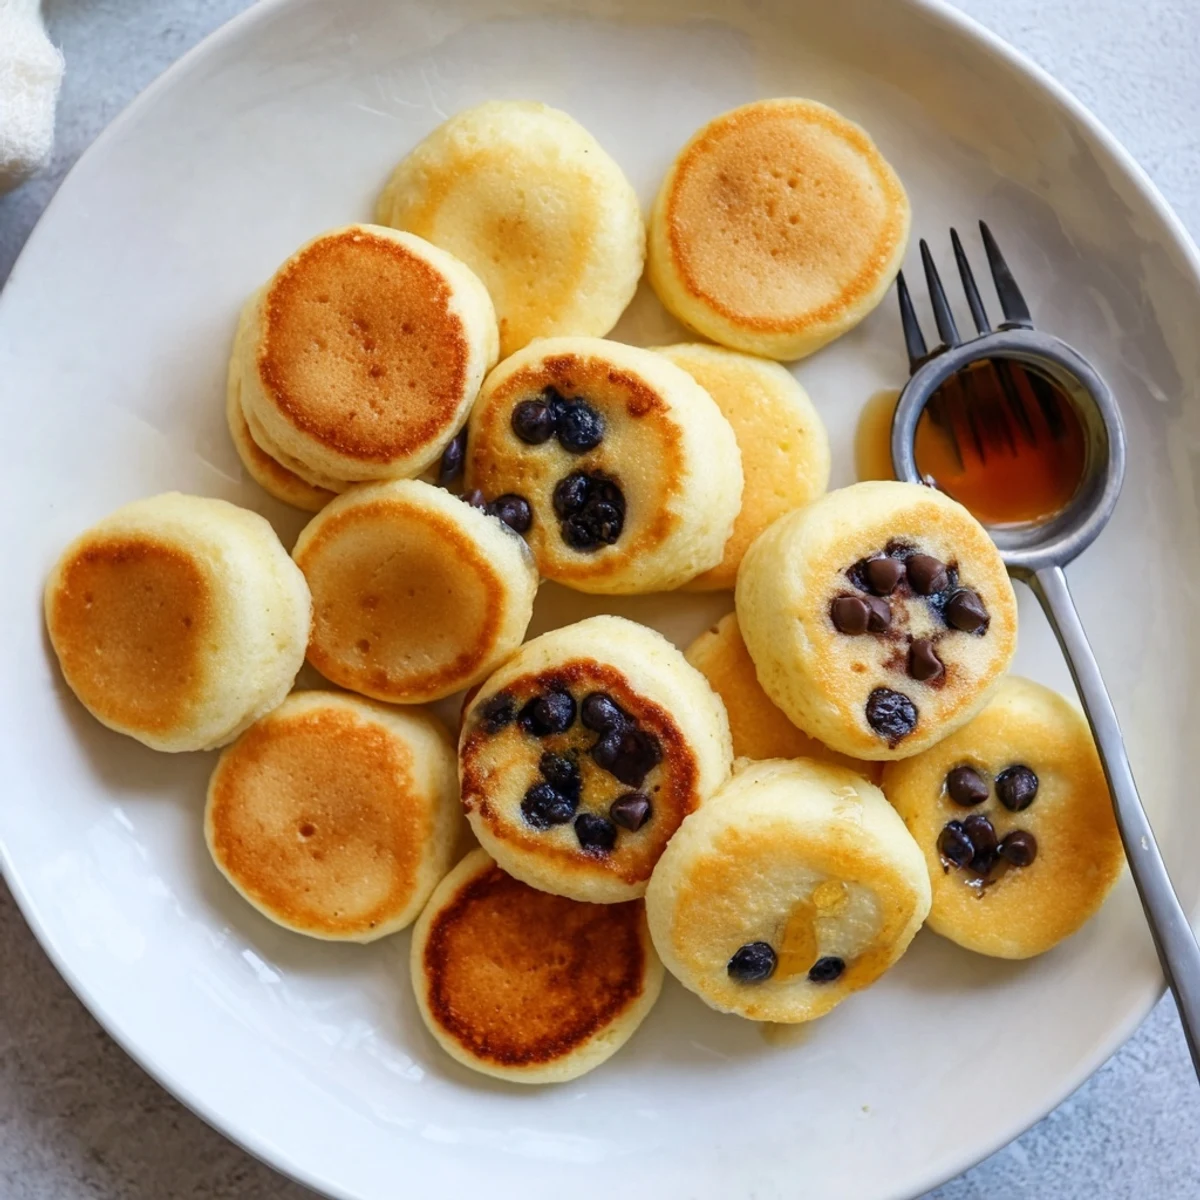
 These delightful bite-sized pancakes feature a crispy golden exterior and incredibly tender, airy centers. Baked in a mini muffin tin, they're perfectly portioned for breakfast, brunch, or casual snacking. The buttermilk batter creates that classic fluffy texture while quick baking ensures even cooking.
Customize with chocolate chips, blueberries, or your favorite mix-ins. Serve warm with traditional maple syrup, melted chocolate for indulgence, or fruit preserves for a fruity twist. They reheat beautifully and freeze well for meal prep convenience.
Last Sunday morning, my niece bounced into the kitchen asking for pancakes, but I was already elbows-deep in muffin batter for brunch. The lightbulb moment hit me—why not make bite-sized pancakes that bake while I finish setting the table? Now these little golden bites have become our weekend tradition, disappearing almost as fast as I can pull them from the oven.
The first time I brought these to a potluck, my friend Sarah accidentally ate three while helping me arrange the platter, claiming she was just quality control. Now she texts me whenever she hosts brunch, casually mentioning how good pancake poppers would be with the mimosas. They are that kind of food—people cannot stop reaching for them.
Ingredients
- 1 cup (125 g) all-purpose flour: The foundation that gives these poppers their structure
- 2 tbsp granulated sugar: Just enough sweetness to make them feel like a treat
- 1 tsp baking powder: Essential for that fluffy, airy interior
- 1/2 tsp baking soda: Works with the buttermilk for extra rise
- 1/4 tsp salt: Balances the sweetness and brings out flavors
- 3/4 cup (180 ml) buttermilk: Creates tenderness and a slight tang—regular milk with lemon juice works too
- 1 large egg: Binds everything together for structure
- 2 tbsp unsalted butter, melted: Adds richness and helps the outsides golden beautifully
- 1 tsp vanilla extract: Deepens the overall flavor profile
- 1/4 cup mini chocolate chips or blueberries: Completely optional but highly recommended
Instructions
- Preheat your oven to 400°F (200°C) and grease a 24-cup mini muffin tin generously:
- Melted butter works best here, getting into all those tiny corners so nothing sticks.
- Whisk together your dry ingredients in a medium bowl:
- Flour, sugar, baking powder, baking soda, and salt should be well combined.
- In a separate bowl, whisk the wet ingredients until smooth:
- Buttermilk, egg, melted butter, and vanilla should form a lovely creamy mixture.
- Gently fold wet into dry:
- Pour the wet mixture over the dry and mix just until combined—some lumps are your friend here.
- Add your mix-ins if using them:
- Fold in chocolate chips or blueberries with just a few strokes of your spoon.
- Fill each muffin cup about 3/4 full:
- A small cookie scoop makes this task so much easier and less messy.
- Bake for 8 to 10 minutes:
- You want them golden on top and a toothpick coming out clean from the center.
- Let them cool briefly in the pan:
- Two minutes gives them structure, then carefully remove them to a serving plate.
 Pin it
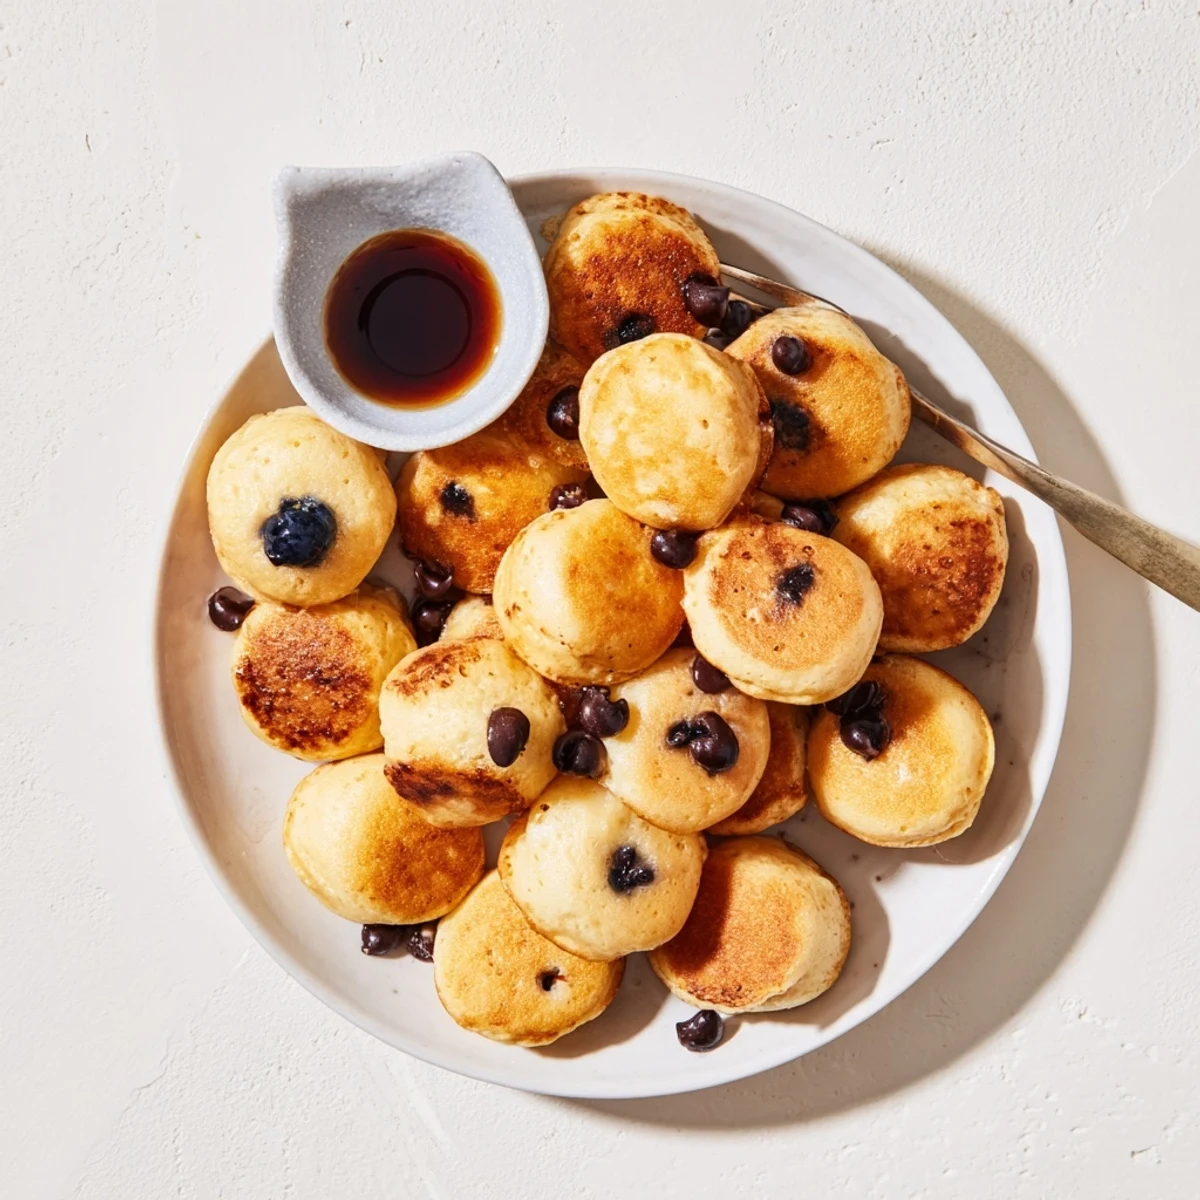
 My daughter now requests these for her birthday breakfast instead of a full cake. We set up a dipping station with little bowls of maple syrup, chocolate sauce, and fruit preserves, and everyone crowds around the island building their own flavor combinations. It has become the sweetest, messiest, most perfect way to start her special day.
Serving Ideas That Work
I have learned that a dipping station transforms these from breakfast finger food into an interactive experience. Small bowls of warm maple syrup, melted chocolate, or fruit preserves let everyone customize their own bites. Sometimes I whisk a little cinnamon into powdered sugar for a dusting station too.
Making Them Ahead
Bake a batch the night before, cool completely, and store in an airtight container. In the morning, a quick 30-second zap in the microwave brings them back to life beautifully. You can also freeze them for up to a month—just wrap well and reheat as needed for busy weekdays.
Playing With Flavors
The basic batter is incredibly forgiving. Try adding citrus zest, swapping in pumpkin puree with pumpkin pie spice, or folding in crumbled bacon and shredded cheddar for a savory version. The texture stays reliable while the flavors change completely.
- Add a pinch of cinnamon or nutmeg to the dry ingredients
- Try diced strawberries, bananas, or nuts instead of chocolate chips
- Serve with yogurt, whipped cream, or honey for dipping variety
 Pin it
 There is something joyful about food you can eat with your fingers while laughing with people you love. These little poppers always seem to invite that kind of moment.
Recipe FAQs
- → What makes pancake poppers different from regular pancakes?
-
Pancake poppers are baked in a mini muffin tin rather than cooked on a griddle, creating perfectly portioned bite-sized rounds with crispy edges and fluffy centers. The baking method gives them a slightly different texture—more consistent throughout and easier to make in large batches.
- → Can I make these without buttermilk?
-
Absolutely. Simply substitute regular milk mixed with 1 teaspoon of lemon juice or white vinegar. Let it sit for 5 minutes to curdle slightly before adding to your batter. This mimics the acidity and tang of buttermilk perfectly.
- → How do I store and reheat leftover poppers?
-
Store cooled poppers in an airtight container in the refrigerator for up to 3 days, or freeze for up to 2 months. Reheat in the oven at 350°F for 5-7 minutes or microwave for 20-30 seconds until warmed through.
- → What other mix-ins can I add?
-
Beyond chocolate chips and blueberries, try diced strawberries, bananas, chopped nuts, sprinkles for fun, or even cooked bacon pieces. Spices like cinnamon, nutmeg, or pumpkin pie spice blend beautifully into the batter.
- → Why is my batter lumpy—is that okay?
-
Yes, small lumps are completely normal and actually desirable. Overmixing develops gluten, making the poppers tough. Mix gently until just combined—the lumps will dissolve during baking, leaving you with tender, fluffy results.
