 Pin it
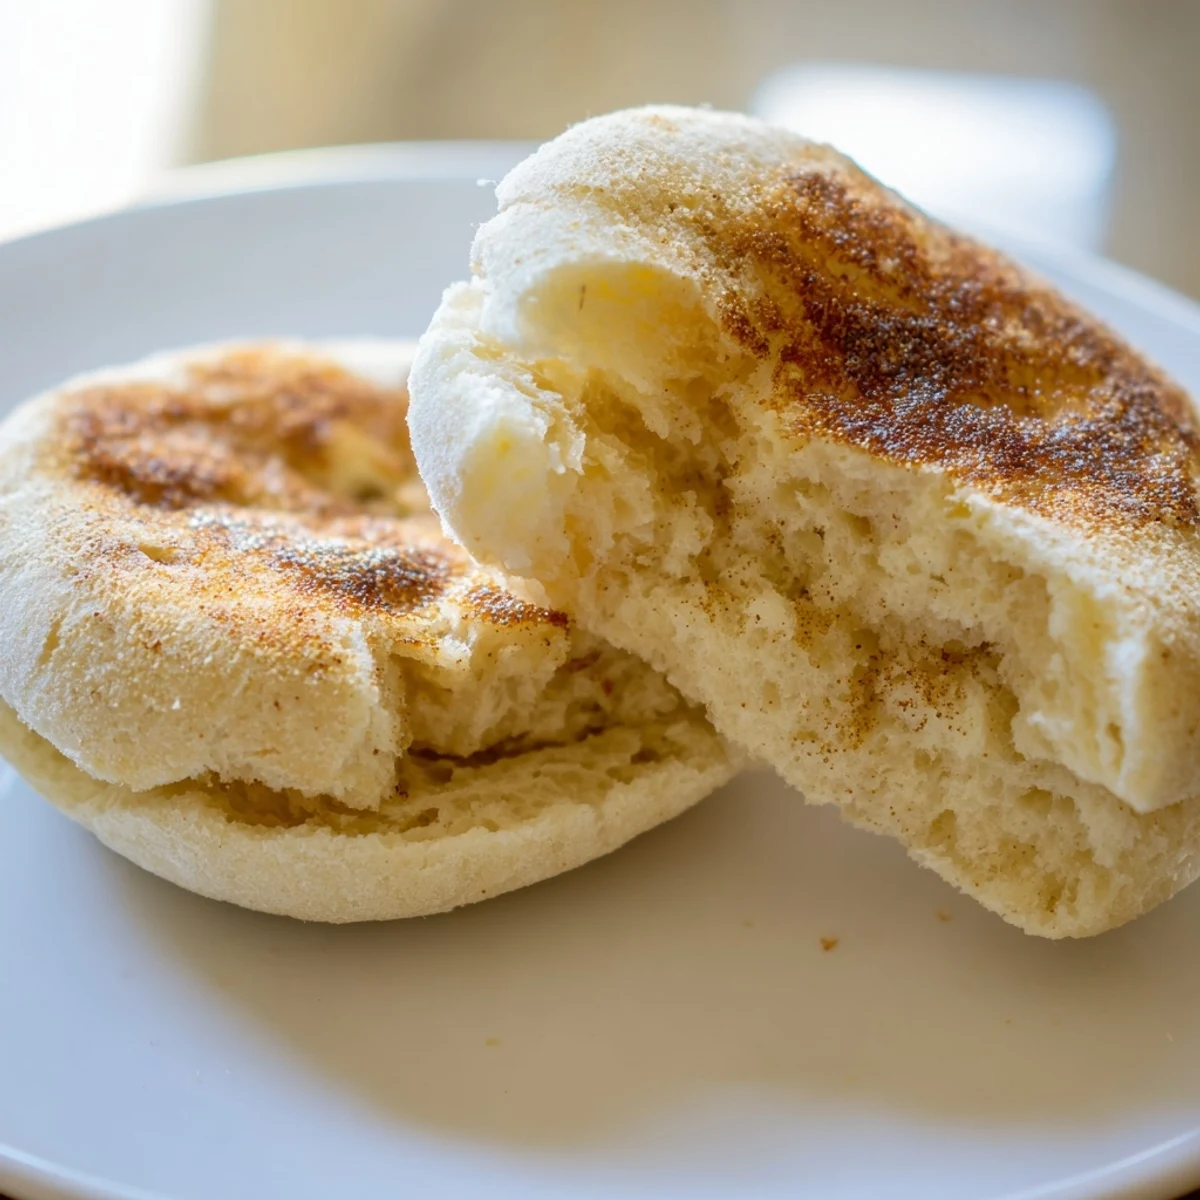
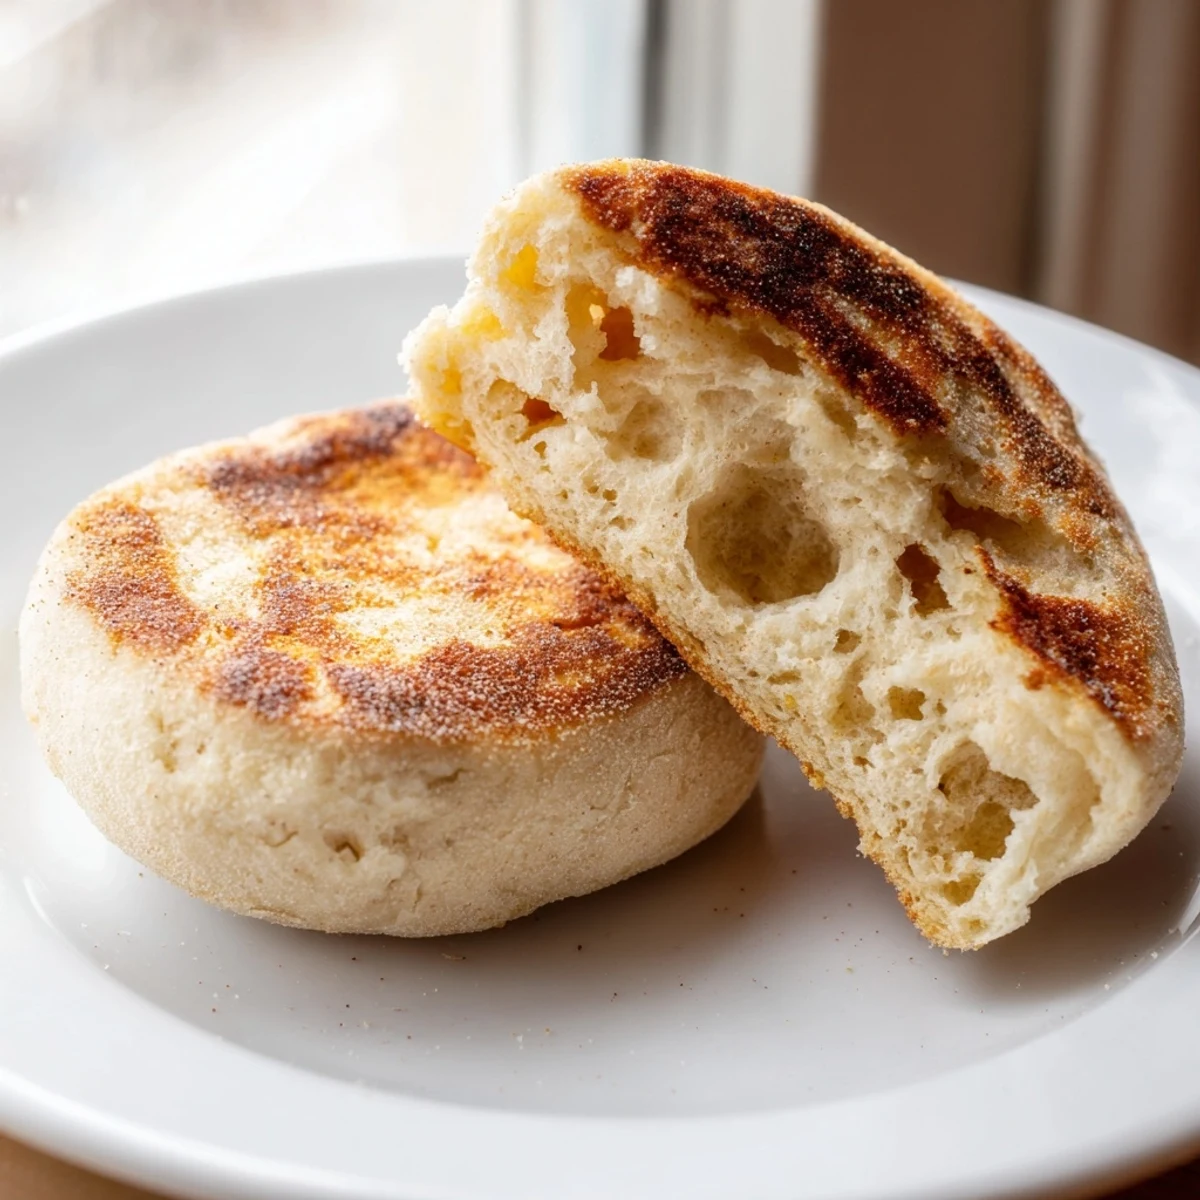
 These homemade English muffins deliver everything you love about the bakery classic: a soft, airy interior with those signature nooks and crannies that catch melted butter and jam. The dough requires simple pantry staples and about 2.5 hours from start to finish, including rising time. Cooked on a griddle until golden brown, each muffin develops a beautifully crisp exterior while remaining tender inside. Split them with a fork to preserve their characteristic texture, then toast until warm and golden. The recipe yields eight satisfying muffins that store well for several days or can be frozen for future enjoyment.
Theres something magical about waking up to the smell of fresh bread, but English muffins hit differently when theyre homemade and still warm from the griddle. I discovered this during a particularly rainy Sunday when I couldnt bring myself to leave the house for breakfast.
My flatmate wandered into the kitchen, drawn by the buttery scent, and watched wide eyed as I flipped the first golden muffin. We ended up splitting it right there, standing over the counter with steam rising between us, and that became our weekend ritual for months.
Ingredients
- Bread flour: Higher protein content creates that signature chewy texture and helps the muffins rise beautifully
- Whole milk: Adds richness and tenderness to the crumb, though lukewarm is crucial for activating the yeast
- Active dry yeast: This is what gives the muffins their airy pockets and rise
- Granulated sugar: Feeds the yeast for proper fermentation and adds subtle sweetness
- Fine sea salt: Enhances flavor and strengthens the gluten structure
- Unsalted butter: Melted into the dough for richness and a tender texture
- Cornmeal or semolina: Creates that classic dusty coating and prevents sticking while proofing
Instructions
- Awaken the yeast:
- Dissolve the yeast and sugar in lukewarm milk, then wait 5 to 10 minutes until it bubbles enthusiastically
- Build the foundation:
- Mix flour and salt in a large bowl, create a well in the center, pour in the yeast mixture and melted butter, then stir into a shaggy dough
- Develop the gluten:
- Knead on a floured surface for 8 to 10 minutes until the dough feels smooth and bounces back when pressed
- First rise:
- Place the dough in an oiled bowl, cover it with a towel, and let it double in size for 1 to 1.5 hours
- Shape the muffins:
- Roll the dough to three quarter inch thickness, cut rounds with a 3 inch cutter, and reroll scraps until you have 8 muffins
- Proof the rounds:
- Dust a baking sheet with cornmeal, arrange the muffins on top, sprinkle with more cornmeal, cover loosely, and let them puff for 25 to 30 minutes
- Cook to golden perfection:
- Heat a skillet or griddle over low medium heat, cook muffins for 7 to 9 minutes per side until deeply golden
- The fork trick:
- Let them cool on a rack, then split with a fork instead of a knife to maximize those butter catching nooks and crannies
 Pin it
 These muffins became a bit famous in my circle, with friends specifically requesting them for birthday brunches and hangover recovery mornings. Theres something deeply satisfying about turning simple ingredients into something so comforting.
Timing Is Everything
The dough needs time to develop properly, so dont rush the rising process. I usually start early on a Saturday morning when I have other things to do around the house.
Get The Heat Right
Too high and you will burn the outside before the inside is done. I learned this the hard way with my first batch that looked perfect but was raw in the middle.
Customize Your Batch
Once you have mastered the basic recipe, the variations are endless. I love adding different mix ins depending on the season or what I have on hand.
- Try adding cinnamon and raisins for a sweet breakfast treat
- Mix in shredded cheddar and herbs for a savory version
- Swap some whole wheat flour for extra nutrition
 Pin it
 Theres nothing quite like that first bite into a warm, buttered English muffin that you made yourself. Give these a try and your morning routine will never be the same.
Recipe FAQs
- → Why split English muffins with a fork instead of a knife?
-
Using a fork to split English muffins preserves the signature nooks and crannies texture. A knife slices through and compresses these air pockets, while fork prongs separate the halves naturally, maintaining those craggy surfaces that perfectly hold butter, jam, or other toppings.
- → Can I make the dough ahead of time?
-
Yes, you can refrigerate the dough after the first rise for up to 12 hours. Let it come to room temperature for about 30 minutes before rolling and cutting. This actually develops more flavor and can make the muffins even tastier.
- → What's the purpose of cornmeal or semolina?
-
Cornmeal or semolina prevents the muffins from sticking to the baking sheet during proofing and adds subtle texture to the exterior. It also contributes to that authentic bakery appearance and provides a slight crunch when toasted.
- → How do I know when the muffins are fully cooked?
-
The muffins should be deeply golden brown on both sides and sound hollow when tapped. For precision, use an instant-read thermometer—the internal temperature should reach 200°F (93°C). Cut one open to check that the center is cooked through and not doughy.
- → Can I use all-purpose flour instead of bread flour?
-
Yes, all-purpose flour works well, though the texture may be slightly less chewy. Bread flour's higher protein content creates more gluten, resulting in those characteristic air pockets and chewier texture that make English muffins so satisfying.
- → Why cook on low-medium heat instead of high?
-
Lower heat ensures the muffins cook completely through without burning the exterior. English muffins are thicker than pancakes, so they need time to heat all the way to the center. High heat would scorch the outside before the inside finishes baking.
