 Pin it
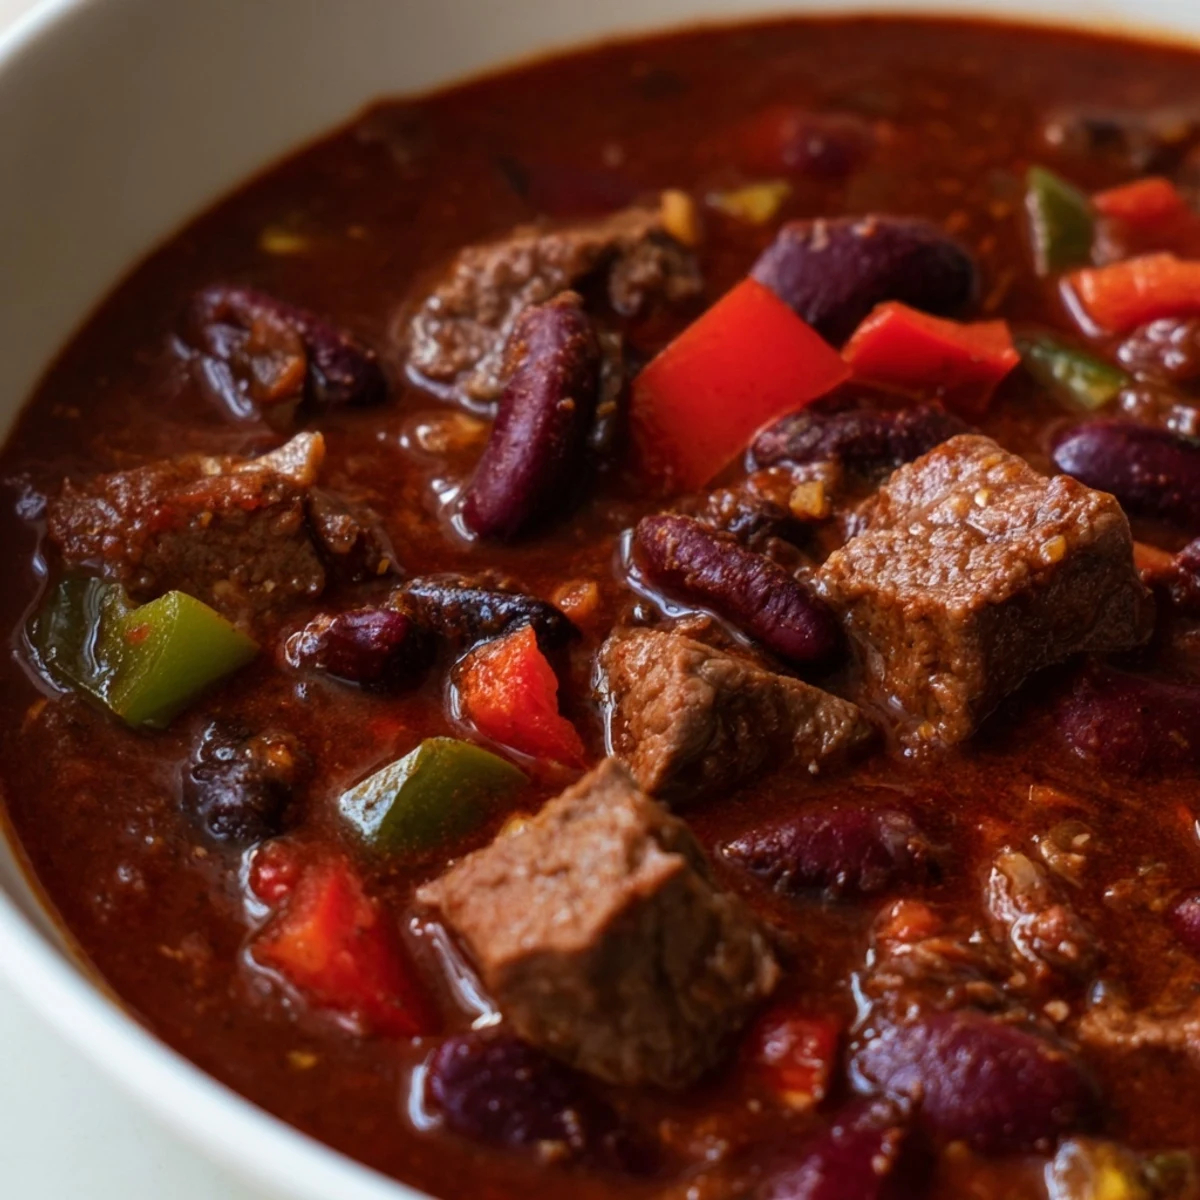
 End Zone Spicy Beef Chili is a robust, satisfying main dish that combines succulent beef chuck, kidney and black beans, and a warming blend of chili powder, cumin, and cayenne. Seared beef and sautéed vegetables create a flavorful base, simmered for 90 minutes until perfectly tender. This gluten-free masterpiece serves 6 and delivers bold, complex flavors enhanced by jalapeños and smoked paprika. Customize heat levels by adjusting cayenne and jalapeño seeds. Top with cheddar cheese, sour cream, and fresh herbs for added richness.
The first pot of my End Zone Spicy Beef Chili happened completely by accident. A snowstorm had stranded six friends at our house during playoff season, and with limited pantry options, I tossed together what became this hearty masterpiece. Something magical happened as those spices bloomed in the pot—conversations slowed, everyone gravitated to the kitchen, and a tradition was born.
Last Super Bowl Sunday, my neighbor Tom knocked on our door holding an empty bowl and a hopeful expression after smelling this chili through the open windows. His timing was perfect—the pot had just reached that sweet spot where the sauce clings to the spoon. We ended up with a house full of neighbors, all claiming their team would win, but unanimously agreeing on the chili.
Ingredients
- Beef chuck, cut into 1-inch cubes: The marbling in chuck creates incredibly tender bites that almost melt after the long simmer, and I learned that keeping the cubes larger rather than using ground beef gives this chili a more substantial, meaty presence.
- Jalapeños: After years of making this, I discovered leaving some seeds in creates pockets of heat rather than uniform spiciness, making each spoonful a delightful adventure.
- Smoked paprika: This humble ingredient transformed my chili from good to unforgettable, adding that subtle campfire flavor that makes guests try to guess your secret.
- Kidney and black beans: The contrasting textures between these beans create interest in every bite, with kidney beans holding their shape while black beans break down slightly to thicken the sauce.
Instructions
- Brown the Beef Properly:
- Heat olive oil until it shimmers, then add beef cubes without overcrowding the pot—youll need to work in batches. Listen for that satisfying sizzle as each piece makes contact, developing a deep brown crust that will flavor the entire chili.
- Build Your Flavor Base:
- Sauté those colorful diced onions, bell peppers, and jalapeños in the beefy fond until they soften and begin releasing their sweet aromas. When you add the garlic, the kitchen will fill with that intoxicating smell that never fails to draw someone in asking whats cooking.
- Bloom the Spices:
- Return the browned beef to the pot before adding your spices and cook them for a full minute. Youll notice the mixture becomes intensely fragrant as the heat wakes up all those essential oils in the spices.
- The Long Simmer:
- As the covered pot gently bubbles away for an hour, resist the urge to constantly stir or peek. This patience allows the beef to surrender its tough fibers and become fork-tender while the sauce develops complexity.
- Bean Integration:
- When adding the beans, fold them in gently to prevent breaking them. That final 30-minute simmer uncovered is where the magic happens—the chili transforms from a soup-like consistency to that perfect, spoonable thickness.
 Pin it
 My son, who claimed to hate beans with the passion only a teenager can muster, silently went back for thirds the first time I made this chili. Later that evening, I found him standing over the refrigerated leftovers with a spoon, caught red-handed but smiling with the realization that perhaps beans werent the enemy after all.
Make-Ahead Magic
This chili performs a remarkable transformation overnight in the refrigerator. The spices meld, the sauce thickens further, and somehow what was delicious the day you made it becomes absolutely extraordinary the next day. When reheating, add a splash of broth if its thickened too much, and youll swear its even better than when first made.
Serving Suggestions
I learned from an impromptu neighborhood chili gathering that setting up a toppings bar with shredded cheddar, sour cream, green onions, and fresh cilantro turns serving this into an interactive experience everyone enjoys. The contrast between the hot chili and cold toppings creates a temperature play that makes each bite more interesting, especially when the cheese gets all melty and pulls into those glorious strands.
Storage and Freezing
After a cooking marathon before our vacation, I discovered this chili freezes beautifully in individual portions, perfect for those nights when cooking from scratch feels impossible. Let it cool completely before transferring to freezer containers, leaving a little headspace for expansion.
- Refrigerated chili keeps perfectly for 4-5 days, improving in flavor each day.
- Freeze portions flat in ziplock bags to save space and allow for quicker thawing.
- When reheating frozen chili, do it gently over medium-low heat to prevent the beans from breaking apart.
 Pin it
 The beauty of this End Zone Chili isnt just in its rich flavor but in how it brings people together. When that pot sits simmering on the stove, it somehow makes any house feel more like home.
Recipe FAQs
- → Can I make this chili ahead of time?
-
Yes, this chili actually tastes better when made a day ahead. Cool completely, refrigerate in an airtight container for up to 4 days, or freeze for up to 3 months. Reheat gently on the stovetop with a splash of broth if needed.
- → How do I adjust the spice level?
-
Control heat by leaving jalapeño seeds in for more kick, or removing them entirely for less heat. Start with 1/4 tsp cayenne and increase gradually to taste. Adding a tablespoon of cocoa powder also helps balance intense spices without reducing them.
- → What's the best cut of beef to use?
-
Beef chuck is ideal because it becomes tender during long simmering. Ground beef works too but cooks faster—reduce simmering time to 45 minutes. Chuck provides richer flavor and better texture in the finished chili.
- → Can I use dried beans instead of canned?
-
Absolutely. Soak 1 cup dried beans overnight, then cook until tender before adding in step 5. Canned beans are convenient and equally delicious, but dried beans offer cost savings and no added sodium if rinsed thoroughly.
- → What toppings pair best with this chili?
-
Sharp cheddar cheese, cool sour cream, fresh cilantro, and sliced green onions are classic choices. Consider diced onion, jalapeño slices, or crushed crackers for texture. Cornbread on the side complements the bold, spicy flavors perfectly.
- → Is this truly gluten-free?
-
Yes, all core ingredients are naturally gluten-free. Always verify spice blend labels and canned goods for hidden gluten additives. Serve with certified gluten-free cornbread or crackers if desired.
