 Pin it
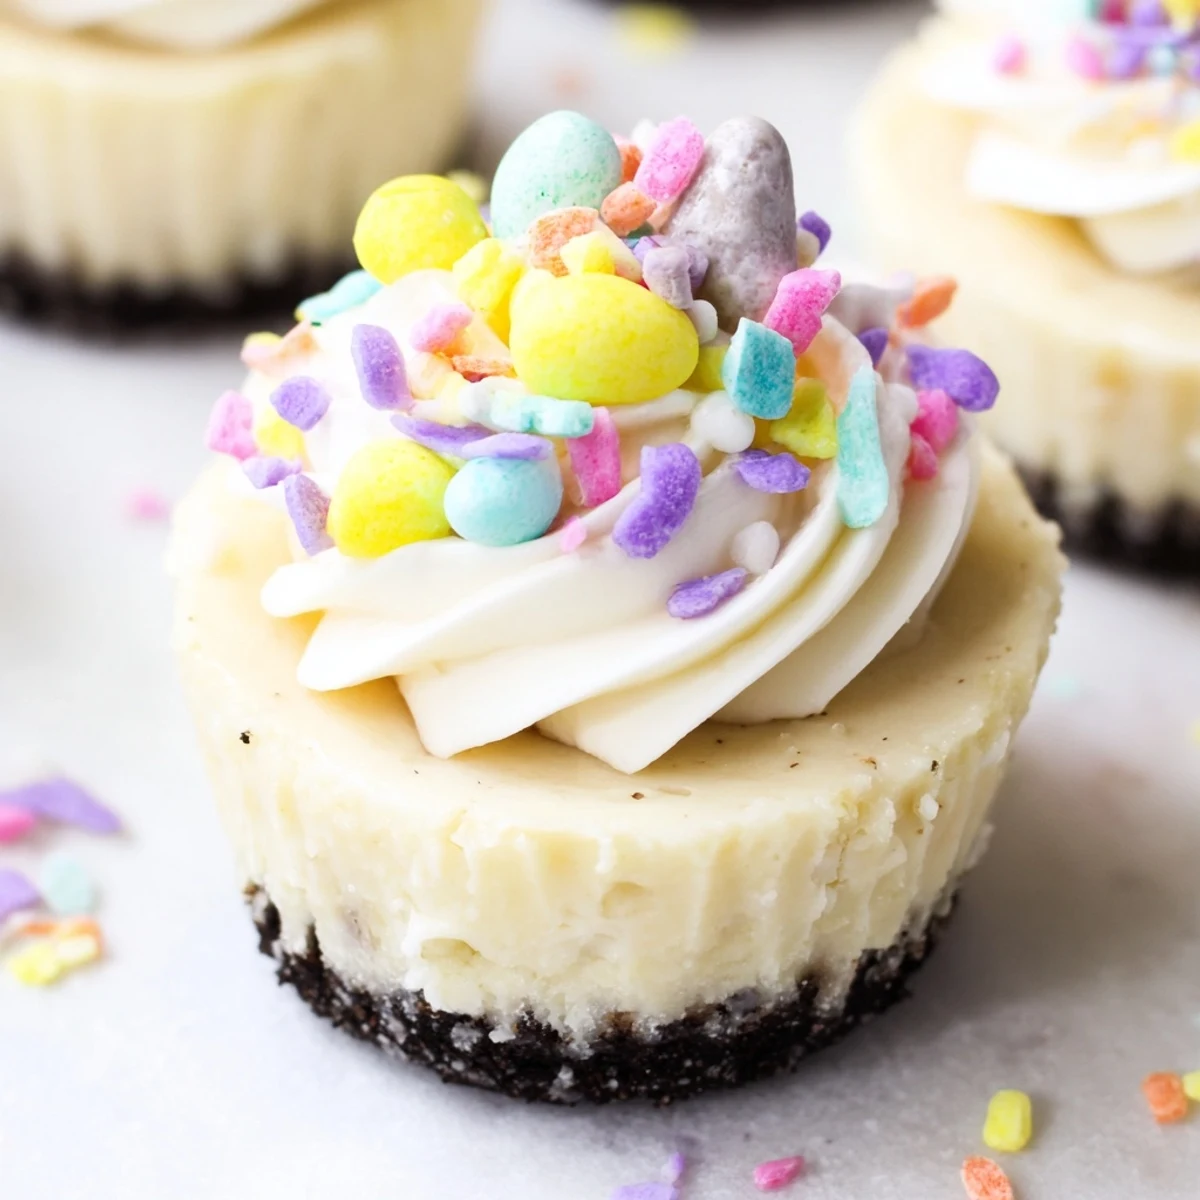
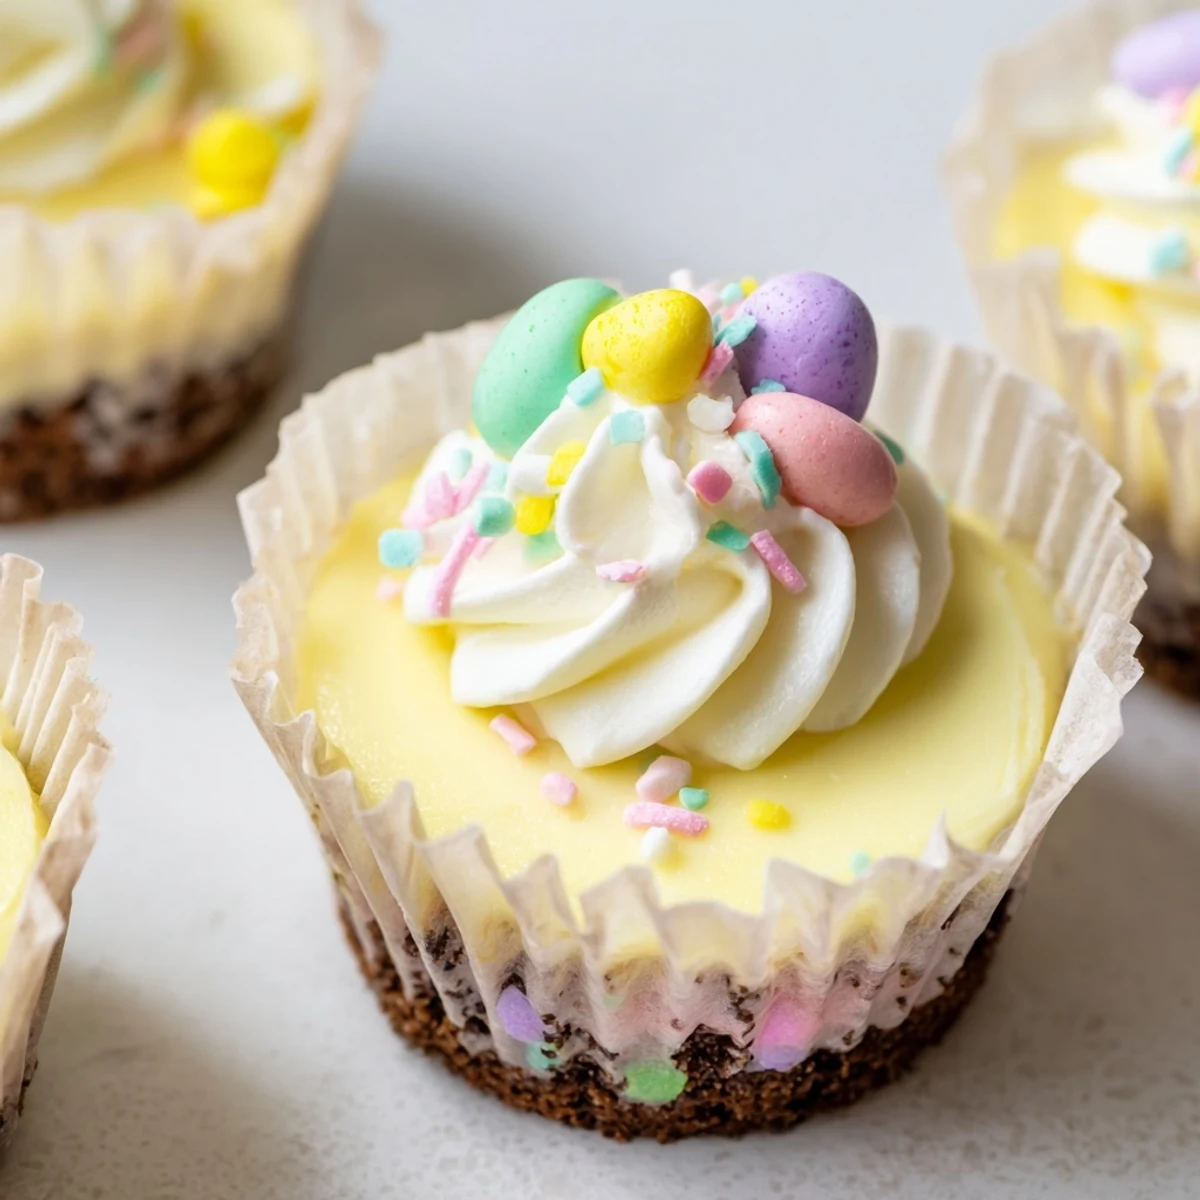
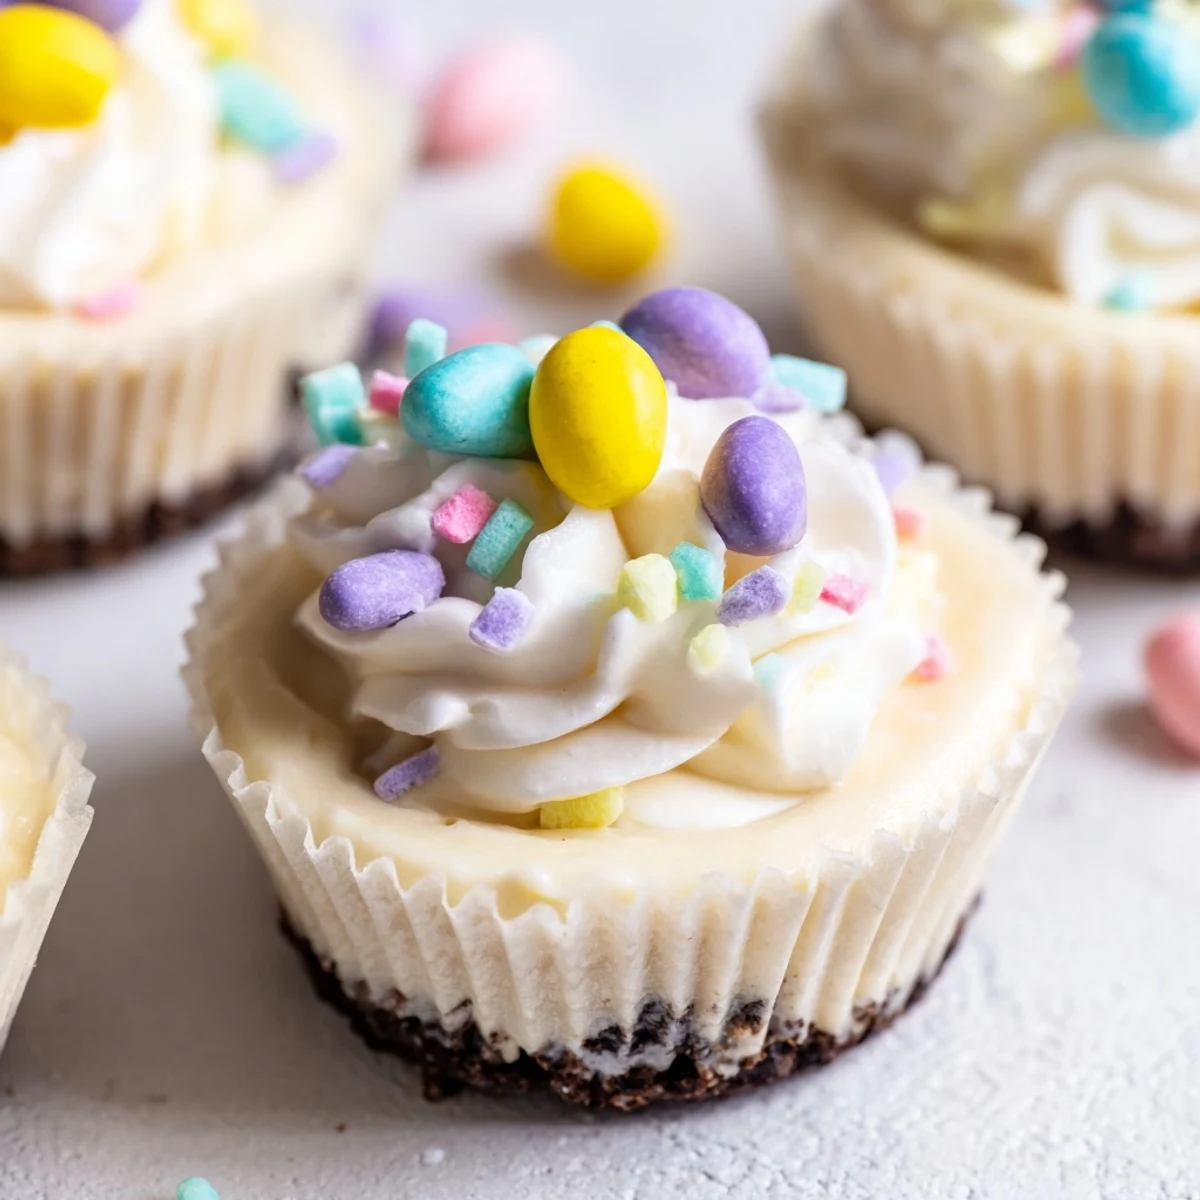
 These adorable Easter treats feature a rich, velvety cheesecake filling nestled in a crunchy chocolate cookie crust. Each mini cheesecake is crowned with billowy whipped cream and studded with colorful Cadbury Mini Eggs, creating a stunning dessert that captures the essence of spring. The individual portions make them perfect for Easter brunch, egg hunts, or festive gatherings.
The combination of creamy filling, crisp chocolate base, and crunchy candy coating offers irresistible texture contrast. Preparation comes together quickly—just mix, bake, chill, and top with whipped cream before serving.
The first Easter I brought these to our family gathering, my aunt actually asked if I'd spent hours piping fancy bakery decorations. I laughed while watching everyone crack through that candy shell topping to get to the creamy center underneath. Now they're the one dessert my cousins specifically request before I even ask what to bring.
Last spring I made three batches back to back because they kept disappearing faster than I could photograph them. My kitchen counter looked like a pastel explosion with all the crushed egg candy scattered everywhere. Worth every single sweep of the broom afterward.
Ingredients
- Chocolate sandwich cookies: The chocolate cookie crust adds such a rich foundation that complements the creamy filling
- Unsalted butter: Melted butter binds the cookie crumbs perfectly into a pressable base
- Cream cheese: Make sure this is truly room temperature or you will end up with stubborn lumps
- Granulated sugar: Sweetens the filling without making it cloyingly sweet
- Large egg: Use room temperature eggs to prevent the cheesecake from cracking
- Vanilla extract: Pure vanilla makes such a difference in the final flavor
- Sour cream: This adds a subtle tang that balances all the rich chocolate sweetness
- Heavy cream: Cold heavy cream whips up beautifully for that cloudlike topping
- Powdered sugar: Sweetens the whipped cream just enough without making it grainy
- Cadbury Mini Eggs: The unmistakable speckled candy that makes these instantly festive
Instructions
- Prep your muffin tin:
- Preheat oven to 160°C (325°F) and line a 12 cup muffin tin with paper liners
- Make the chocolate crust:
- In a bowl combine crushed chocolate cookies and melted butter until crumbs are evenly moistened
- Press the crusts:
- Divide the crumb mixture evenly among the liners about 1 tbsp per cup and press down firmly to form a base
- Cream the base:
- In a large bowl beat cream cheese and granulated sugar until smooth and creamy
- Add the wet ingredients:
- Add the egg vanilla extract and sour cream then beat until just combined
- Fill the cups:
- Spoon the cheesecake filling evenly over each crust about 2 tbsp per cup smoothing the tops
- Bake gently:
- Bake for 16 to 18 minutes or until centers are just set
- Cool completely:
- Remove from oven and cool in tin for 30 minutes then transfer to the refrigerator to chill for at least 2 hours
- Whip the topping:
- Just before serving whip the heavy cream with powdered sugar until stiff peaks form
- Decorate and serve:
- Pipe or dollop whipped cream on top of each cheesecake and garnish with chopped or whole Mini Eggs
 Pin it
 My daughter helped me chop the Mini Eggs last year and we ended up eating almost as many as made it onto the cheesecakes. Those candy shards stuck to her fingers while she carefully placed each piece like she was decorating tiny edible masterpieces.
Getting That Perfect Crust
I use the bottom of a measuring cup to press the cookie crumb mixture into each liner. Even pressure creates a compact base that holds together beautifully when you bite into it. Do not skip this step or you will end up with loose crumbs instead of a cohesive crust.
The Secret To Silky Filling
Room temperature cream cheese is absolutely essential for achieving that luxurious smooth texture. I learned this the hard way after trying to rush through with cold cream cheese and ending up with tiny stubborn lumps throughout. Set everything out on the counter at least an hour before you plan to start baking.
Making Them Ahead
These cheesecakes actually taste better after chilling overnight which makes them perfect for stress free entertaining. The flavors have time to meld and the texture becomes even creamier. You can make the base cheesecakes up to two days in advance but wait to add the whipped cream topping until right before serving.
- Store undecorated cheesecakes in an airtight container in the refrigerator
- Add the whipped cream and Mini Eggs within an hour of serving for best texture
- These freeze beautifully for up to a month without the topping
 Pin it
 Every time I bring these to an Easter gathering someone asks for the recipe before they even finish their first bite. Watch them disappear and save the recipe request for later.
Recipe FAQs
- → How far ahead can I make these Easter cheesecakes?
-
The cheesecakes can be prepared up to 2 days in advance. Store them in the refrigerator without the whipped cream topping. Add fresh whipped cream and Mini Eggs just before serving for the best texture and presentation.
- → Can I freeze these mini cheesecakes?
-
Yes, freeze the baked and chilled cheesecakes without whipped cream for up to 1 month. Wrap each one individually in plastic wrap and place in an airtight container. Thaw overnight in the refrigerator before adding toppings.
- → What can I use instead of Cadbury Mini Eggs?
-
You can substitute with any pastel-colored chocolate candies, chocolate-covered malt balls, or even crushed chocolate bars. For a different look, try using robin eggs, chocolate truffles, or seasonal M&M varieties.
- → Why did my cheesecakes crack while baking?
-
Cracking usually occurs from overmixing the filling or overbaking. Beat ingredients until just combined and avoid incorporating excess air. Remove from the oven when centers are slightly jiggly—they'll continue setting as they cool.
- → Can I make these without a muffin tin?
-
You can use silicone muffin molds or individual tartlet pans placed on a baking sheet. The key is maintaining even spacing for proper air circulation. If using silicone, reduce baking time by 1-2 minutes as they conduct heat differently.
