 Pin it
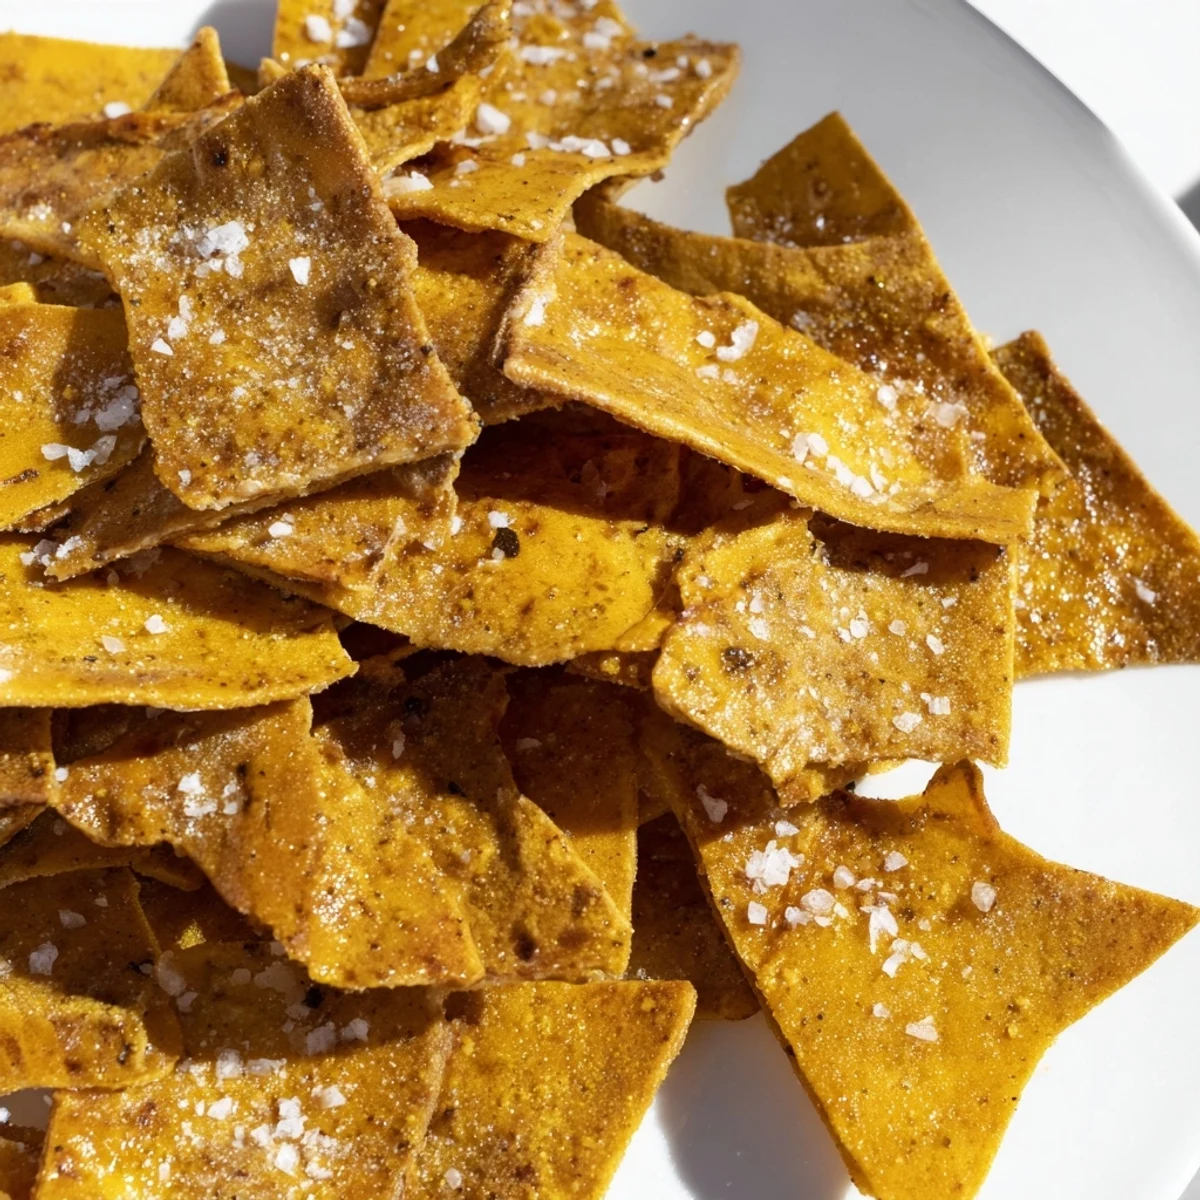
 These crispy, golden chickpea chips deliver satisfying crunch with protein-rich besan flour and aromatic spices like garlic powder, smoked paprika, and cumin. The simple batter spreads thin, bakes until perfectly crisp, and scores easily into bite-sized pieces perfect for dunking.
Ready in just 40 minutes with minimal active prep, these naturally gluten-free chips store beautifully for up to four days. Brushing with olive oil midway through baking ensures even golden color and extra crunch.
Customize with dried herbs like rosemary or thyme, adjust spices to your preference, and serve alongside hummus, salsa, or your favorite dip for a satisfying snack that's both wholesome and delicious.
The sound of chickpea flour hitting a mixing bowl takes me straight back to a rainy Tuesday when my pantry was nearly bare and I needed something crunchy to accompany a movie night. I had bought a bag of besan months prior on impulse and never touched it again. That evening I poured, whisked, and baked my way into what has become the most requested snack in my household. Golden, shattering chips emerged from the oven and I could not believe they came from flour and water.
My neighbor Clara knocked on my door one afternoon carrying a jar of homemade salsa and asked if I had anything worth dipping into it. I whipped up a batch of these chips in silence while she leaned against the counter telling me about her garden, and when we finally sat down to taste them she paused mid sentence and just nodded. That jar of salsa did not stand a chance.
Ingredients
- Chickpea flour (besan): The backbone of the entire recipe and the source of that nutty, savory flavor. Sift it if it has been sitting around for a while to avoid clumps.
- Sea salt: Enhances the natural earthiness of the chickpea flour. Use a fine grind so it disperses evenly throughout the batter.
- Garlic powder: Adds a warm, savory depth without overpowering the delicate chickpea taste.
- Smoked paprika (optional): Lends a subtle smokiness that makes these chips feel almost indulgent. A little goes a long way.
- Ground cumin: Brings a gentle warmth and ties all the spices together beautifully.
- Water: Transforms the flour and spices into a pourable batter. Use room temperature water for the smoothest texture.
- Olive oil (in batter): Keeps the chips tender enough to hold together while still getting crisp at the edges.
- Olive oil (for brushing): This final coat is what gives the chips their golden color and that satisfying snap when you bite in.
Instructions
- Preheat and prepare:
- Set your oven to 180 degrees Celsius (350 degrees Fahrenheit) and line a baking sheet with parchment paper. Let the oven fully come to temperature while you mix so the chips bake evenly from the start.
- Combine dry ingredients:
- Whisk the chickpea flour, salt, garlic powder, smoked paprika, and cumin together in a bowl until no streaks remain. This quick step ensures every chip carries the same balanced flavor.
- Add the wet ingredients:
- Pour in the water and olive oil, then whisk vigorously until the batter is completely smooth and free of lumps. It should look like a thin pancake batter and pour easily off the whisk.
- Spread the batter:
- Pour the batter onto your prepared baking sheet and use a spatula to spread it into an even layer about 2 to 3 millimeters thick. Work from the center outward and do not worry about perfection, just aim for consistency.
- First bake:
- Slide the sheet into the oven and bake for 10 minutes until the surface looks set and dry. Remove it carefully and brush the top evenly with the remaining tablespoon of olive oil.
- Score and finish baking:
- Use a sharp knife or pizza cutter to score the sheet into chip sized squares or triangles while it is still warm and pliable. Return to the oven for another 12 to 15 minutes until the chips are deeply golden and crisp at the edges.
- Cool and break apart:
- Let the sheet cool completely on the pan so the chips crisp up fully, then break them along the scored lines. Sprinkle with a little extra sea salt if you like and serve.
 Pin it
 I packed a container of these chips for a road trip last summer and forgot about them until the drive home, when I reached behind the seat and found them still perfectly crisp and waiting. They tasted like a small reward at the end of a long, sun heavy day.
Serving Ideas Worth Trying
These chips shine brightest when paired with something creamy or bright. Hummus is the obvious companion and it never disappoints, but I have also served them alongside mango salsa, tahini drizzle, and even a simple mashed avocado with lime juice. At a recent gathering I arranged them around a bowl of roasted red pepper dip and watched them disappear before the main course was ready.
Storing Your Chips
An airtight container at room temperature keeps these chips crisp for up to four days, though they rarely last that long in my kitchen. If they lose a bit of crunch after day two, a quick five minute visit to a 160 degree Celsius oven brings them right back to life.
Getting Creative With Flavors
The basic batter is a blank canvas that welcomes all kinds of additions. Stir in dried rosemary or thyme before spreading for an herbaceous twist. A pinch of cayenne transforms them into something bolder. You can even add nutritional yeast for a cheesy, savory note that makes them irresistible.
- Try cracked black pepper and lemon zest for a bright, snappy variation.
- A teaspoon of sesame seeds mixed into the batter adds a subtle nuttiness and visual charm.
- Always taste the batter before baking because adjusting seasoning at this stage is far easier than fixing a bland chip later.
 Pin it
 Keep a batch of chickpea flour in your pantry and you are never more than forty minutes away from a warm, crunchy snack that feels far more special than the effort it requires.
Recipe FAQs
- → What makes chickpea flour chips crispy?
-
Spreading the batter thinly (2-3 mm) and the two-stage baking process creates maximum crispiness. The initial bake sets the structure, while brushing with olive oil and the second bake deepens the golden color and crunch throughout.
- → Can I fry these chips instead of baking?
-
Yes, after spreading and partially setting the batter, you can cut into pieces and shallow fry in hot oil until crispy. Drain on paper towels and season immediately while hot for best results.
- → How do I store crispy chickpea chips?
-
Cool completely before storing in an airtight container at room temperature for up to 4 days. Place a paper towel inside to absorb any moisture. Re-crisp in a warm oven for 3-5 minutes if they soften slightly.
- → What dips pair well with these chips?
-
Classic hummus, tzatziki, spicy salsa, guacamole, or baba ganoush complement the savory seasoning perfectly. The mild chickpea flavor lets dips shine while providing substantial crunch for scooping.
- → Is chickpea flour the same as besan?
-
Yes, chickpea flour and besan are identical—both made from ground dried chickpeas. You might also find it labeled as gram flour or garbanzo bean flour. All work equally well in this preparation.
- → Can I make these spicy?
-
Absolutely. Add cayenne pepper, red pepper flakes, or chili powder to the dry ingredients. Start with 1/8 teaspoon and adjust to your heat preference. The chickpea flavor balances spice beautifully.
